No, this is not the end. It is not even the beginning of the end. But it is, perhaps, the end of the beginning. Interlocked Lever Frame – Part 4
With thanks to someone else for the quote.
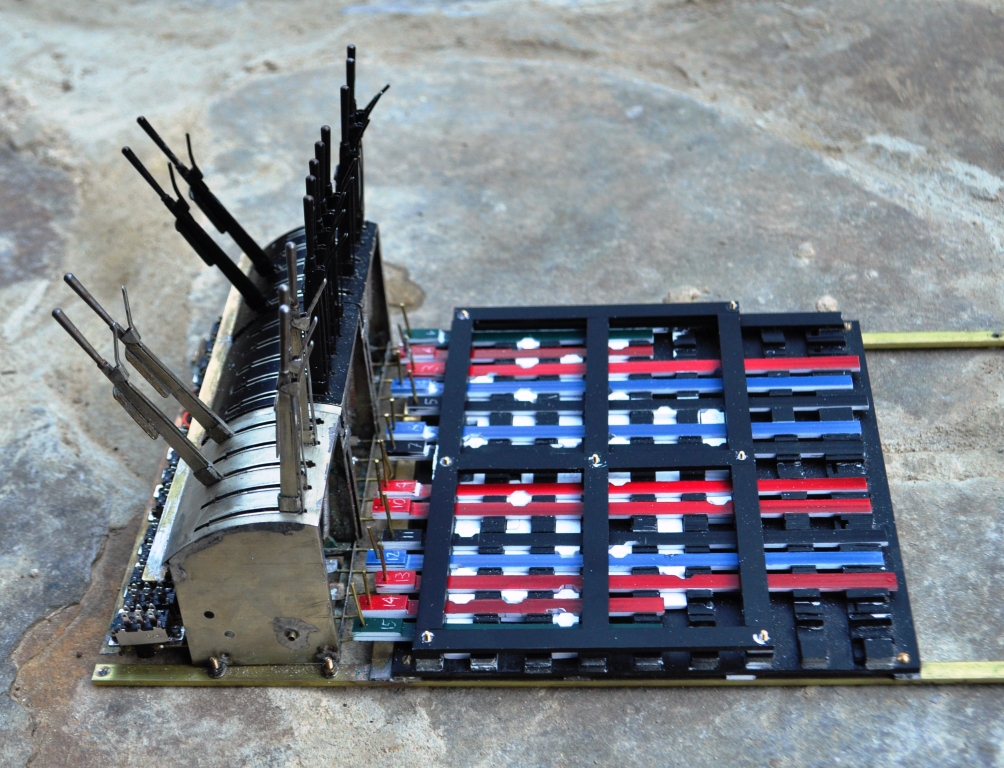
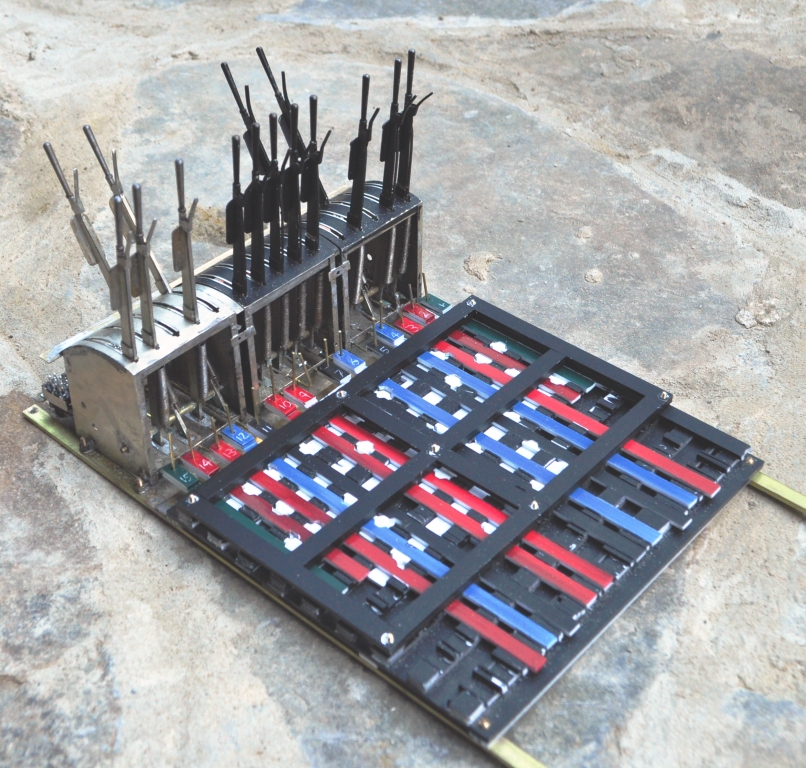
I managed to get all of the locking bars, installed over the weekend and the dogs (the teeth that engage in the sliding bars) to get the interlocking going. And this is what I get to:
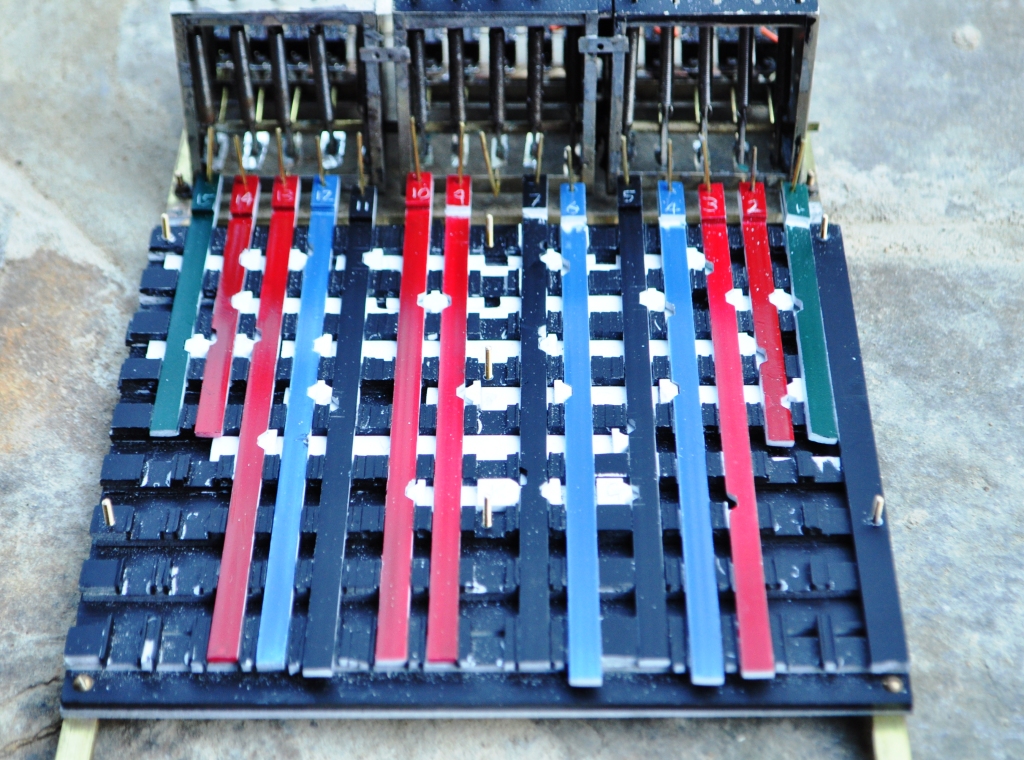
This shows all of the components assembled in place. The dogs engage in slots in the sliding bars but the dogs have angled sides – so if nothing holds them in place the movement of the slider pushes them to one side and the slider can move. When another slider is in the way (ie there is an opposing lock set) then this can not occur – so it locks shut.
To stop the sliders popping up when they encounter a lock, a lid has been fashioned. I wanted all of the locking to remain visible, so this is just a skeleton.
I did find that the angles of the slots needed to be just over 45 degrees for the locking bar to move easily and they also need to match the dogs quite neatly. If I do this for real, I think some lost wax masters and then castings will be required to ease the process of manufacture.
The frame does lock well and neatly. Of course I made a few errors in where slots were to go but having made it from plastic, these were actually quite easy to sort out. What is more significant is that there is some slop in the levers – this occurs worst where the yoke of the bar that runs through to operate the toggle switch and sliding bars goes over the base of the lever. The hole in this is a bit too big and it means that the lever can move 30 % of its intended movement before it makes the sliding bar move and hence encounter the lock. This does slightly defeat the object of the locking and will need some work. I have an idea of linking the two more physically but if this does not work, then it may be back to the drawing board.
All in all, it works though and it is quite fun working through the desired move, working out what then needs to be thrown and in what order – although this may send my team a bit over the edge in the heat of an exhibition! However, some manufacturing refinement is going to be needed to make it work better. I remain tempted to use the potential kit that might be available but this makes the locking invisible and I am not so certain about this. Food for thought!
Posted on April 29, 2013, in Glenmutchkin, Workbench (other) and tagged glenmutchkin, interlocking, Model Railway, signals. Bookmark the permalink. 2 Comments.

Hi,
Where can I get interlocking levers like those? I’m designing my interlocking complete with time locking circuits.
The levers are from the Scalefour Society. You can find details of them here: http://www.scalefour.org/eshop/
The locking is not available for this lever, at least not publically available. However one of the Society’s members has done the design work for it – you can see the work here: http://www.scalefour.org/forum/viewtopic.php?f=4&t=1772 I am pretty certain Howard (the author) will be at Scalefur North http://www.scalefour.org/scalefournorth/ and will be happy to discuss.
#