Blog Archives

Couldn’t Have Done It Without………3

Here is something that I have not seen anyone else singing the praises of; the cast brass version of Exactoscale’s fishplates.

IMG_5028 (2)

IMG_5032 (2)

As can easily be seen, these are both cosmetic renditions of a real fishplate from the bullhead track era and can also be used to create a functional joint between rails.  These are not that strong and can’t really be relied upon to firmly hold one piece of track to the other.  However, what they are strong enough to do is hold one piece of track relative to the other.

IMG_5046 (2)

Therefore, they come into their own when track is being laid.  Once one piece of rail is glued in place, it is necessary to ensure that the next is exactly in line with it and this is actually not nearly so easy to do as it might seem; especially when we a P4 modeller such as myself is interested in fractions of a millimetre and then makes life difficult for myself by covering the additional piece of track is them covered with weights.  These are just perfect for this, they provide enough locational direction to ensure one piece flows to the next.

There is of course nothing new about using fishplates to join model train track together; it has been de-rigueur for Hornby & Peco since the dawn of time.  What has happened is that the finescale fraternity have forgotten their roots a little and ignored the simplicity of some of the toy train solutions such as this.


Slips, Moans and the Third Way

A while back I outlined the struggle (that may have been largely in my head!) with wiring the single slip into the MPD.  After some frantic reappraisal of this as the layout was being set up at Scaleforum (thanks Chris!), it was fully operational.

Given this is a further blog post on this slip, you can tell there is a but………..  In this case it was that route setting the turnout such that it was electrically correct was not intuitive.  The difficulty lay in the straight through route – to set it electrically for the route through on the main required a different arrangement of the switches to that for the straight run from the loop to the MPD.  This was even though the physical route setting could be exactly the same, so it become quite confusing!  Not having a power district breaker meant that the layout locked down rather too frequently as a result.

Although I don’t see it myself, the guys think that one of my main operating crew has a bit of a reputation for being a moaner when things aren’t as easy as they could be……  With this in mind, it is clear that I have to do something about this to keep the peace.  In addition to the use of LED route identification lights on the control panel, I have found a third way of powering the crossings on the slip.  Its thisTAM2

This is a frog juicer (apologies for the Americanism!) and is simply a device that detects a short-circuit when a vehicle hits the crossing.   Instead of tripping out (as a power district breaker would), it swaps the polarity.  This happens faster than a circuit breaker can trip or the locomotive motor react so can be relied upon to switch the crossing without any visible effect on operation.

The net impact of this is that my slip only needs to be set for the route that is being used.  The crossings will not be changed by this route setting, instead as the first wheel touches each crossing it gets switched to the correct polarity.


Take a Chair (….err, actually a few thousand!)

Of late, I have been getting on with one of the more boring layout building jobs; that of adding cosmetic rail chairs.

As I wish to retain the flexibility of soldered track construction (basically because I do not trust myself to get it right the first time!), it is necessary to affix cosmetic chairs at each sleeper.  I did lesson the task by using part soldered/part chaired plain track but even so I reckon there are three thousand chairs to affix………..

It does, however, make a big difference and the track is now beginning to look real – as you can see below.

IMG_0484 (2).JPG

I am over half way and so it will soon – which is just as well as filing the chairs ready to lay is wearing my thumbs and fingers out to very sore digits!

Arguably though, chair fixing is a form of procrastination because i must finish the wiring and then confront that turntable again!


Another Wordless Wednesday……

…………again because I cannot put the words I would like to use on a public blog!

IMG_1037 (1).JPG

This was the scene that confronted me over the weekend when I was trying to fettle the layout for operation – a good number of broken chairs and detached solder joints.  All this resulting in some fairly severe gauge narrowing!

It has been fairly warm here in blighty (I know that is a relative concept to some of the readers of this blog in the more far flung corners of the world – the Brits like to moan about our weather!).  This has resulted in some thermal expansion and clearly I have not allowed enough joints to absorb this.  It will be simple enough to fix, but altogether a pain.

Perhaps more irritatingly (because it has happened rather more), it has closed the gap on a number of crossings.  This has resulted in a fair few short circuits and a campaign of dealing with these has taken a good chunk of my Sunday up!


One for the Gorilla – tracklaying progress

Matters have been progressing with the layout on and off through the summer and a lot more of the track has now been laid.  We have both the main line and the full run around loop complete, along with most of the bay and its run around loop too.

photo 2

The line diverging in the foreground is going into the shed area, those visible below the bridge go to the bay (left) and yard (right).  A signalling trackplan can be found here.

photo 7

I quite like the sinuousness of the line, which can be seen here/  I have done this in order to give interest to the layoput but it is pretty typical (indeed characteristic) of the lines to the west coast as they wind through the mountainside.  I do have in mind some hills to justify this in the finished item.

photo 5   photo 1

Already there is a sense of magnitude to the station forming, the platform face (which is not all in view in either of these views, comes in at about 7 feet – enough for an eight coach train of pre-grouping coaching stock.  Really, its length is defined by the length of the bay – this will become clearer when the train shed appears because the bay has to start clear of this..

photo 13photo 4photo 12

I have also placed into its approximate position the road overbridge that separates the shed from the main station area.  The construction of this can be seen in postings here and here.  The intention of hte bridge is to act as a scene blocker and thus to compel the watcher to view the layout from more than one location to appreciate it.

Tracklaying Commences

Definite progress was made with Glenmutchkin over the last 10 days, in that the first portions of trackwork have been laid.  At last, it is an embryonic layout!

photo 10compress

This was started at the two platform faces as in practise this is one of the major setting out points.  This is because it is about the only straight bit of track on the layout and also because the platform needs to sit on top of the most substantial baseboard joint on the boards – where the front and back boards abut.  The platform will be a separate element of construction and will bolt over the joint, hence hiding it from view.

photo 5compress

The scrap tak is seen here sitting in the branch bay.  The branch bay platform face is to its full length, the main line platform face still needs to continue for 500mm – into the trainshed which presently can only be imagined!

photo 14compress

Now that the first few bits of track have been laid, a sense of scale starts to become apparent.  Not for me the “model to the railway boundary only” approach – I am very definitely attempting to portray the railway in its setting.

photo 3 compresss

The other major setting out point for the layout is the link into the engine shed; which is a single slip from the main line and a cross-over from the main run-around loop.  The baseboard joint is mid-way through the crossover, so deines this end of the layout.

photo 13compress

No Point Hanging Around

Whilst I have not put any posts up showing progress with the boards for Glenmutchkin, progress is being made and the last two boards are essentially now finished.  I am hoping that with one more day’s work which will mostly be to build up a carrying box for the final two, they can all come home.

In anticipation of this, I have been building some turnouts and a bit of the basic trackwork.

_DSC0225compress_DSC0236compress

I am only able to do the turnouts which I am reasonably confident will not change shape when the track is finally laid out on the boards.  In essence this means the crossings in the bay, the main line and the goods yard.  I have also done one of the turnouts in the yard.  So seven down, twelve to go including a slip!

I have also developed my approach to TOU’s slightly from Portchullin.  As a finished article they look like this:

_DSC0232compress

You will see that relatively little of the TOU is exposed (and when it is painted it blend away further).  Equally it is much more durable than most of the other options out there because the switchblade is held by both a wire strip but also to some brass strip that is tight to the underside of both the switchrail and the switchblade.  By installing this strip in this location, the switchblade is held in a vertical plane much better than other solutions.  I think this leads to better running.

This is what it looks like as it is being assembled.  You will see that in essence is it is merely a bit of copper clad below the switchblades, but lowered somewhat further due to the use of the brass strip.  This allows the whole lot to be hidden below the boards.

_DSC0228compress _DSC0231compress


You will note the rather unusual arrangement of sleepers.  This is called interlacing and was very common on many pre-grouping lines, including the Highland.  I will expand on this in a future posting.


Glenmutchkin: Part 1 – Have summer house, will build……..

Much of 2012’s modelling time was devoted to the building or a summer house; at least that is what we told the planning authority it was.

_DSC0275 compress

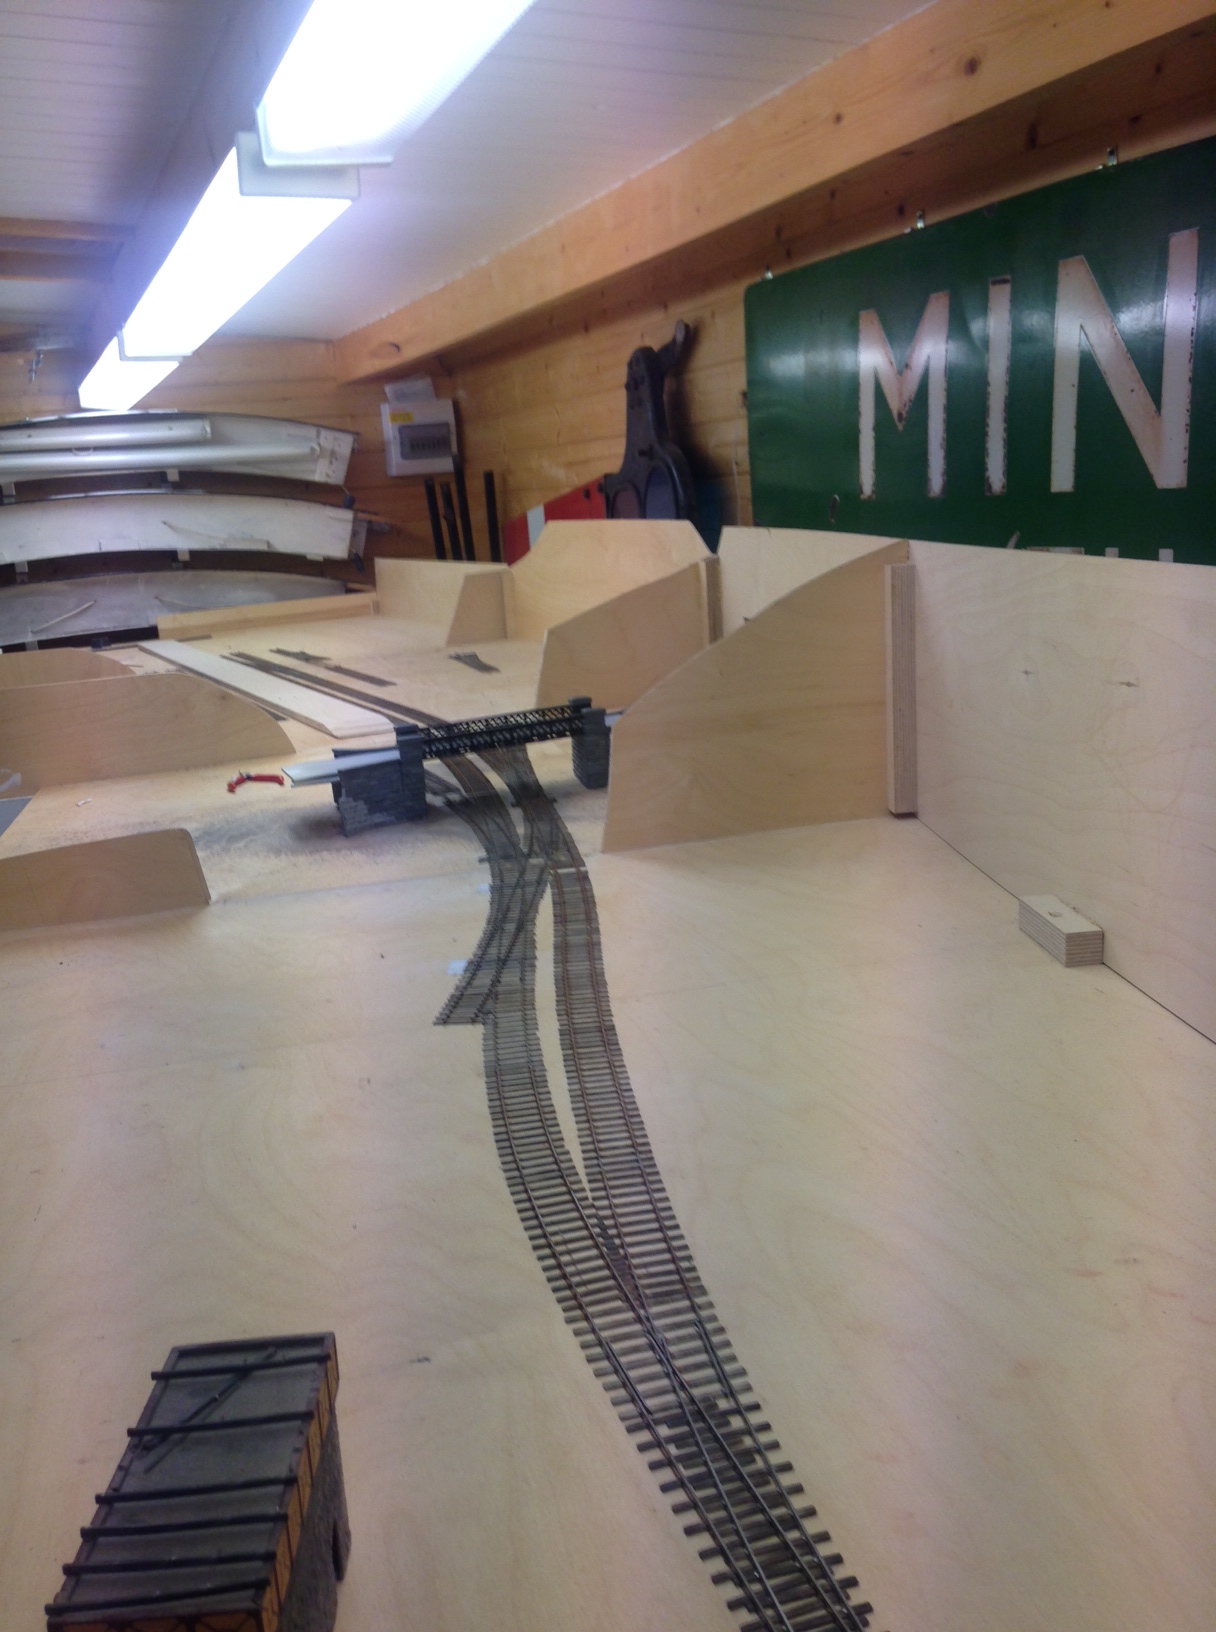
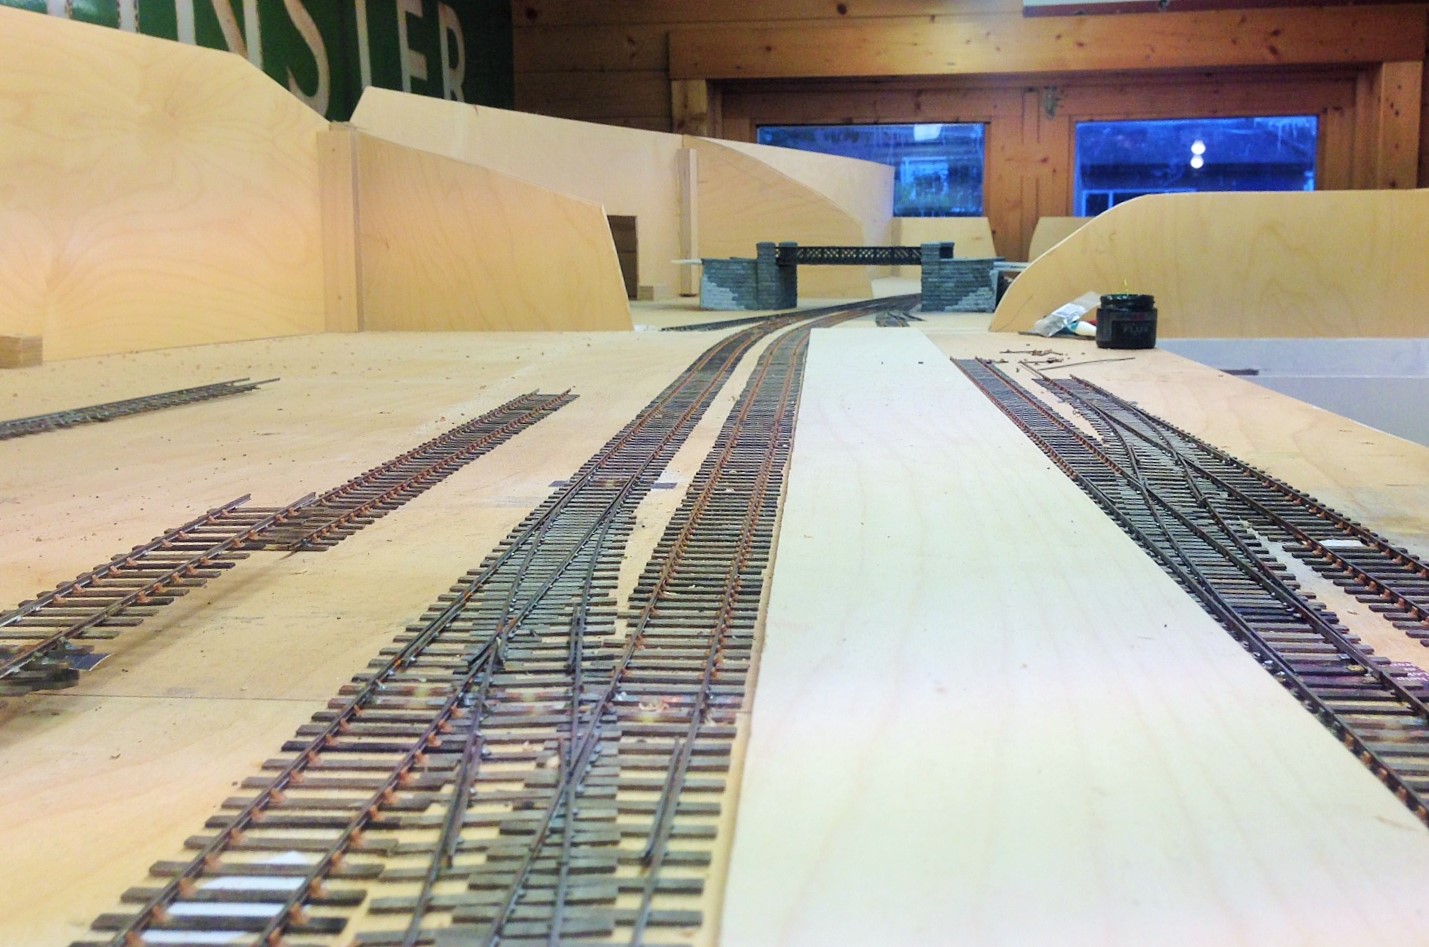
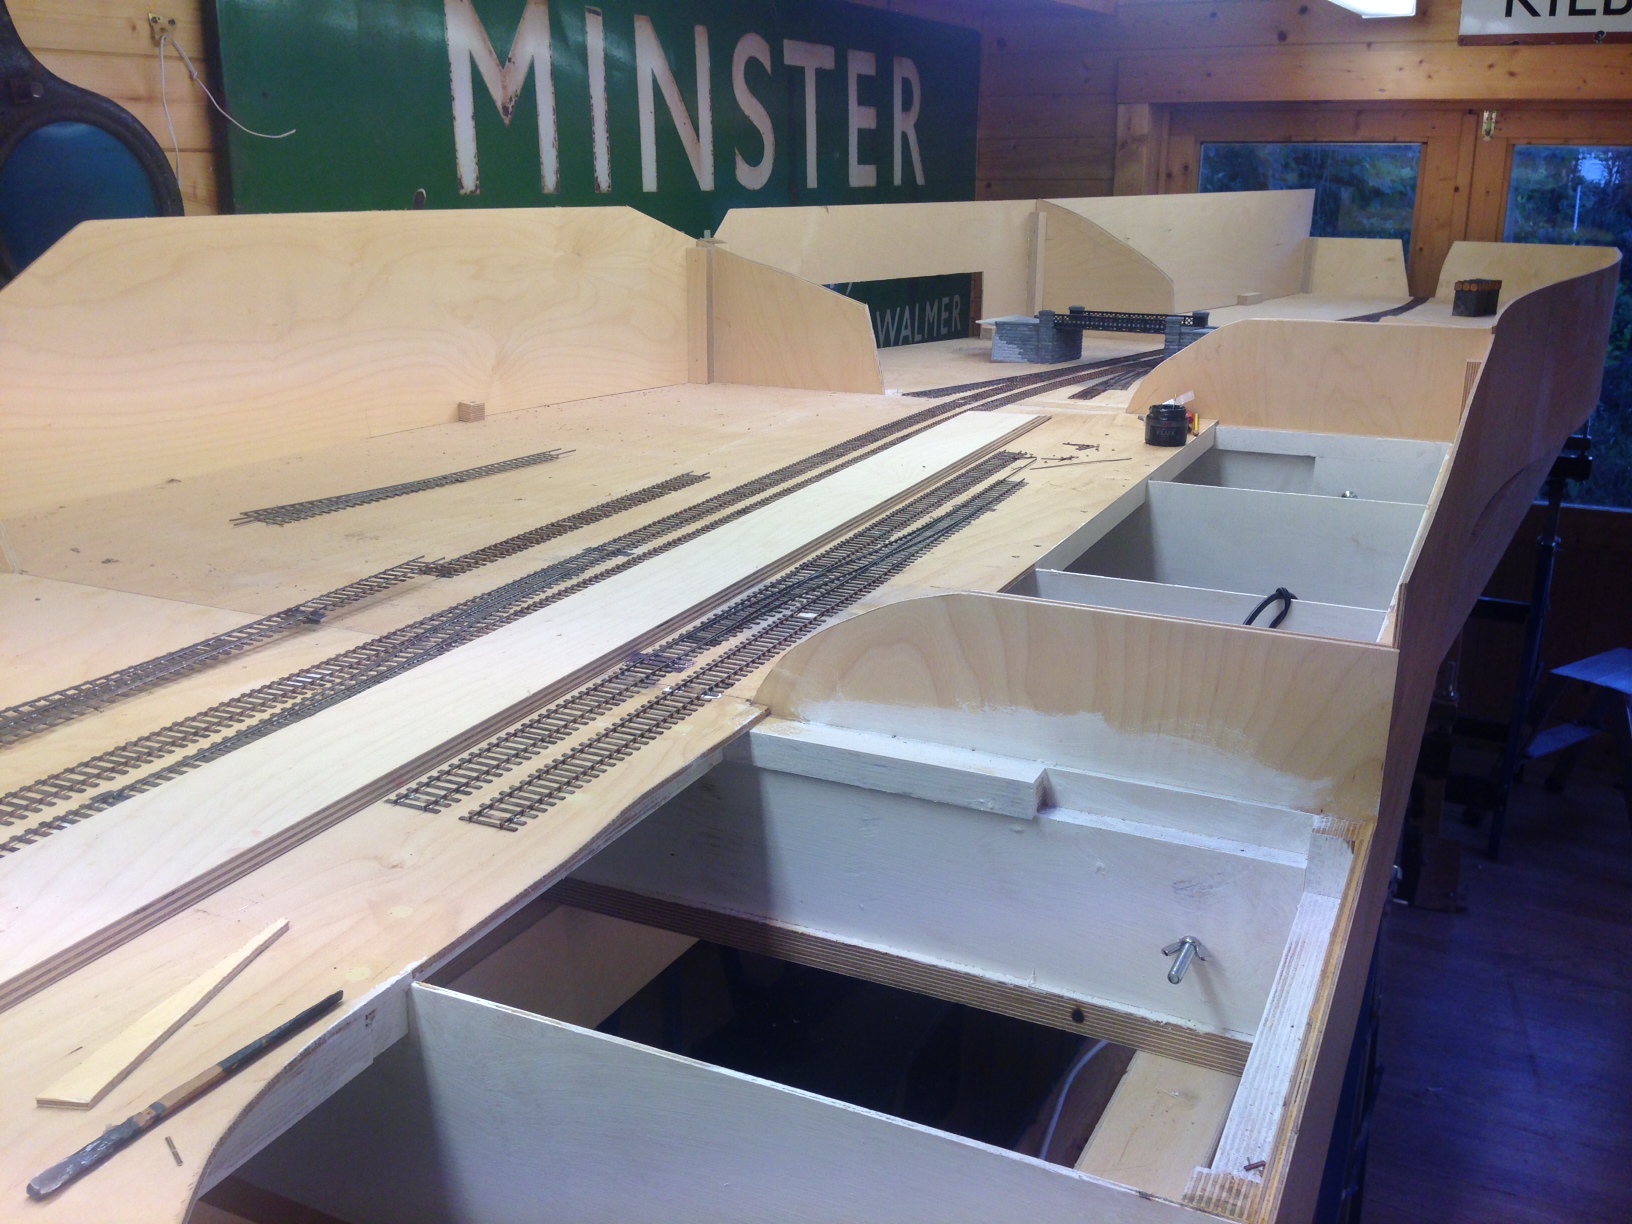
In reality, it was a better storage home for Portchullin that formerly had to be carted up two flights of stairs to the loft to live and also somewhere to get some of my “railway stuff” out of the house.  At least the domestic authorities knew that it would provoke me into scheming my next layout……..

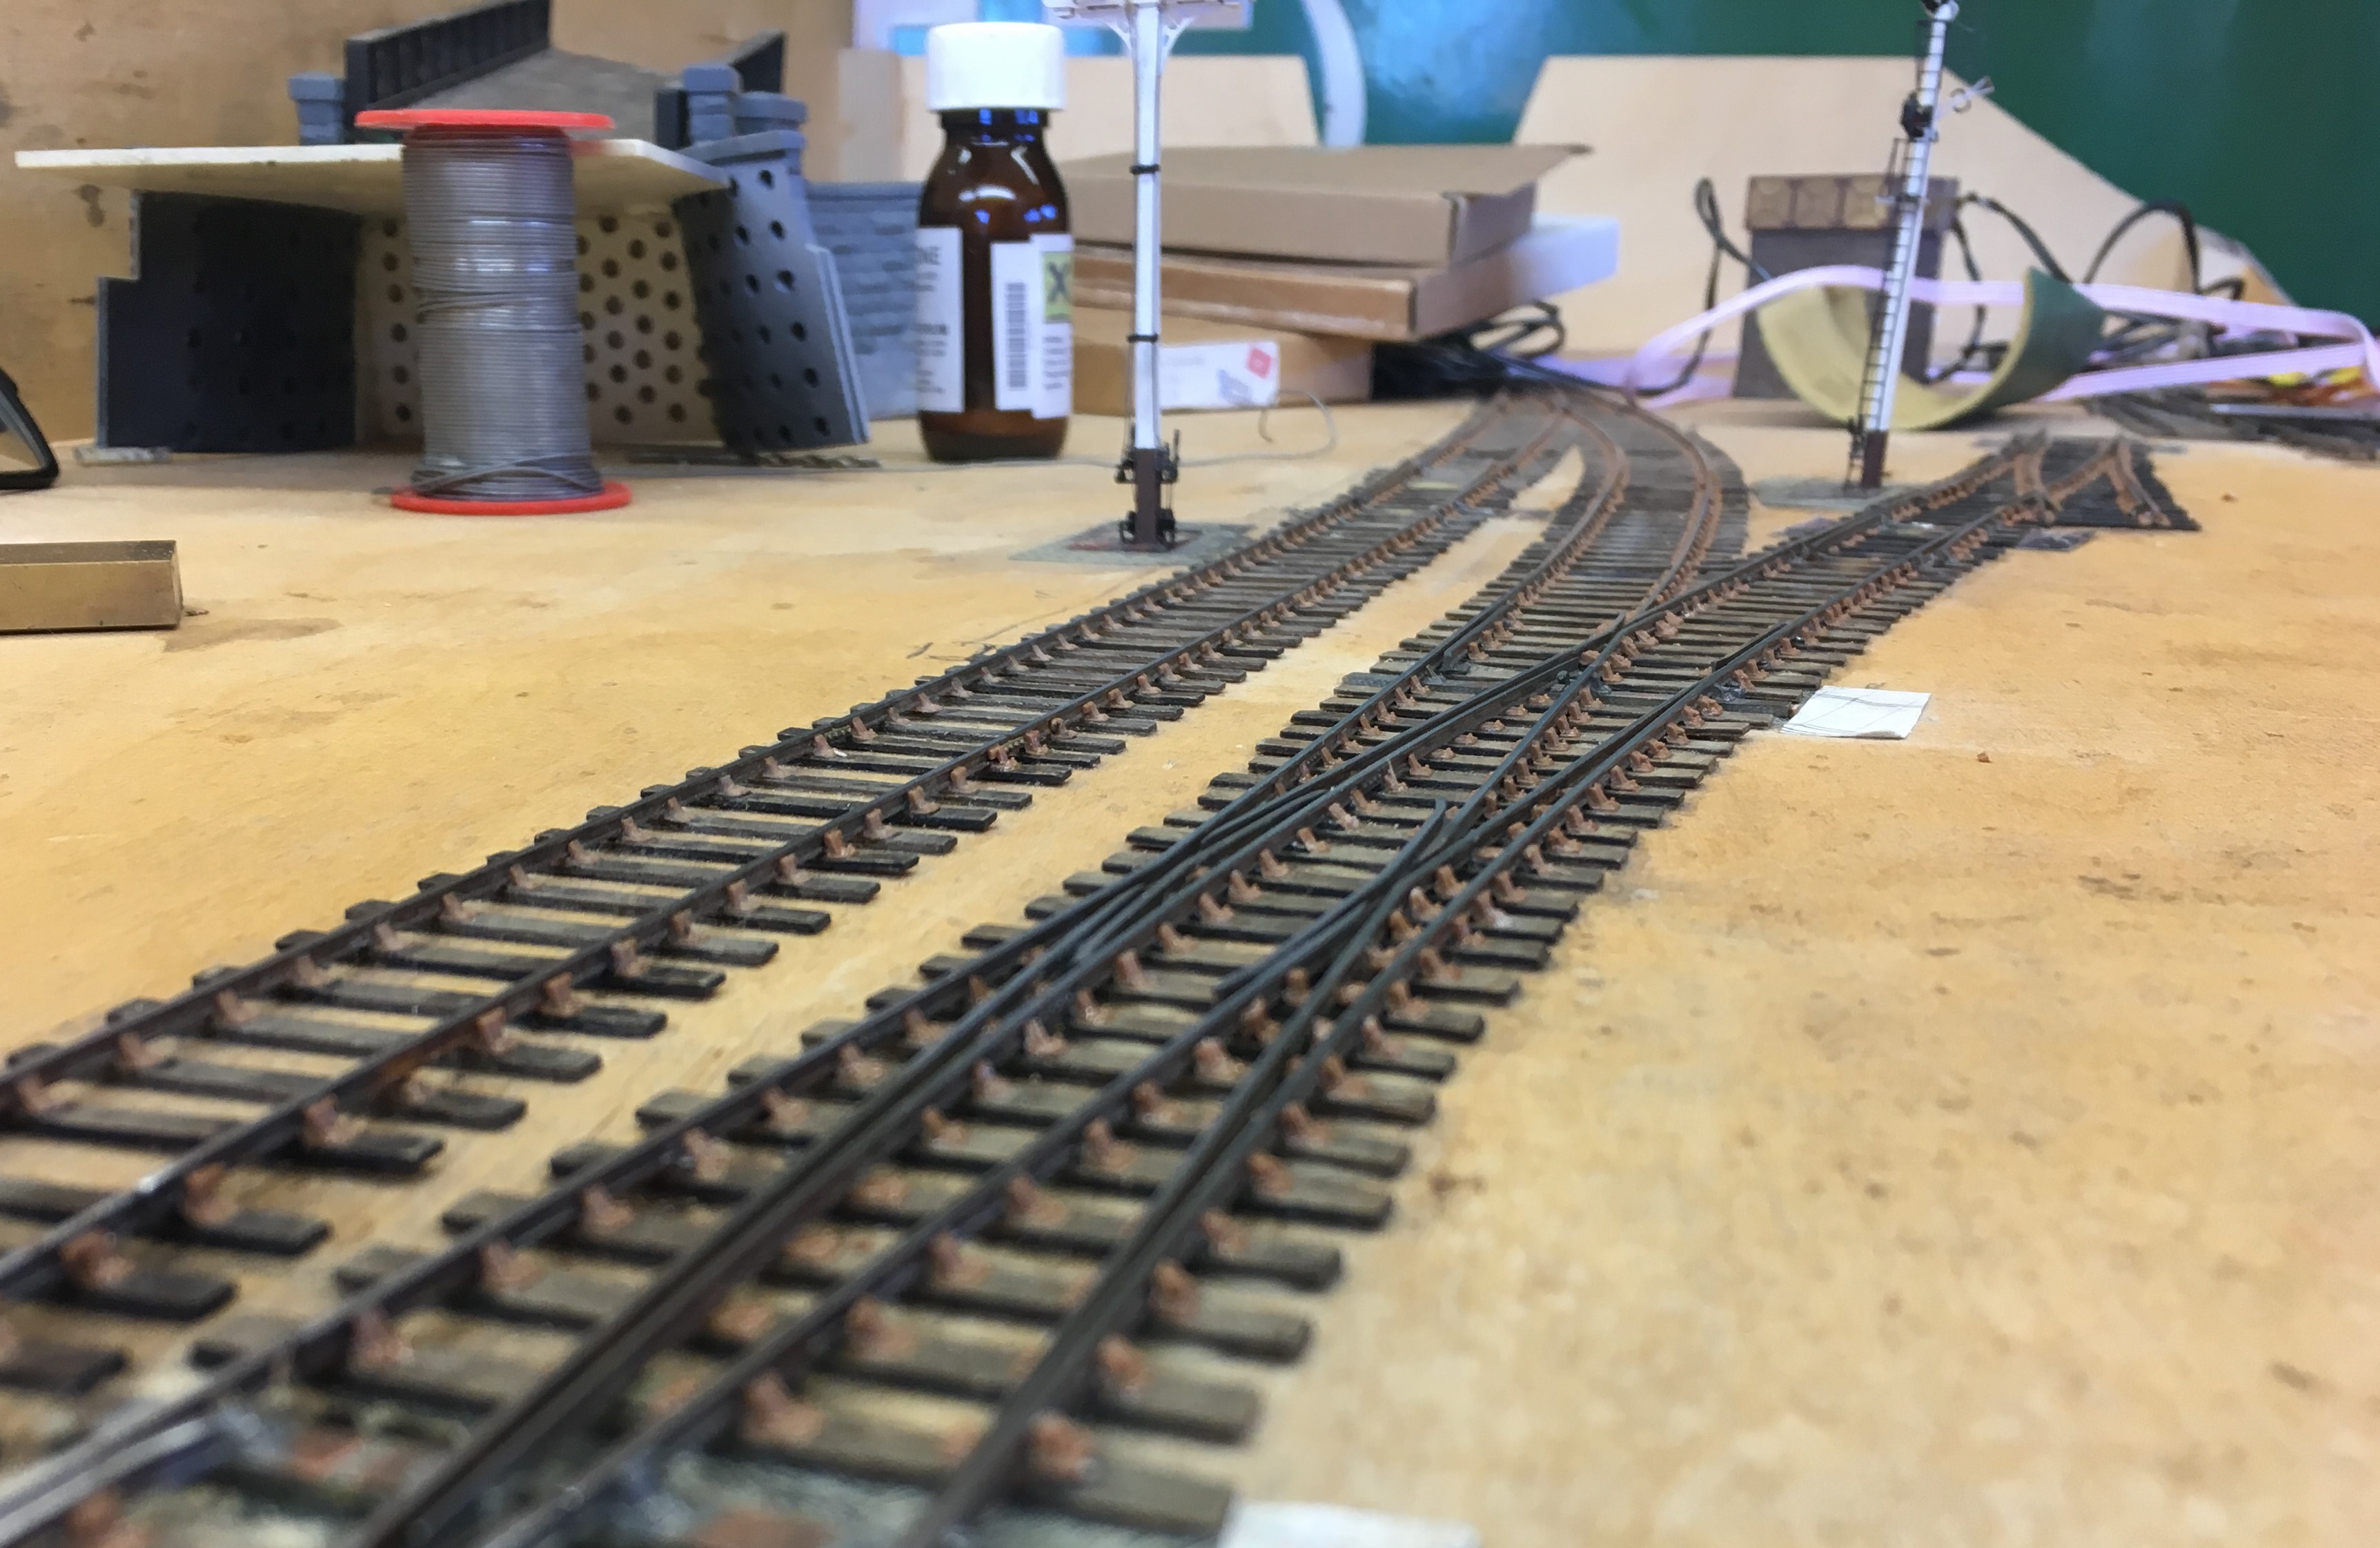
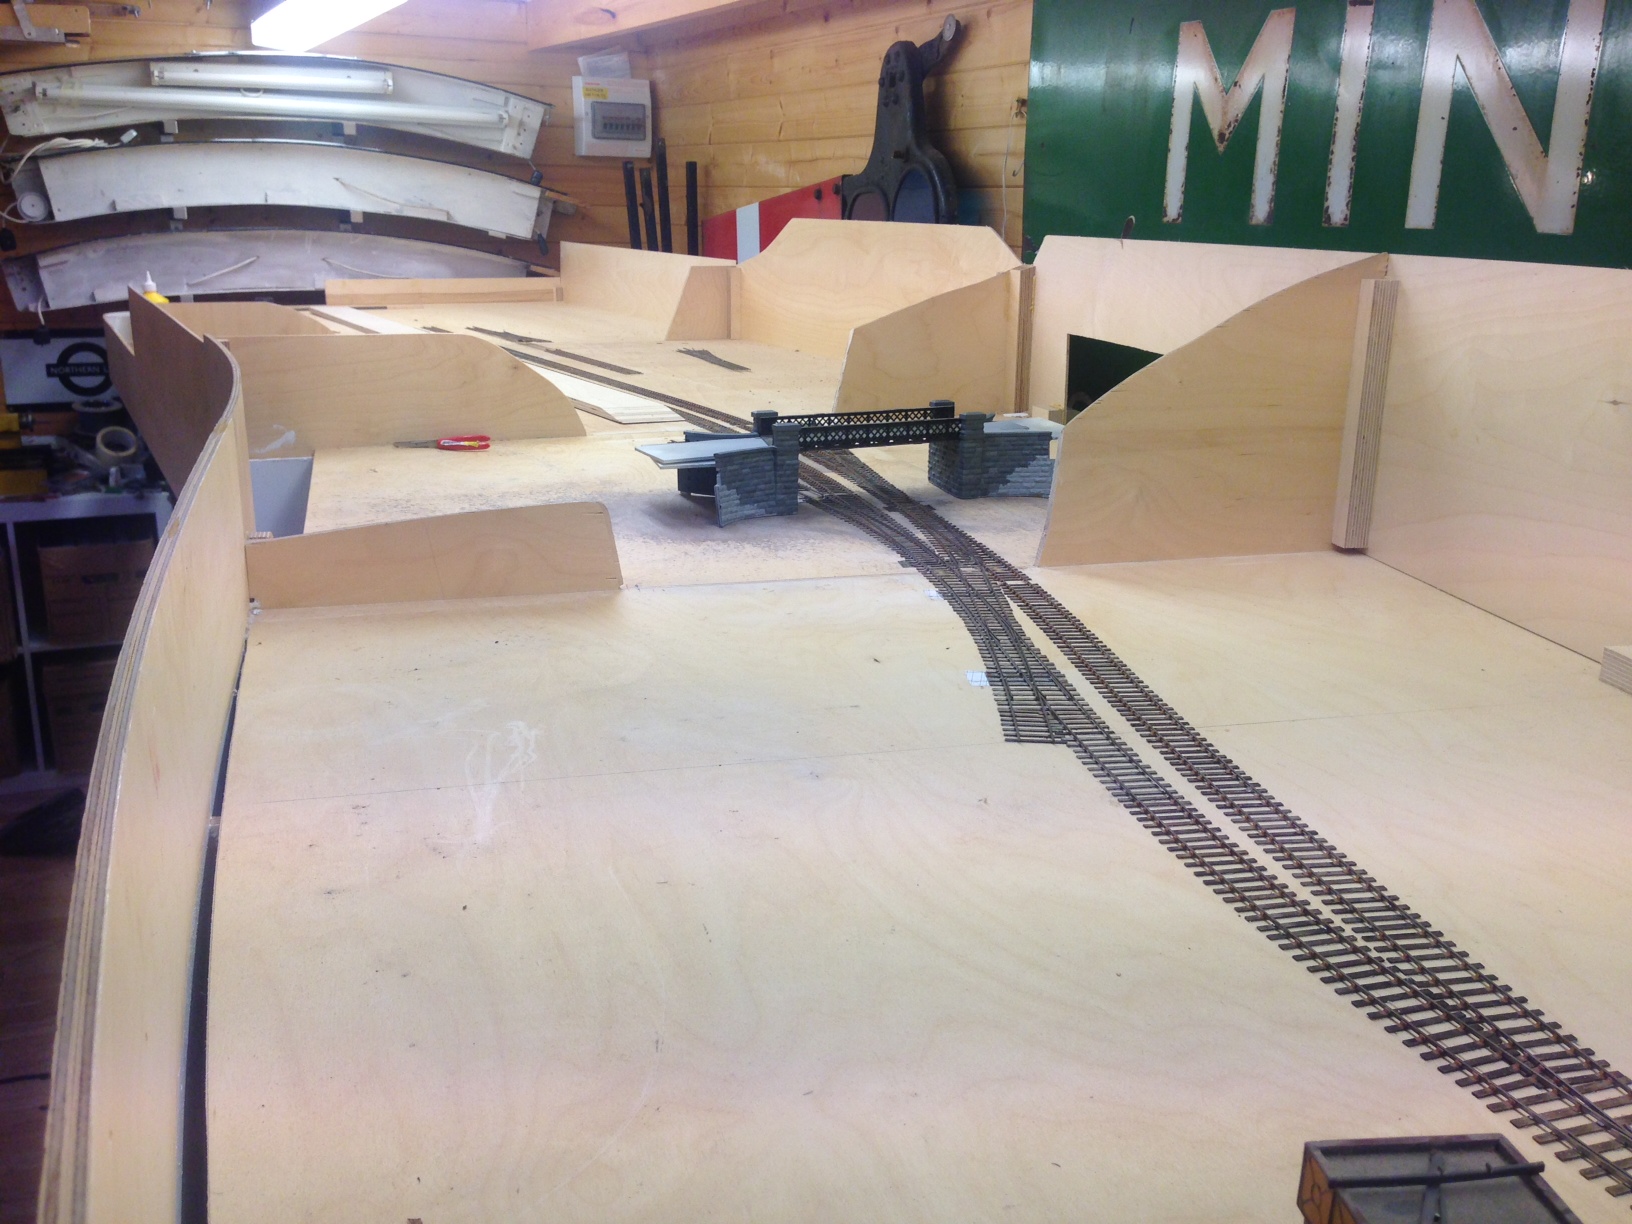
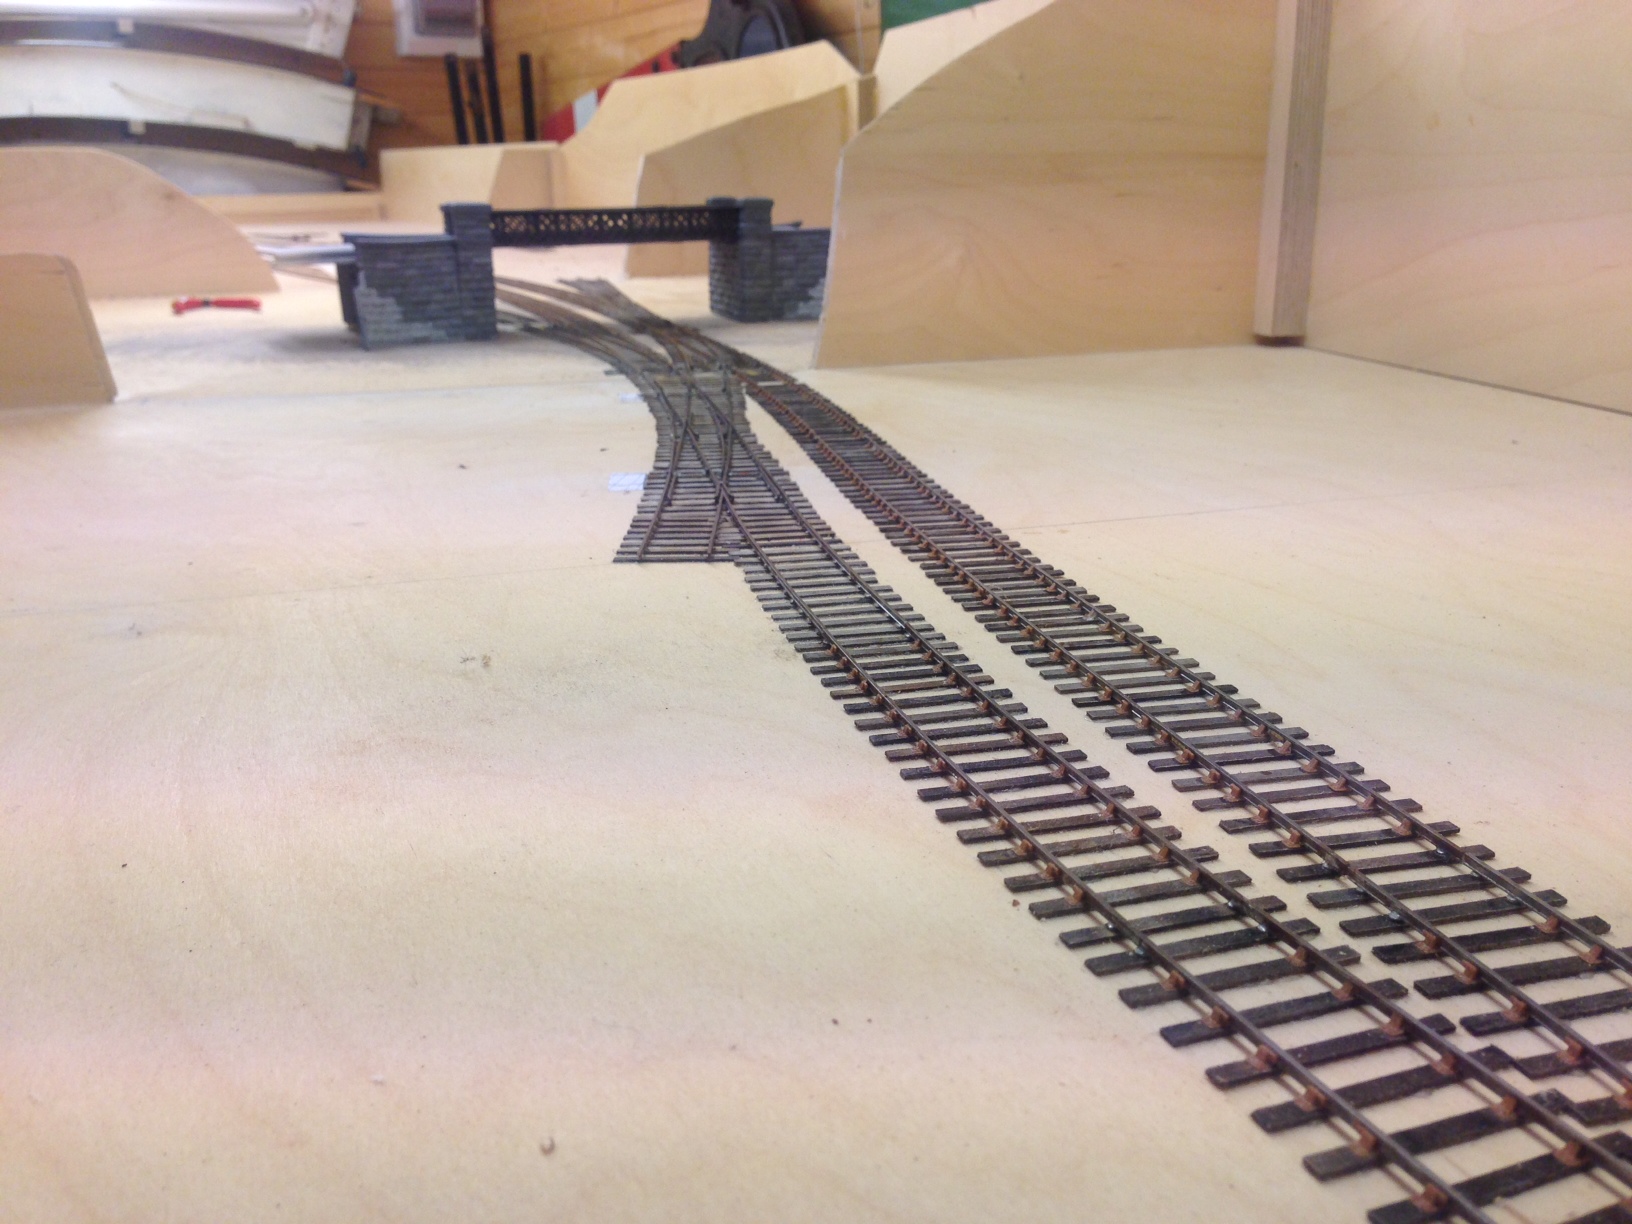
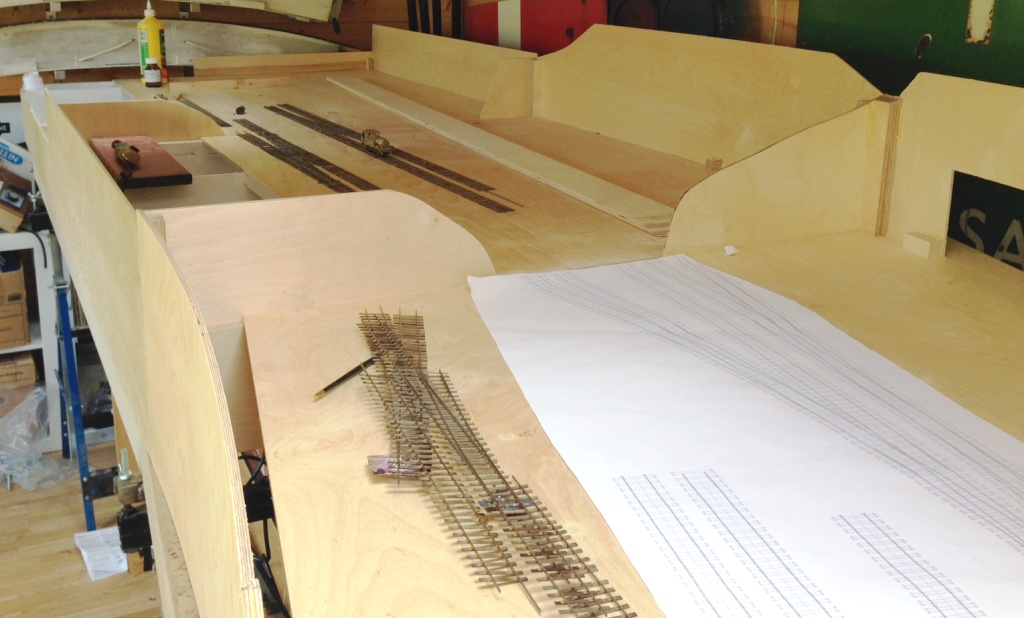
I used to spend literally hours scheming up layout plans; is it not as much fun as actually making them?  But I have never had this much room – a heady 16 feet for the scenic section and, as I have arranged the summer house to have a set of doors at one end, the fiddle yard can be erected for operating sessions through the door so can be in addition to this dimension.  After much playing, this is what I have come up:

_DSC0262compress

There is a lot of working up still to do on this, but it shows the basic concept that I’ll be working too.  I’ll explain more as to its concept another day, but it draws its inspiration from a couple of the Highland’s termini so hopefully you can see a little of some fairly well known stations in the plans.

North Devon Clay

Launceston & District MRC

The Website of Dr. David Turner

Railways, transport and brewing historian

Eastsidepilot

Building models to 7mm/ft (1:43.5 scale)

Big Stacks Little Locomotives

A Lifetime of Model Railroading the 1870s and 1880s.

Roger Farnworth

A great WordPress.com site

Enterprising Limpsfield @ The Bull

a community hub in the heart of Limpsfield

Staffordshire Finescale

railway modelling group

MrDan's Model Musings.

Model railroad, prototype, historical and other random musings.

Edinburgh Princes Street

An interpretation of the passenger facilities of the former Edinburgh Princes St railway station

Dominion & New England Railway

Building an achievable transistion era O scale layout

A Model Meander

[mee-an-der] noun: a circuitous movement or journey.

Yeovil Model Railway Group (YMRG)

Making The Biggest Layouts That Will Fit In Our Huge Clubroom - since 1974

Central Vermont Railway

MODELLING MUSINGS ON PORTCHULLIN, GLENMUTCHKIN AND ANYTHING ELSE THAT TAKES MY FANCY

Chris Nevard Model Railways & Photography Blog

MODELLING MUSINGS ON PORTCHULLIN, GLENMUTCHKIN AND ANYTHING ELSE THAT TAKES MY FANCY

A Model Railway - Life in Miniature

MODELLING MUSINGS ON PORTCHULLIN, GLENMUTCHKIN AND ANYTHING ELSE THAT TAKES MY FANCY

Michael's Model Railways

MODELLING MUSINGS ON PORTCHULLIN, GLENMUTCHKIN AND ANYTHING ELSE THAT TAKES MY FANCY

Two Bolt Chair

4mm finescale modelling, slowly

Model Railway Musings by D827 Kelly

Model railway planning, design, building and other things related

Pembroke:87

Modelling the Canada Atlantic Railway in Pembroke in Proto:87

southpelawjunction.co.uk/wp/

- A HISTORY OF THE TYNE DOCK TO CONSETT RAILWAY -

Liverpool Range

Modelling a small section of the New South Wales Railways between Kankool and Pangela

highland miscellany

MODELLING MUSINGS ON PORTCHULLIN, GLENMUTCHKIN AND ANYTHING ELSE THAT TAKES MY FANCY

Great Western Railway Review

Recording and reporting articles and items of interest relating to the Great Wwestern Railway of Brunel, Goocg, Churchward and Collett et al and to modelling it in 4mm and 7mm scales.

Matt's Railroad Blog

Minnesota themed model railroading