Gresley Buffet – Part 3; Corridor Connections
I guess that it is pretty difficult for the RTR manufacturer to take a stab decent corridor connections because they have to design for toy train set curves and clumsey hands but it is a weakness of all proprietary coaches. Hornby’s buffet also seems to have overly skinny corridor connections and most noticeable they are mounted too low – they should finish at the meeting of the roof with the ends.
Whilst it is possible to simply slice off the connections off and move them up, I chose to remove the and them with some produced by Comet – as this is an LNER vehicle, you need the Pullman type. The core of the operation of the corridor connections are the bellows which are formed with a pair of sheets of fairly stiff paper. These have slots cut to half their width and are then folded into a concertina shape, with the slot between the folds. Two such pieces are then offered up to each other, with the slots opposing and these then slide over each other as shown in the first picture.
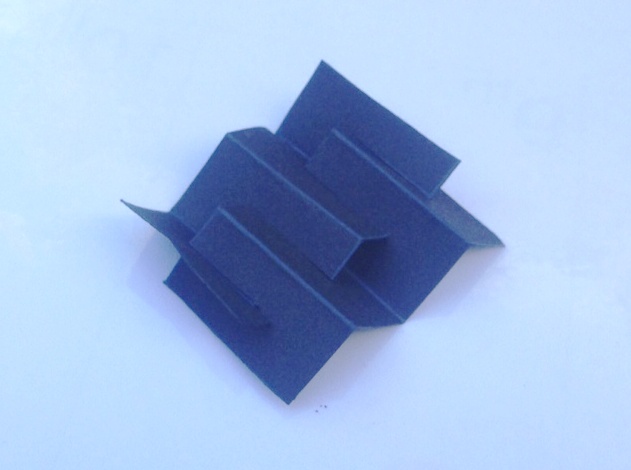
To create a concertina bellows like this.
Thereafter, the etched end plate is attached to one face. Whilst not provided in the kit, I formed a second plate from plasticard and affixed this to the other end. it is important to ensure that no glue gets on the concertina sections of the paper, as they need to be capable of compressing with minimal effort to correctly operate without derailing the carriage.
This is how Comet envisage that the completed connection should look like but I felt that the bellows did not look very realistic, especially from above where the crossing point is all too obvious. In practise, the top of these connections had a fabric roof and applying this dramatically improves the appearance of the connection and has the added advantage of providing some control to the operation of the connections which do tend to expand out and look rather flabby!
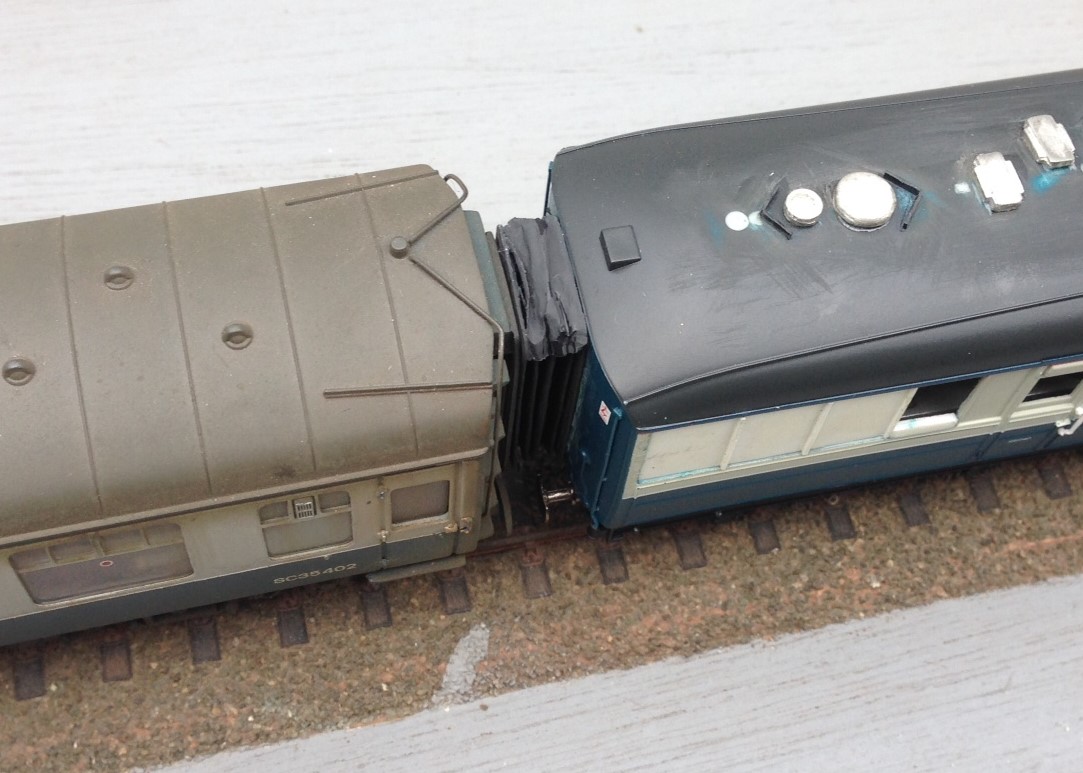
I dealt with this by putting the rain hood on the top of the connection, which is afterall prototypical (and makes a huge difference to the appearance as you can see). I did this in a manner that meant it acted as a restraint to the movement of the connection. I acheived this by only gluing it at the very back and front of the connection, so that the bellows could move unimpeeded but once they had moved to the required extent, the rain hood pulled tight and stopped them going any further. I found that doing this at the top was not sufficient as their movement continued at the bottom and they took on rather drunken appearance – however, this was solved by simply repeating this at the bottom.
Key to getting this to work was to use material for these restraints that was ultra flexible. I did think about trying silk but settled instead on the rather more mundale – plastic from a bin liner. This is remarkably thin but is still tough enough to hold the connections. A tiny dab of super glue at the front and back and then it can be laid onto. It is important not to sigh with releif for some time though – the stuff is so light that it blows away at the slightest. So this is what it looks like:
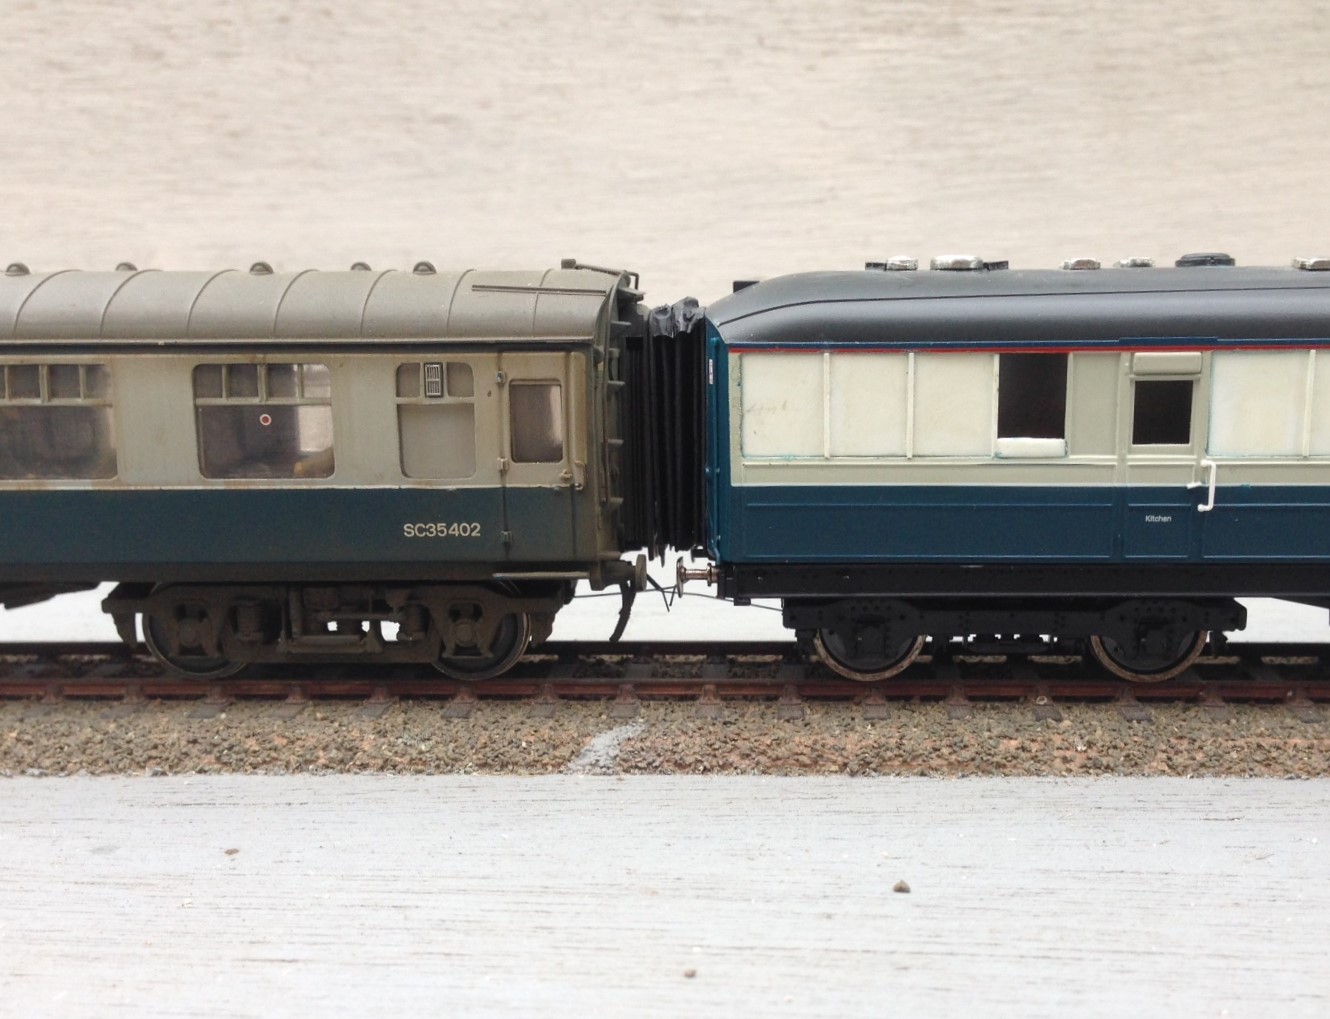
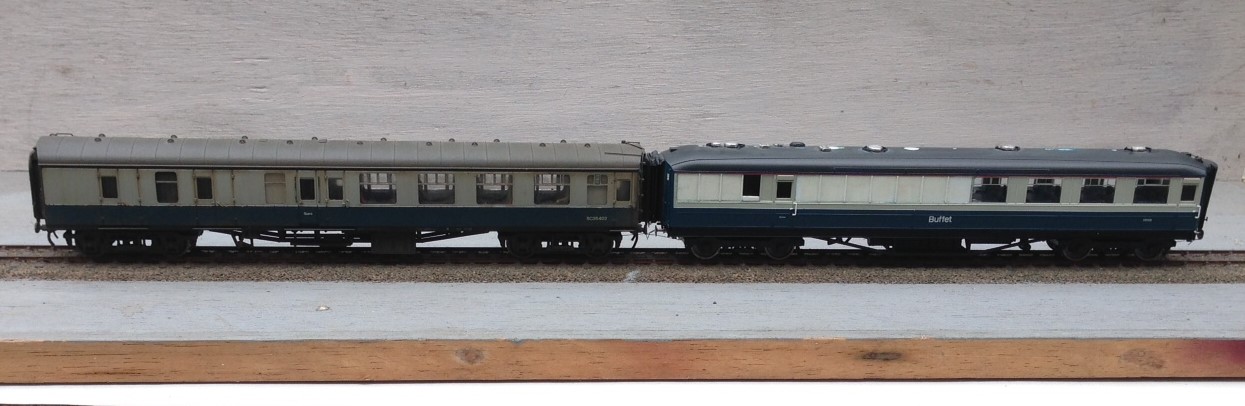
I think that I have still allowed the connections to be too big and if there were two together this would definitely be true but next to a rather skinny Bachmann corridor connection, I think they look pretty good (and a big improvement on the originals).
Posted on October 31, 2015, in Portchullin, Workbench (stock) and tagged 1970s, buffet, coach;, gresley, hornby, Model Railway, Portchullin. Bookmark the permalink. 2 Comments.

This article has inspired me to have a go at making my own improvements to corridor connections on carriages, thank you.
Pleased to have helped!
The trick, I found, was to make sure that the bellows operate smoothly by not applying to much glue and not putting it where the bellows cross.