Blog Archives
")
Christmas Layout Wiring (Not!)
I promised a number of people that I would be making sure that the layour had at least the main elements wired up over christmas, so that it could at last run. But then it was a bit wet and cold so I did not fancy it out in the summerhouse so I applied rule no 1 – its my trainset!
Instead, I stayed at the bench and made a pair of the signals that still remain to be made for Glenmutchkin. The signalling plan has developed very slightly since I originally showed it back here and is shown below (actually this is the artwork for the control panel facia).

The signals that I built were those that control the main loop prior to the shed link – levelrs 27 & 28 – and then the outer starter (that covers both the main loop and the main line) – levers 23, 24, 25 & 26. Only a pair of two doll signals, I thought, they shouldn’t take more than a day or two? Phew, well that wasn’t right; the more you look at the prototypes, the more you find there is to model!
Having created much of my own etchings and castings for MacKenzie & Holland signals I have obviously made good use of these. In this case, the small brackets, arms, ladders and castings.


Both of the signals have used the small brackets to create smallish landings. The smaller of the two signals has only one arm per doll, the larger two. The dolls and the posts are made up of square brass section which is filed to a taper – a certain amount of elbow grease is needed to acheive this! The posts are then sandwiched between some transom beams that also clasp the doll post – this is all soldered with a high melt solder to stop it ungumming later.


The brackets are then offered up from below, with scrap etch forming the bearing plates to pick up the transomes. In the etch I also included smaller brackets to pick up the free end of the landing, along with the landing itself. This gets you to the stage shown above.
But this is not the half of it on a signal, there are the finials, lamp brackets, lamps, cross stays, access steps, access ladders, pivot plates, handrails, operating cams, safety hoops and ladder still to do………..
 .
.
In a departure from my previous practise, I made the main ladders detachable (they will be held with the wire that can be seen in the pictures being turned over in secret pockets. I am also going to paint this prior to the final assembly; which will mean some touching uo of the painting later but I hope will make it easier.


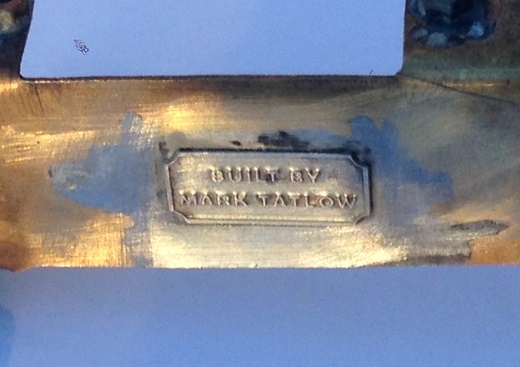
And of course, I had to sign them with these rather nice custom name plaques from NBR 4mm Developments.
This is the first time that I have used the brackets in signal making and I was pretty chuffed with how they have come out. This is where things presently stand and we head for the paint shops tomorrow…….


More on my casting and etching
We haven’t had an update on the etching and mastering that I have been doing for the signals for a while.
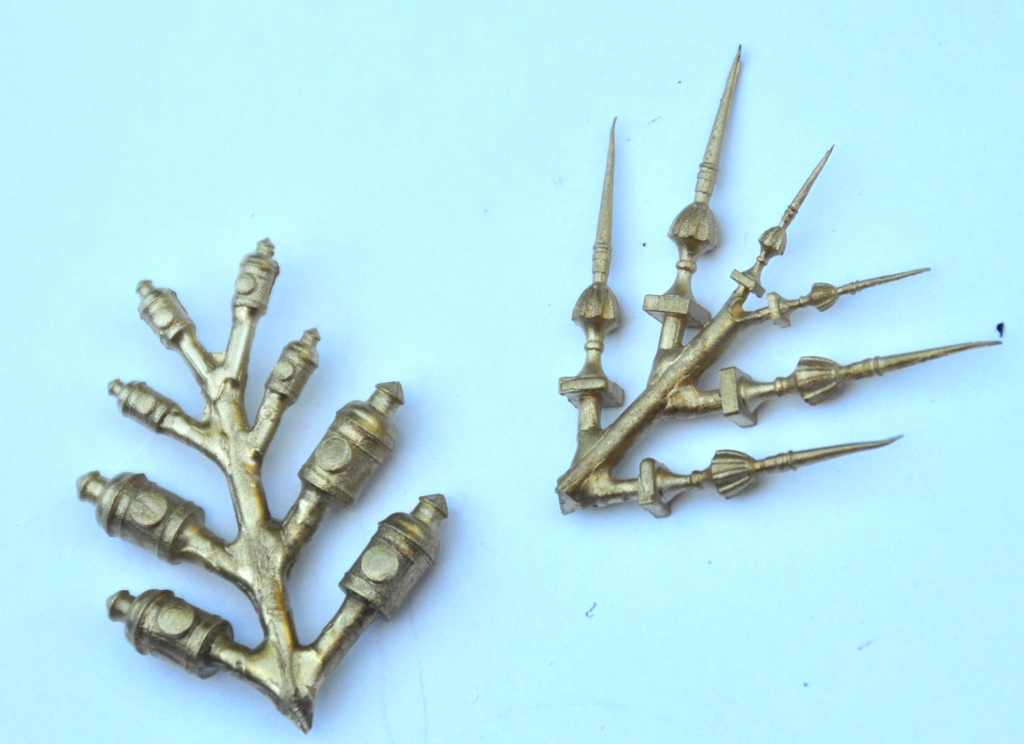
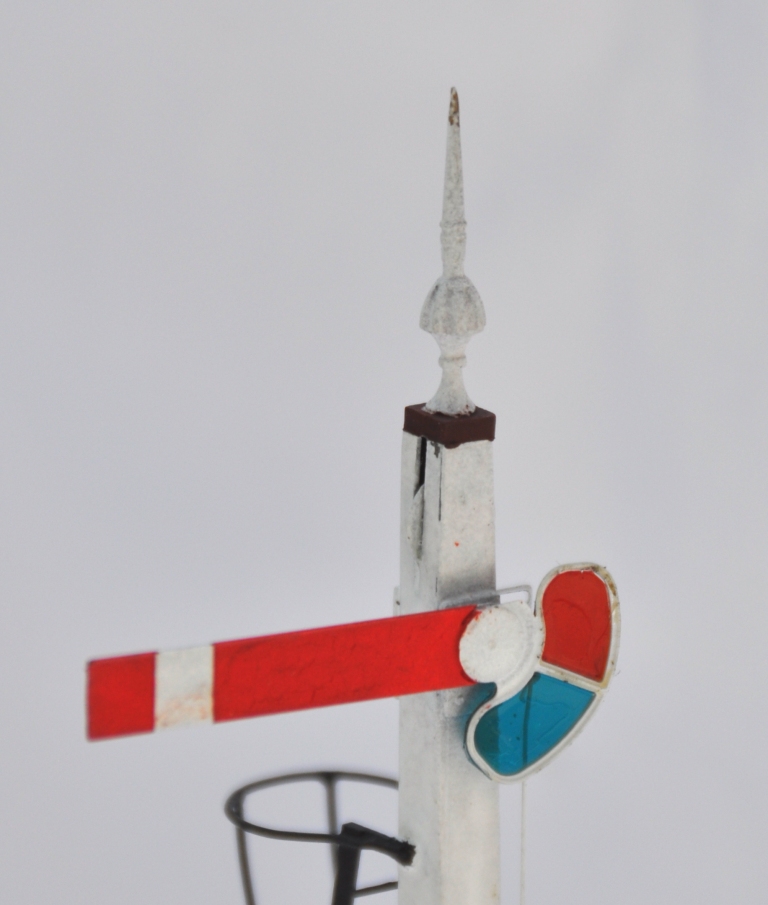
Well, I have had both the rapid-prototype masters and etching in. Using the former, I have also had my first set of lost wax casting done – in this case for the lamps and finials. This is what they look like – which I think is pretty good and a lot better than the white metal ones from MSE.
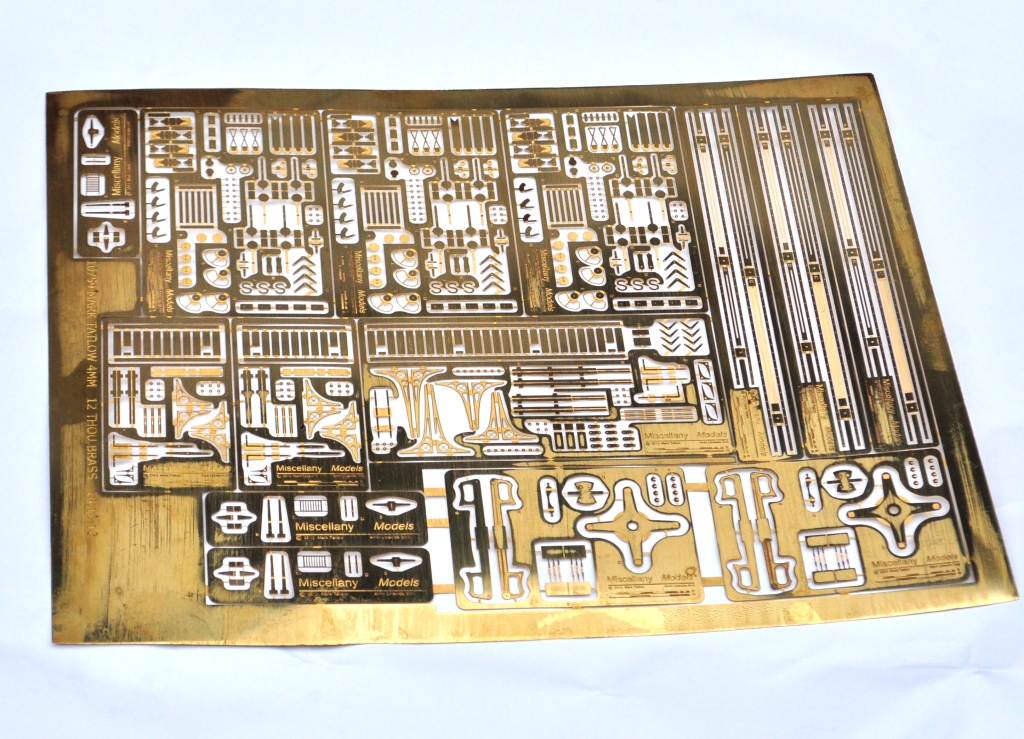
and the etching looks like this – brackets, arms, ladders and a few other bits and pieces.
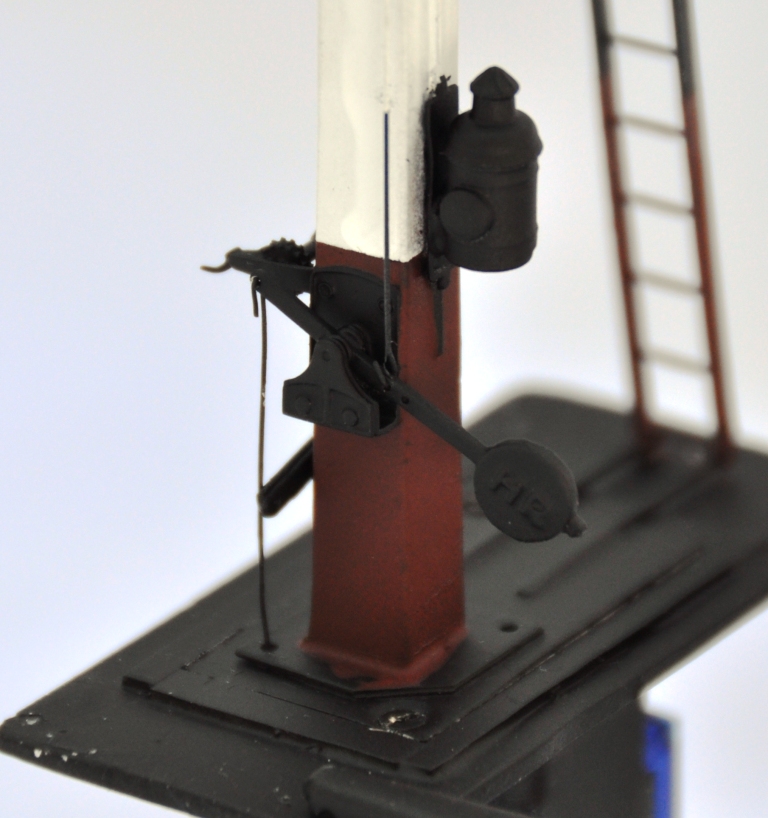
So it was time to make a signal – in this case a fairly simple single arm Highland signal. So using a post from Lochgorm and then my parts for the arms, spectacle plates, windlass, balance levers, ladders, finials and lamp, this is what it has come out like:


and the castings close up looked like this.
So all in all, I am pretty chuffed!
It does mean that I think there is some more signal building to come on these pages……….
