Scrap Tank Test Build – Part 7; Boiler Assembly and Finishing the Cab
Next up is the finishing of the detailing of the cab. Common with many tank engines there were grilles over the rear windows. For these, I toyed with the idea of doing these as a single etch, a bit like the Mainly Trains one (and possibly others) but elected instead that the slight roundness of the bars needed to be captured, so this meant that brass rods were going to be required. If I had either etched small holes or soldered these on top of the cab etch, I felt that getting consistency of spacing was unlikely and that this would detract from the finished effect. Thus, it was time for a little jig.
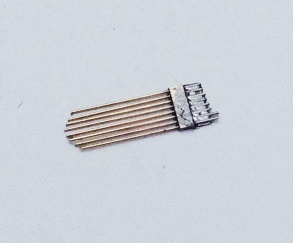
This jig is simply a sheet of brass with holes for the wire at the appropriate spacings along with half etched lines arranged such that when the jig is folded over, the wire is trapped between them. This is what it looks like with the wire in and the jig folded over (along with a dab of solder to hold it all still):
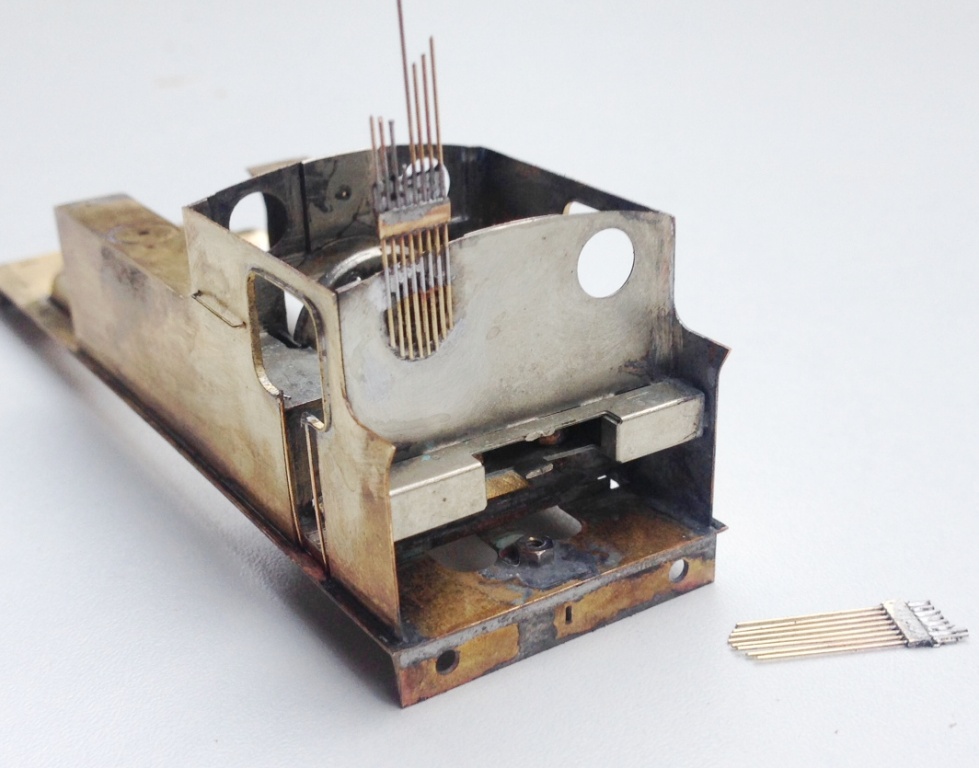
You will note that in the picture above, I have trimmed the wire rods to a gentle curve to reflect the curve of the spectacle plate and in the picture below, this has been soldered on the ring around the window. The jig is then snipped off and the rods can be cut away. I found that by using a scalpel, it was possible to cut a nick in the rods and then the wire could be carefully lifts so that it snapped at the point of the nick. It was necessary to ensure that the rods were soldered well to the sides as if this joint failed it was then pretty difficult to get them soldered back down neatly; I will include a space jig in the production etch of the kit to give the user a second chance!
There is also a beading around the cab side openings, a common feature on pre-grouping locomotives. This was relatively simple to fit, although I did make it a tad too fat deliberately to assist in the process – it can then be filled back to a thinner dimension and in the process any slight irregularities taken away in the filing. In this example the stanchions are probably a bit far away from the cab sheets, so there will be a slight adjustment on the final version.
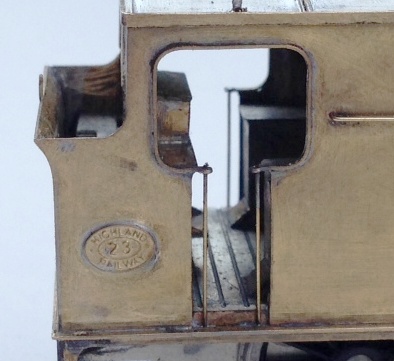
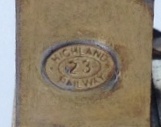
Also worthy of note is the cabside number plate, which I am dead chuffed with. This is a cruel enlargement as the whole plate is only 6mm across and to clearly be able to read the text which is only 0.7mm high is pretty good I reckon!
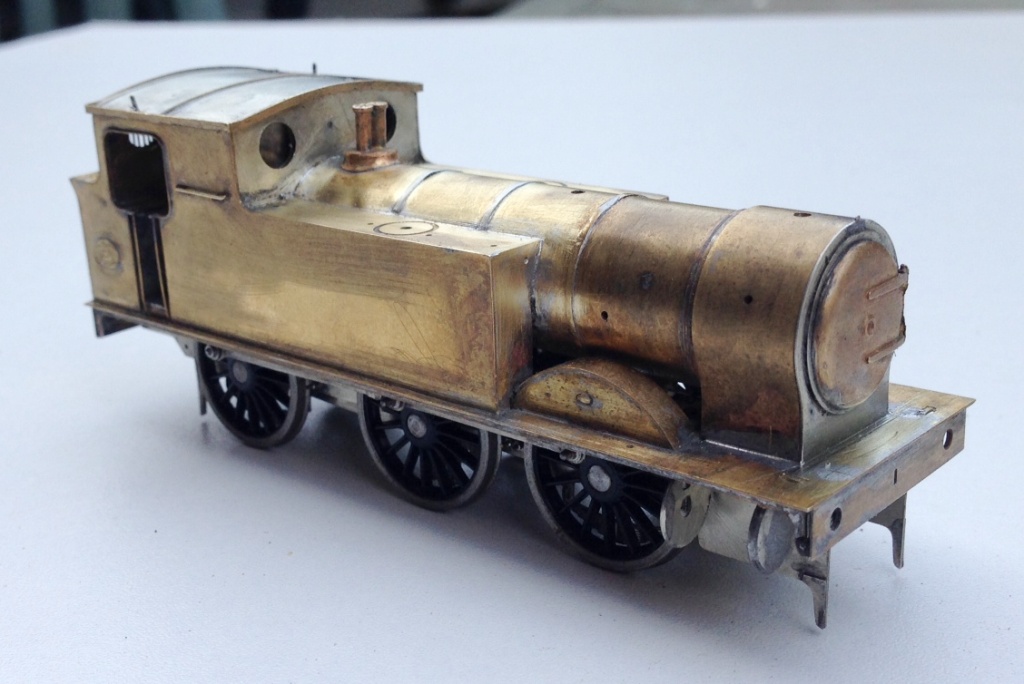
After finishing the cab detailing, it was time to add the boiler onto the tanks/running plate and she is beginning to look like the real thing, although perhaps looking a little naked due to the missing dome and chimney at present!
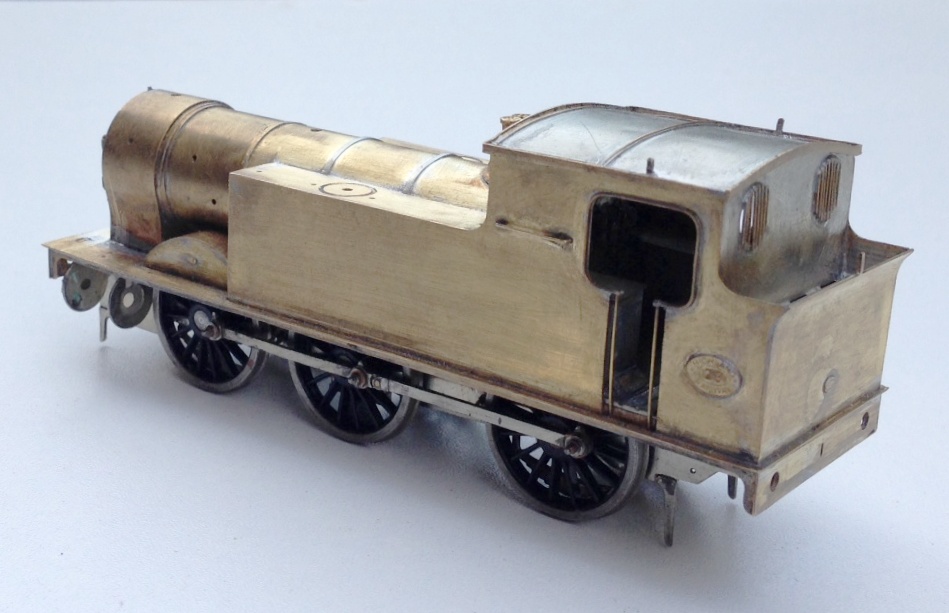
I have fitted a safety valve bonnet and safety valves from those intended for the Strath/Loch and available from Lochgorm Models. I also formed the front splashers, which I had tried to make easier by the use of some tabs and formers. These did assist in the assembly but I then found that they fouled with the wheels, as I had made the splashers true to scale and the tolerances did not allow for the tabs. I will have another think here and might come up with a jig, as splashers are sometimes a bit painful to fit.
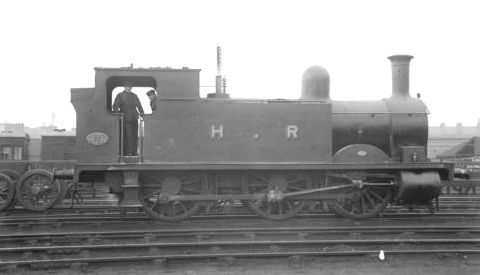
And this is what she presently looks like; definitely beginning to look like the real thing (a reminder of which is below). For those of you that are coming to Scalefour North I will bring her along for you to have a look at. As we are now about up to date with her construction (you didn’t think I can build that quickly did you?!?!) and because I am away the whole of this weekend at Scalefour North, there will be a hiatus a bit before the next posting.
Posted on April 17, 2015, in Miscellany Models, Workbench (stock) and tagged etching, highland, Highland Railway, Lochgorm Models, Peter Drummond, Scrap Tank. Bookmark the permalink. 1 Comment.

Great work,it’s coming along nicely. Peter