Blog Archives

Catching up on a Tennant
Way back in the mist of time (well 2016), I made a start on one of Arthur Kimber’s kits for a NER 2-4-0; termed a Tennant. After residing at the back of the cupboard for a bit too long (as is the way with my modelling, I do admire those that start something, see it neatly through to a finish before starting another……..!), I have made some more progress with it.
First up with the tender body which is close to finished except for some detailing around its front.

There was a bit of irritation in the building of this; despite being quite a modern kit the rear panel was much to narrow, the buffer beam a bit flimsy and there were some missing details around the front of the tender. Nothing someone raised on Jidenco’s kits can’t sort, but I rather hoped it wouldn’t happen with a modern design!

I also found that the boiler was about 0.7mm too long; a degree of filing and fettling has got it fitted. It is fair to say whilst there were these niggles, most of the rest of the kit is well designed and there are a number of neat facets to the kit, the flairs to the tender top for example are pre-rolled and they are very difficult to form without the right presses.

Here she is with the boiler now fitted and the first of the boiler fittings being attached. Something that grates with me on many people’s models is where these do not sit down tightly on the boiler or have overly thick flanges onto the boiler. Given that these are castings, it is understandable that these sometimes happen but they do damage the reality of the model and it pays to address these issues. For this reason, I prefer to solder them in place and am prepared to attack them with a file both before and after they have been fitted.
This does create a problem of soldering the parts in place; they are quite chunky so need a lot of heat to solder them in place and it is difficult to move them about to get them in the right place when they are so hot. I have just started to address this by drilling out the base of the boiler fitting and tapping it to take a 10BA bolt + washer. This allows the the fitting to be moved about until it is in the right place and held tight with the bolt so that it can then be soldered. I am pleased with this little trick; it definitely repays the effort and for the white metal castings, saves the risk of returning them to a blob of metal with too much heat!

One example of a Tennant is preserved, being situated at the Head of Steam Museum at North Road Darlington Station. This has enabled me to take a good number of detailed shots but they are all rather close up they don’t really capture the prototype; so here is one from Neil Dimmer’s collection from the earlish 1920s, at (I think) York. The thin nature of the flanges to the dome and chimney I comment on above can be seen in this.
![[IMG]](https://photos.smugmug.com/LNERSteam/1884-NER-Henry-Tennant/Tennant-E5-NER-1463-2-4-0-Locomotives/i-L5bsMX9/1/794c2272/XL/1463%20Tennant%20E5%20%28NER%20%271463%27%29%202-4-0%20Locomotives-XL.jpg)
This view also illustrates how thin the boiler bands are. Given that this will be painted in NER livery that has lining on the boiler bands I am going to rely on the thickness of the lining transfer to give the impression of the boiler band rather than represent them in metal.
Missenden Adventure – Part 1
Most years I attend the Missenden Railway Modellers Spring Weekend and have just returned from this year’s. The weekends have some 70 or so railway modellers congregating for a residential retreat to both learn some new skills, enjoy the company and get some quality modelling time in. The participants split between different groups depending what they wish to do; trackwork, weathering, painting/lining, DCC sound control, backscenes and, in my case, loco building.
In my case I started a new loco (of course…..), but not a Highland one. This is a North Eastern 2-4-0 “Tennant” produced by Arthur Kimber. I am building this for Tim & Julian for them to use on their layout, Benfieldside. Thus it is going to be in EM, but I am going to put in clearances sufficent to convert it on to P4 if this ever takes my fancy, and it will be in NER green – so it should look rather fine. Indeed, it should look a bit like this (:only hopefully at a higher resolution!):

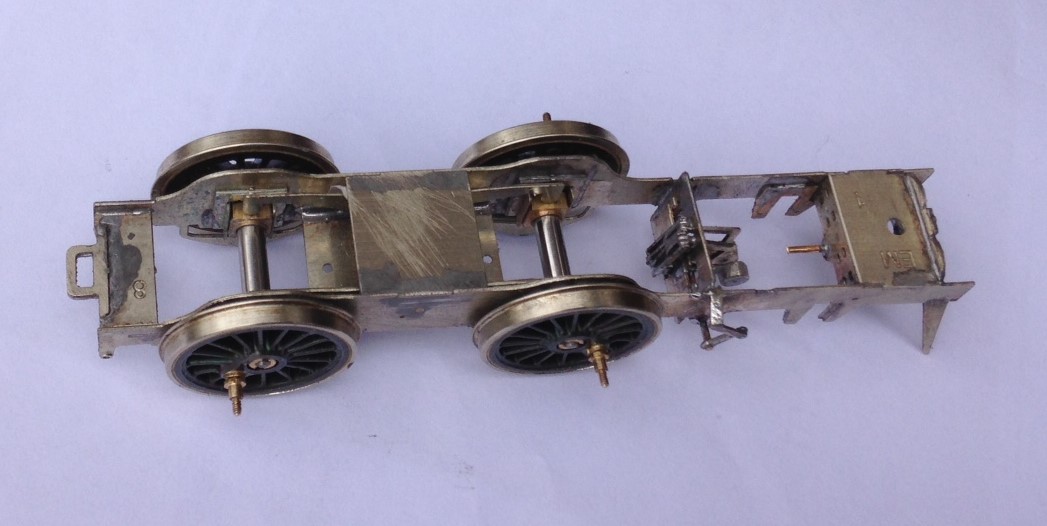
Slightly annoyingly, the kit was conceived to be built to P4, so instead of converting OO/EM kits to P4, I am converting a P4 kit to EM!! However, at least it is all the same skills and cutting bits off to make them narrower, is easier than splicing them in! One small departure has been to use some Markits wheels to act as some test track dummies for the build. The idea is that they are capable of being taken on and off without damage, are not steel (so are not going to corrode) and also that they automatically quarter themselves. This is they in the largely completed chassis (which is a rolling chassis, even if I have not yet fitted a motor). Also of note is the valve gear (dummy, life is not long enogh to making working inside gear – and nor am I a good enough modeller!). At present the slide bars and pistons are not yet fitted.
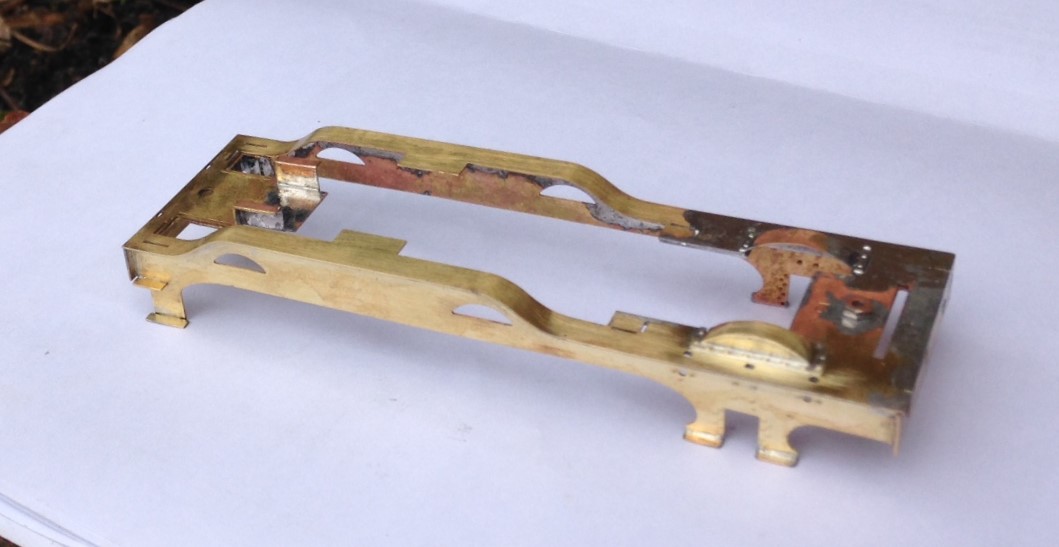
Unlike Highland locos, the running plate and valancing has high swept up sections and really nice flowing curves. This took quite a lot of care to form and I found it necessary to clamp both the front and rear in place initially, after the shape had been bent. Once, however, one end was soldered in place, the second end need to be released so that the thermal expansion did not distort the running plate.
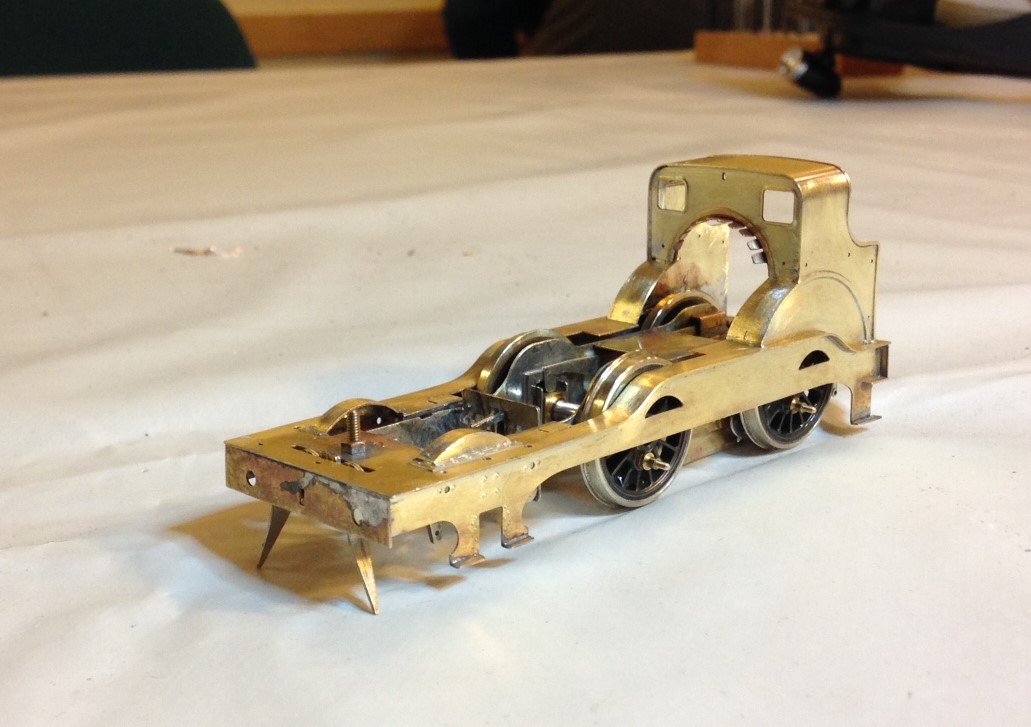
There are more of these sweeping curves to the cab, which also give rise to some tense moments as it is formed. So long as the folds are made at the right locations and around a former the curves formed quite well. When this is added to the running plate, it starts to look like a locomotive.
The boiler comes pre-rolled, with all of the cuts for the wheels and holes already formed. The smokebox is a seperate part that is secured onto the boiler by a bolt and nut. This is quite effective and may well be something that I mimic in the future. The boiler does not come with boiler bands, so I will have some fun putting these on. It also appears to be about 1/2mm too long, so some cutting and filing is going to occur.
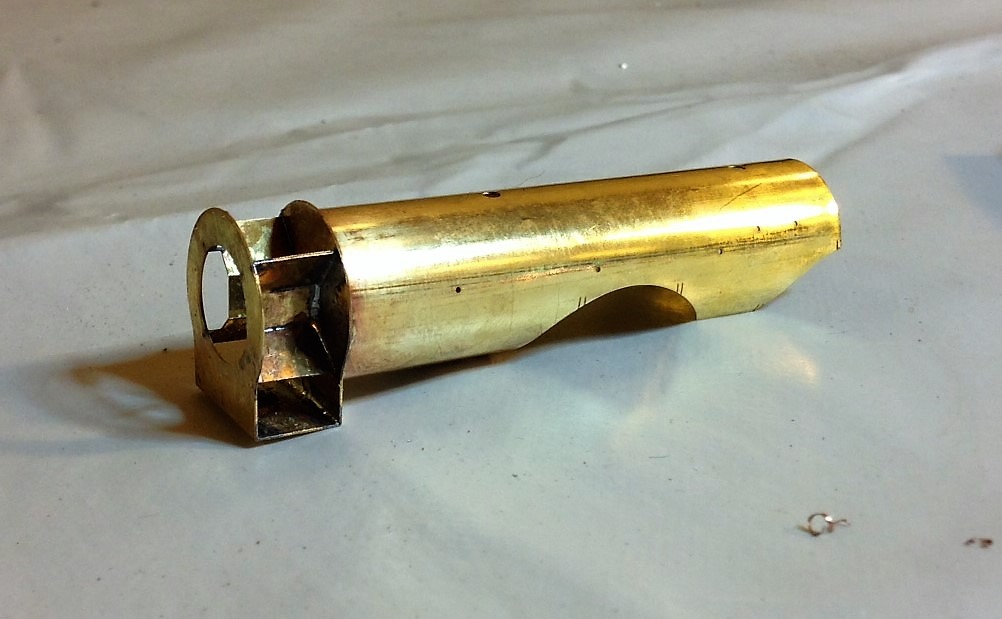
This is what it looks like with the boiler plonked on it (as I said, it is a bit too long so is not sitting down properly – however, it does look good and very different from anything the Highland had!
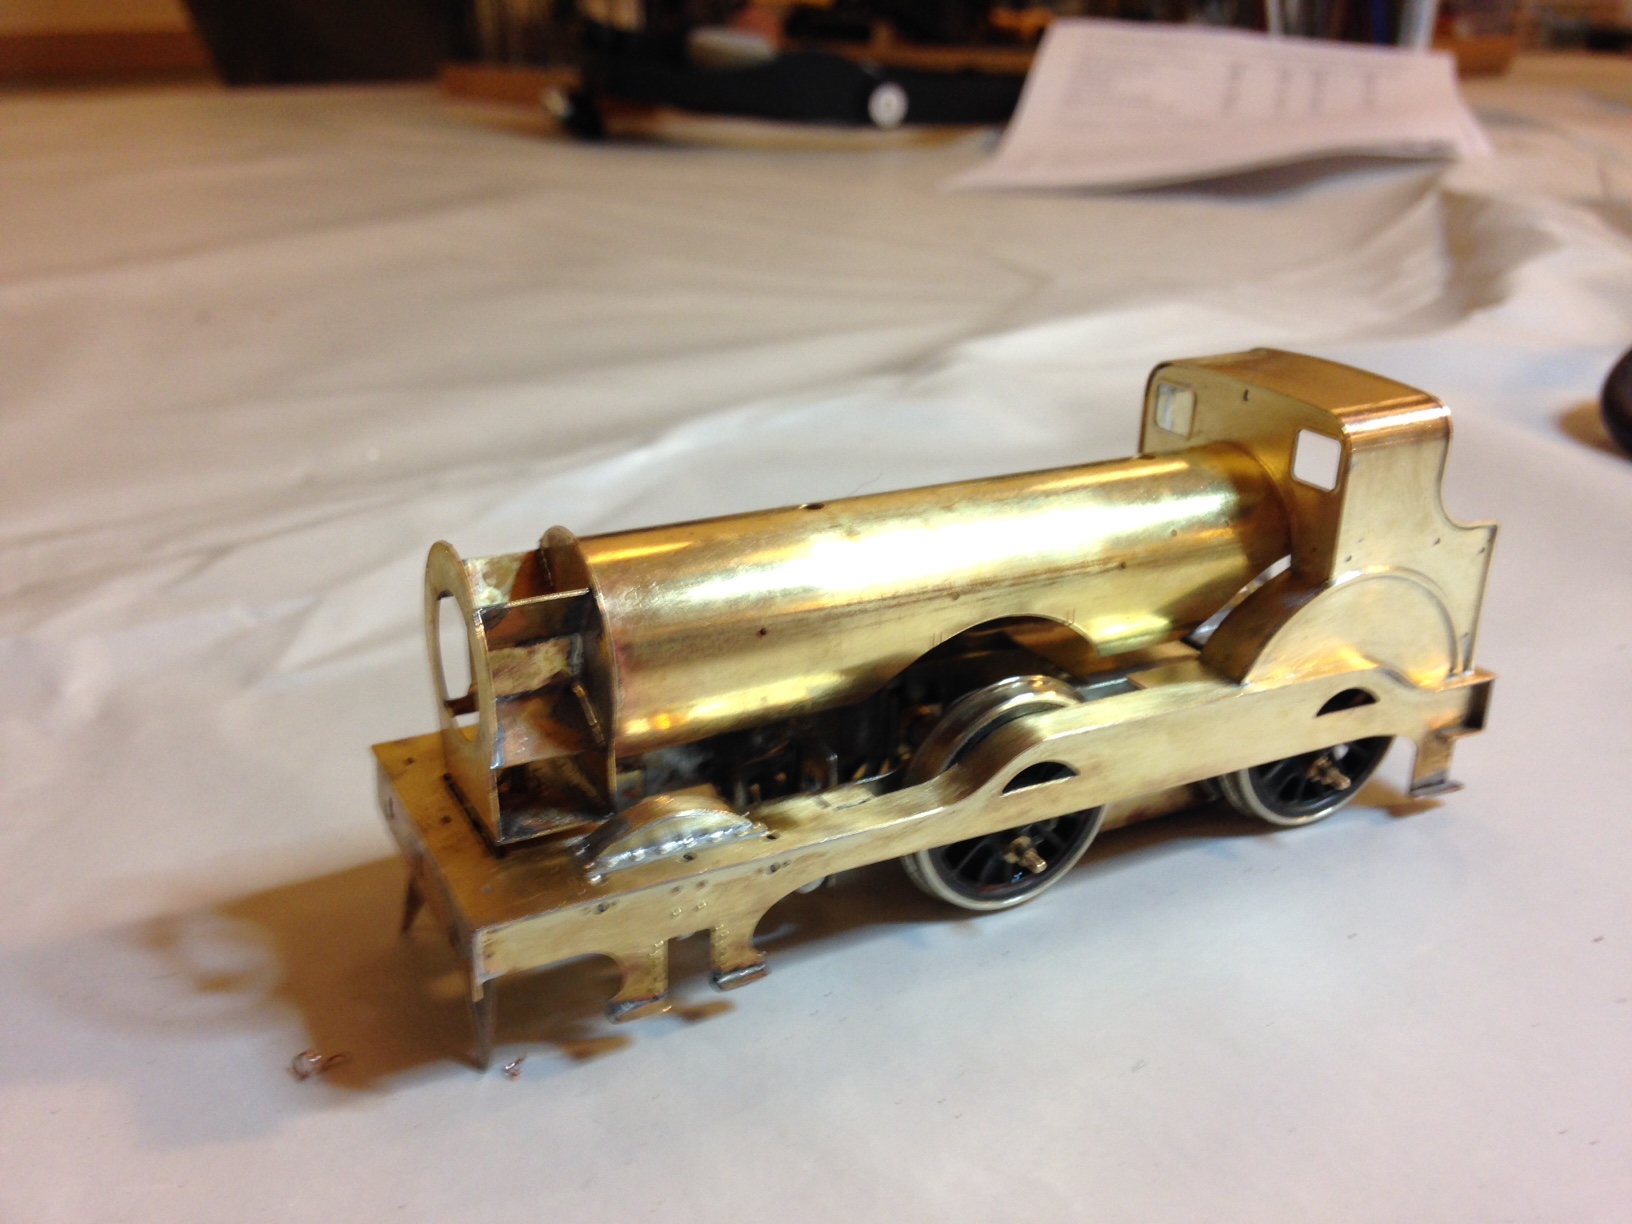
Sorry if it looks a bit silly on its reduced size wheels! This will get explained and corrected nearer the end of the build.
