Blog Archives

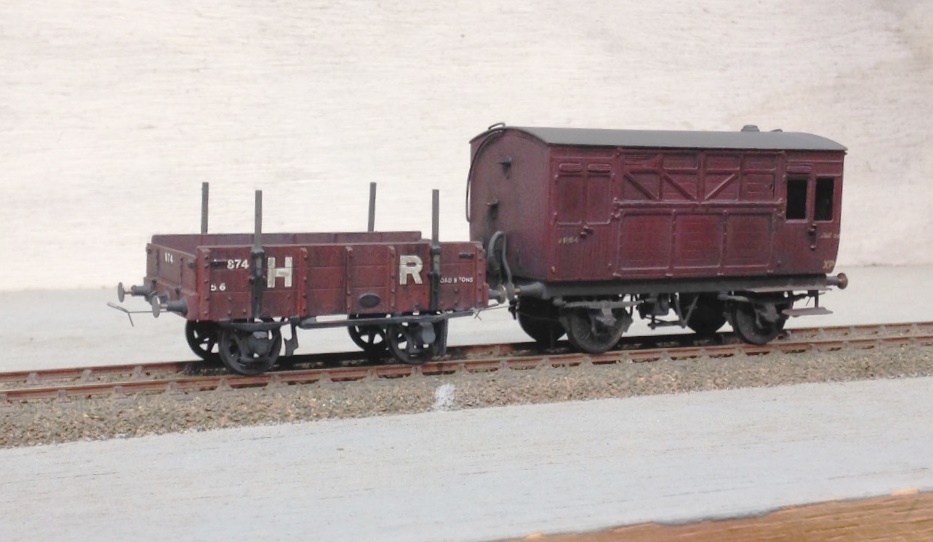
A Fold of Cattle Wagons
Your pub quiz fact for the day is that the collective name for Highland cattle is not a herd, as it would be for most cattle. Instead, and only for Highland cattle, the collective name for a group of cattle is a fold. If that does come up in a pub quiz, you owe me a pint!
Cattle were an important part of the highland economy and hence were a good source of income of the Highland Railway. In my slightly distorted version of real history, there were 4 million head of cattle to transport per annum in the Glenmutchkin area (which is remarkable given the cattle population of the entire UK at the time was only a little bit higher!). Thus, a fold of cattle wagons was obviously a pre-requisite for Glenmutchkin and this is what I have been working on of late.
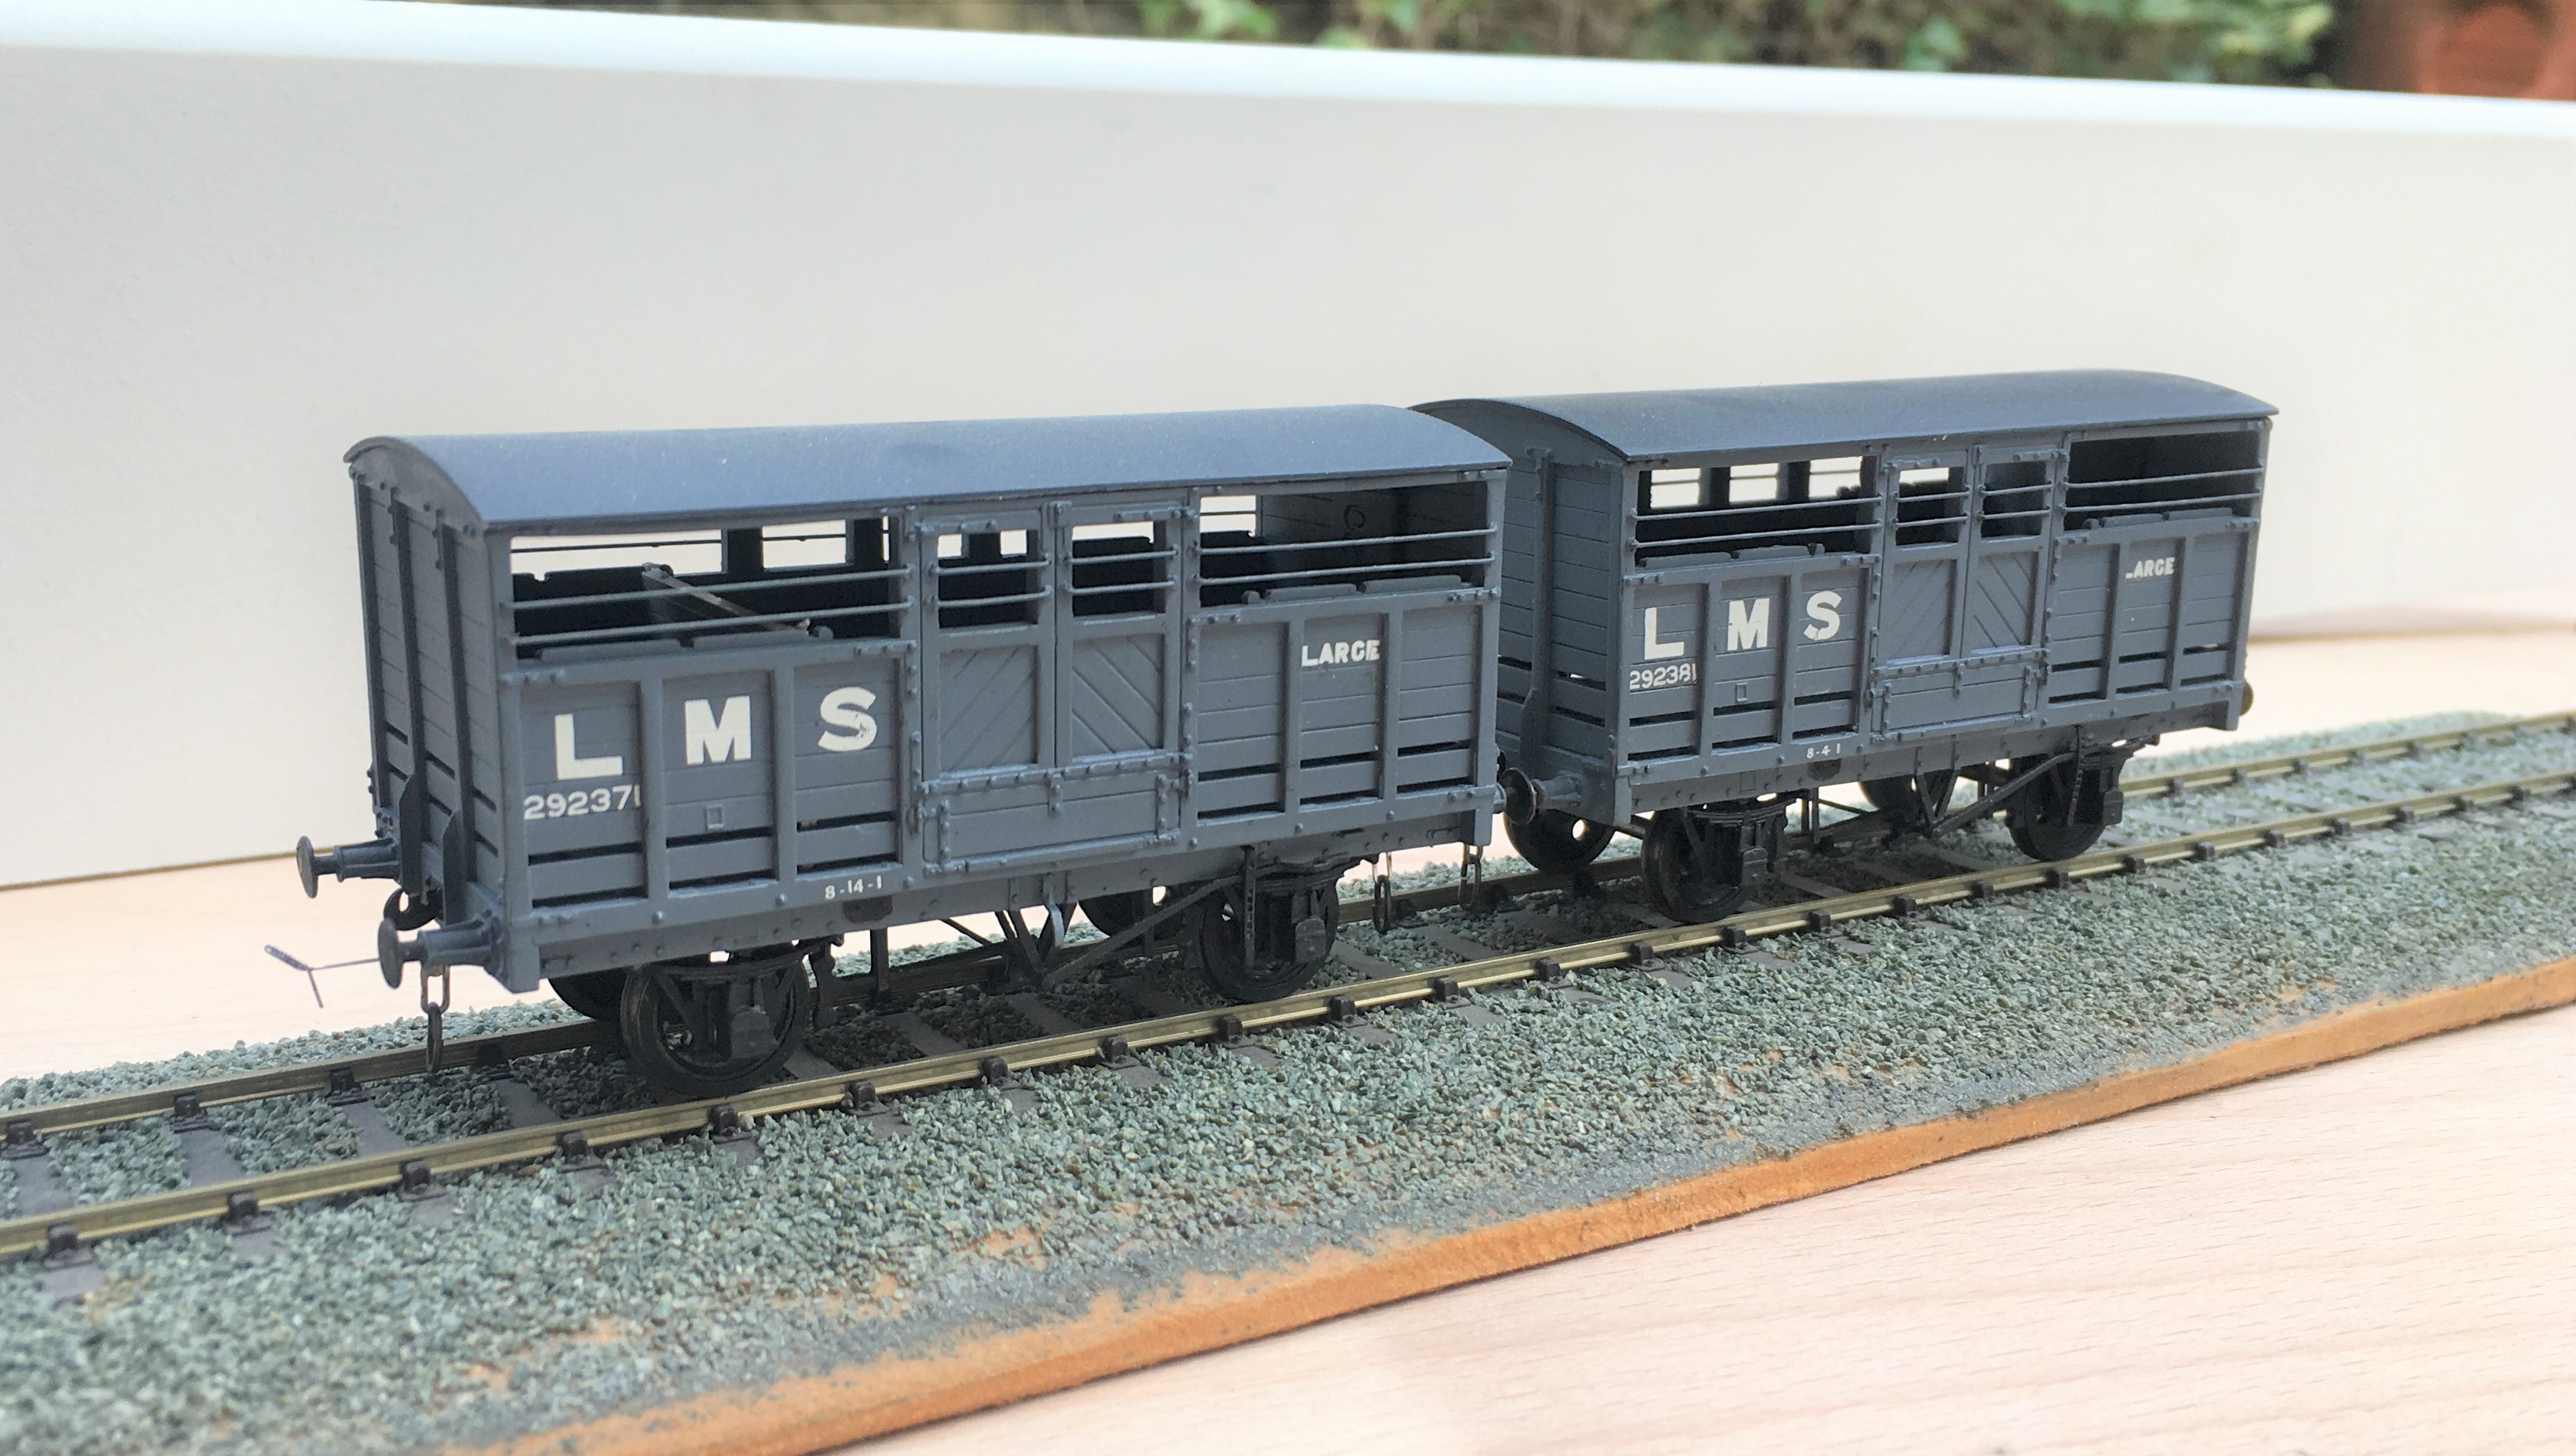
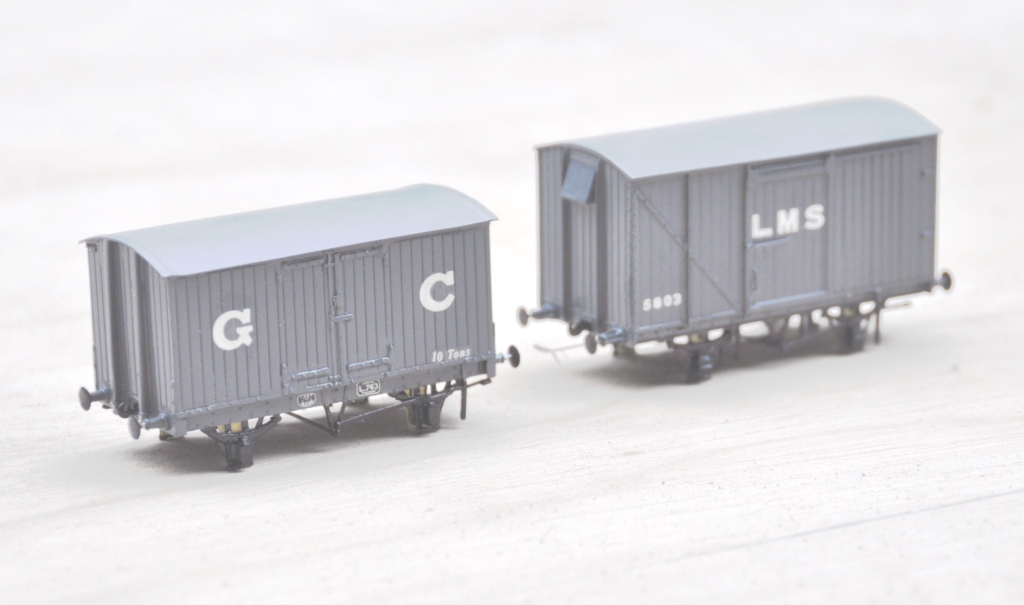
First up are a pair of LMS standard cattle wagons; to diagram 1661. These date from 1925; so they would have been fairly new at the time that my layout is set in. These were built from Parkside plastic kits with only moderate modifications around the break gear and, of course, some sprung w-irons. Being a relatively recent kit, it is generally very good and whilst it is possible to convert it to some alternative variants, these came later than my modelling period so I was not tempted. I am concerned that I have painted them rather to dark though, so I will be weathering them on the light side.
Next up is a Great North of Scotland Cattle wagon, from a Model Wagon Company white metal kit. This is a much older kit and didn’t it felt it! For reasons I am not certain of, the two sides were not the same length so in practise the body is a bit trapezoidal – but can you tell? The casting was also covered in flash which was a particular problem in the gaps between the wooden slats – this meant I spent a few hours I would sooner not have spent scraping it out to keep these clear. The GNoS vehicle was a much more basic vehicle and, strangely, did not get any large ownership lettering so they remained rather anonymous, Instead, they had simple cast plates, which I made from a locomotive number plate and dry brushed white on the letters. I have glossed over the fact it does not have the right number or even a consistent number from one side to the other – sod the “getting it all right” mantra!

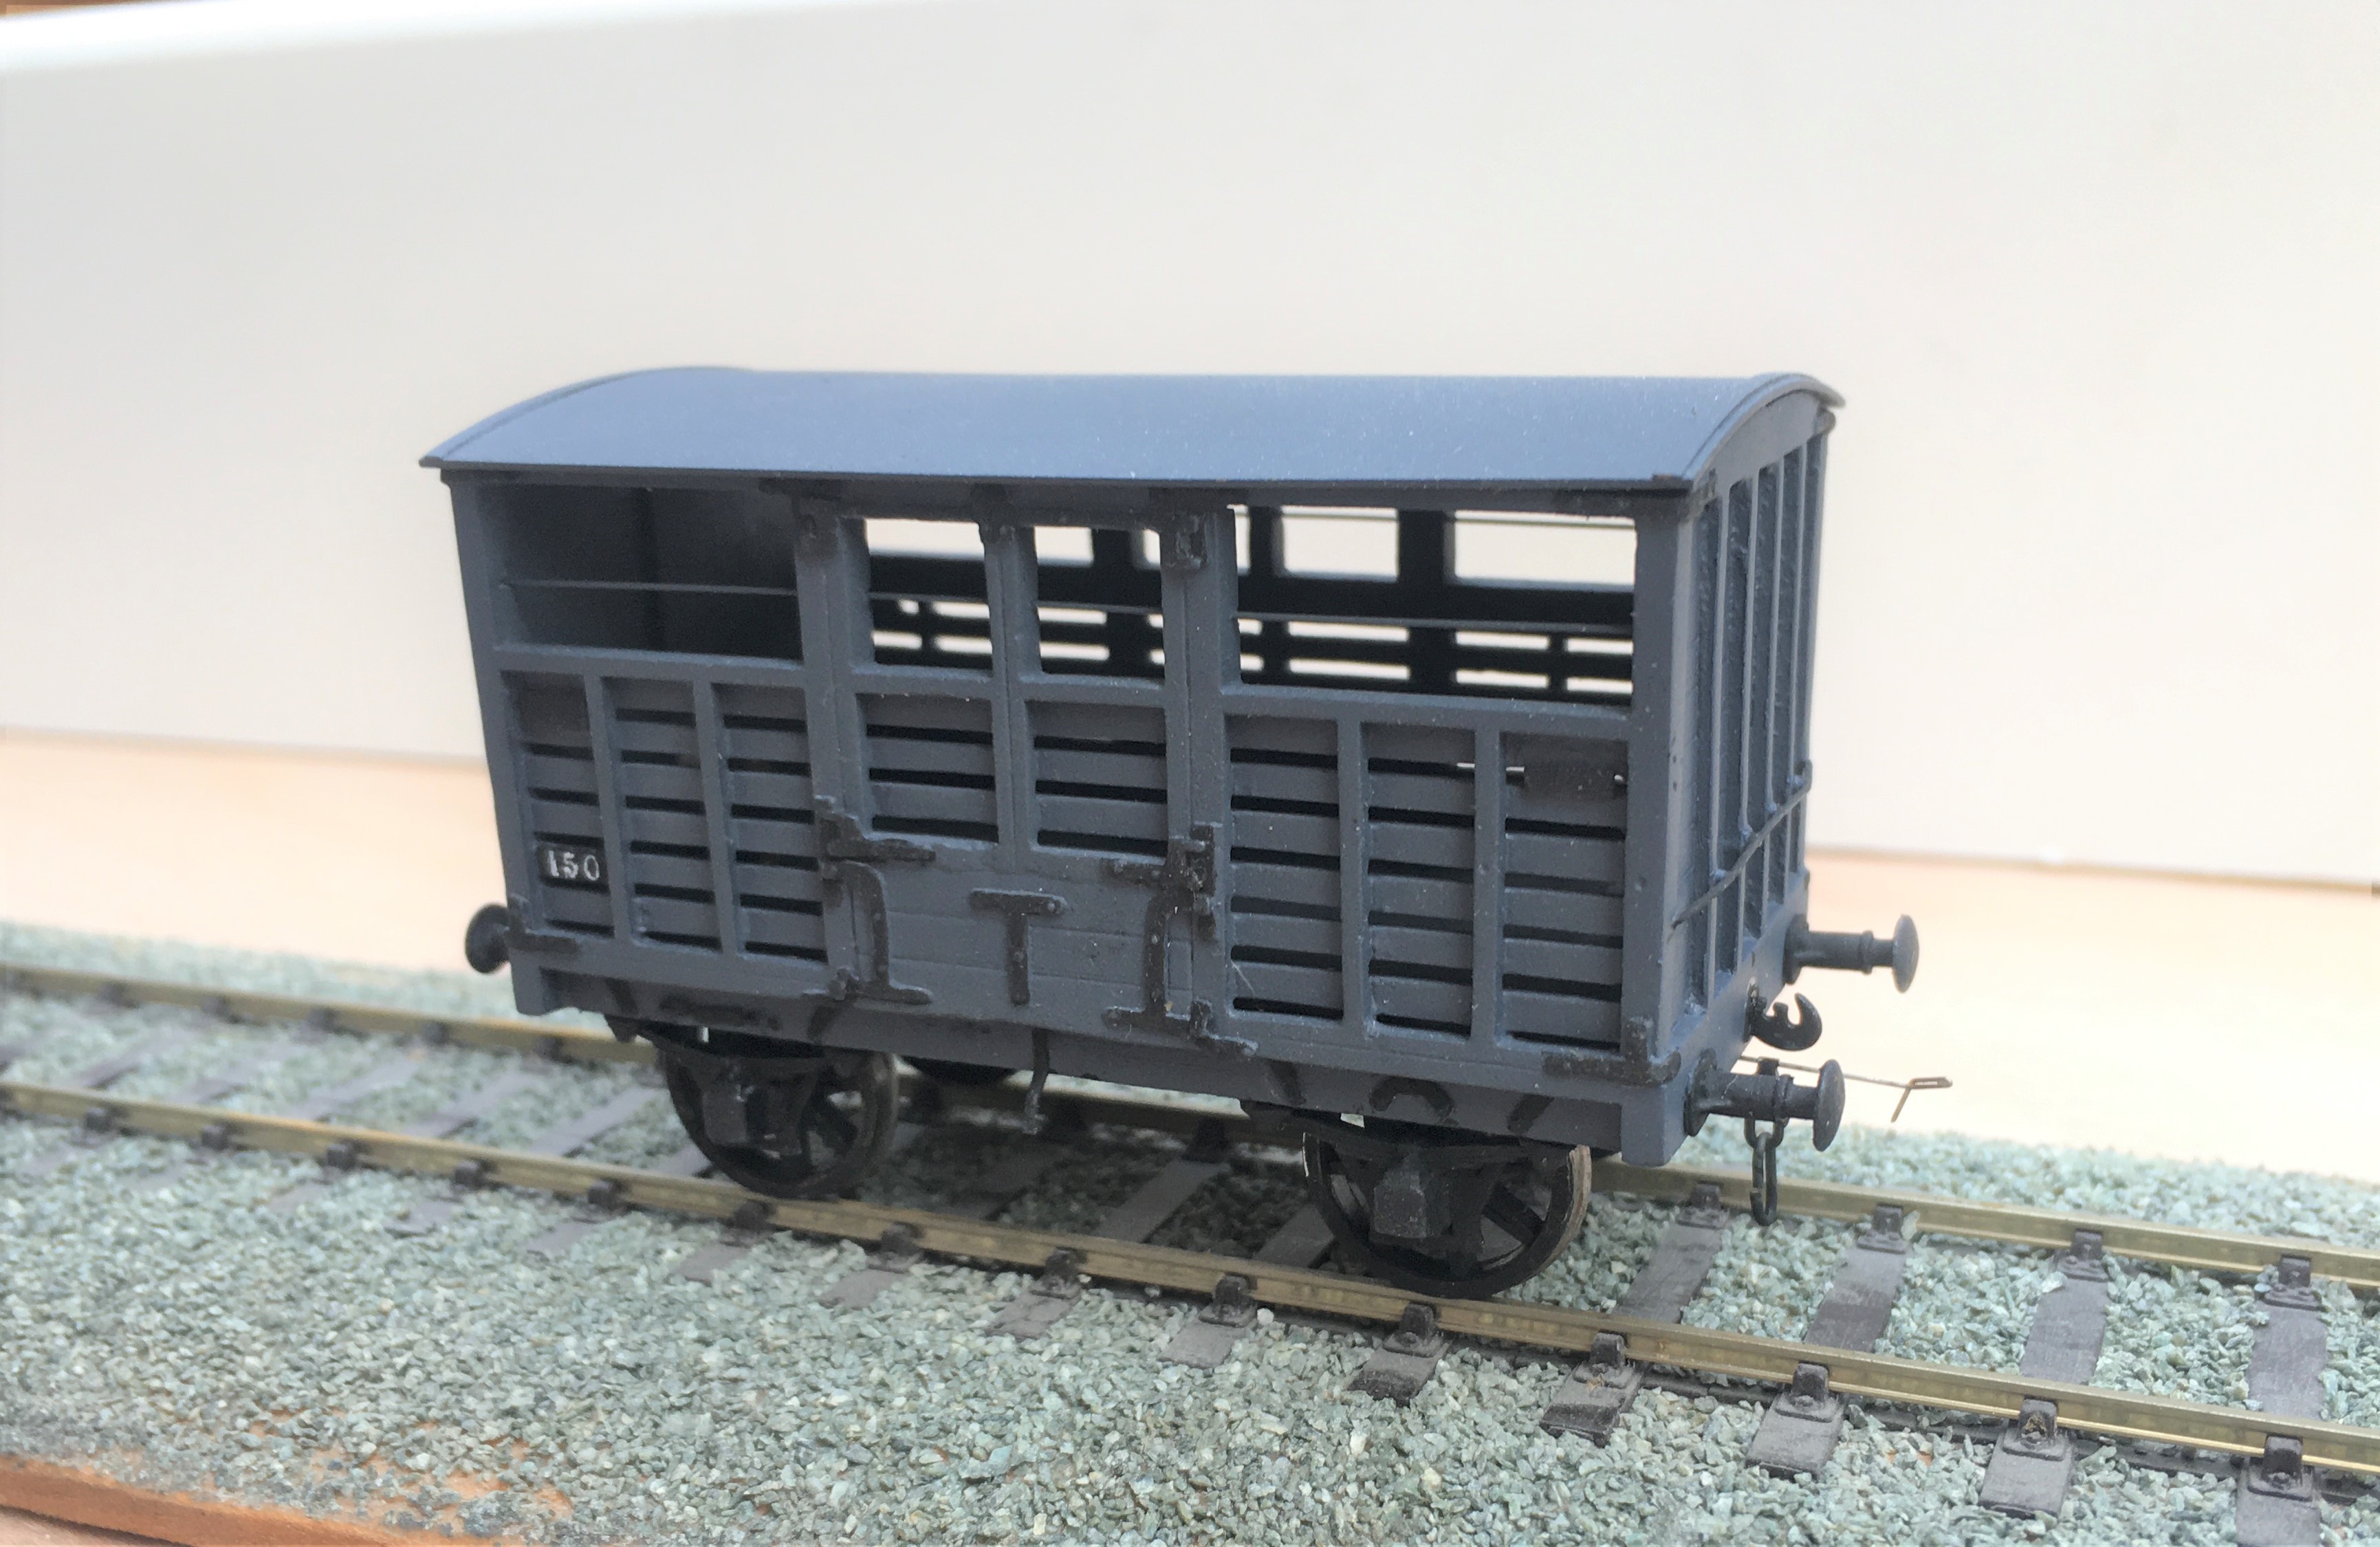
I have also built a further Highland cattle wagon, built from a Model Wagon Company kit. This is the Drummond era version and I have already built a number of these so this was relatively routine – its just as well as there are still a couple in their packet waiting their turn!

The final cattle van is a David Geen kit for the L&Y large cattle wagon. Whilst still a whitemetal kit, it is of somewhat better quality than both the Model Wagon Co kits so was rather easier to make. Even then, it did need filling at the corner joints and I felt the need to swap the brake levers for replacements – why to even the better manufacturers use the same material for all of their kits?
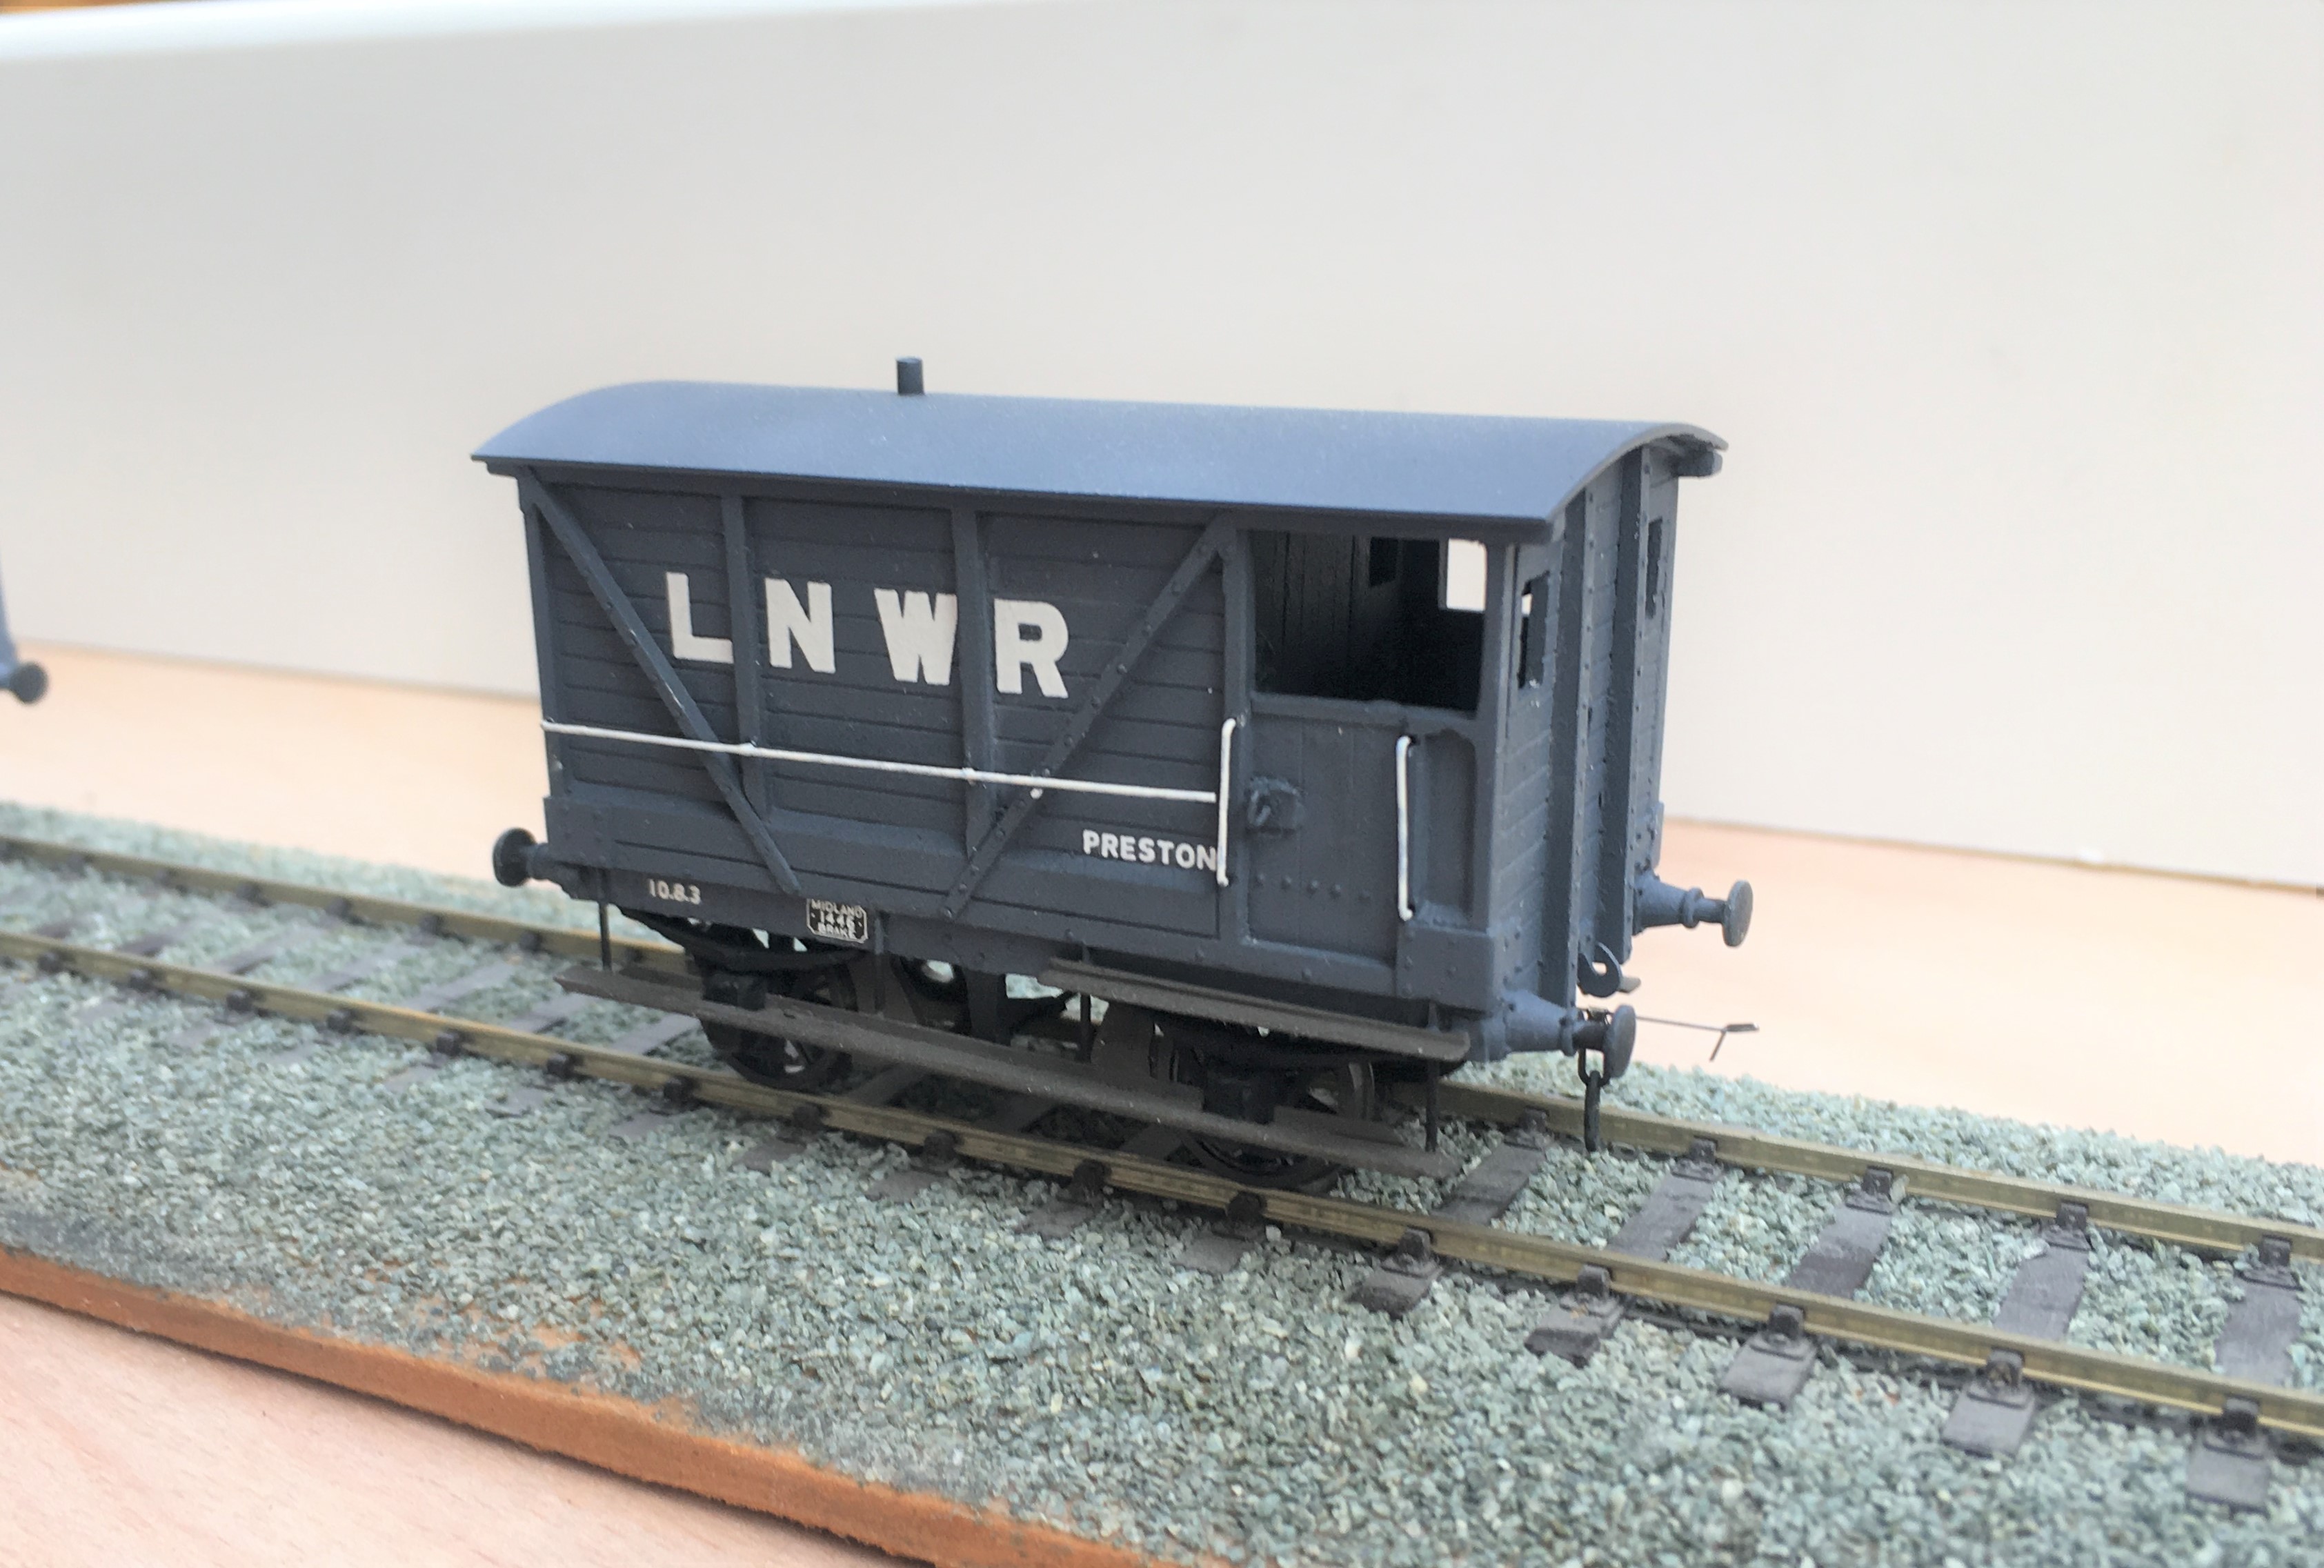
To finish of this little rake, I obviously need another brake van. This is not so obvious because this is brake van no 11 in the collection and I know I have at least one more spirited away! Whilst this was a kit build, it was first a kit unassemble as this was a vehicle I had first built in my teens. Generally fairly well but a couple of bits had got damaged over the years so I felt it needed rejuvenating.
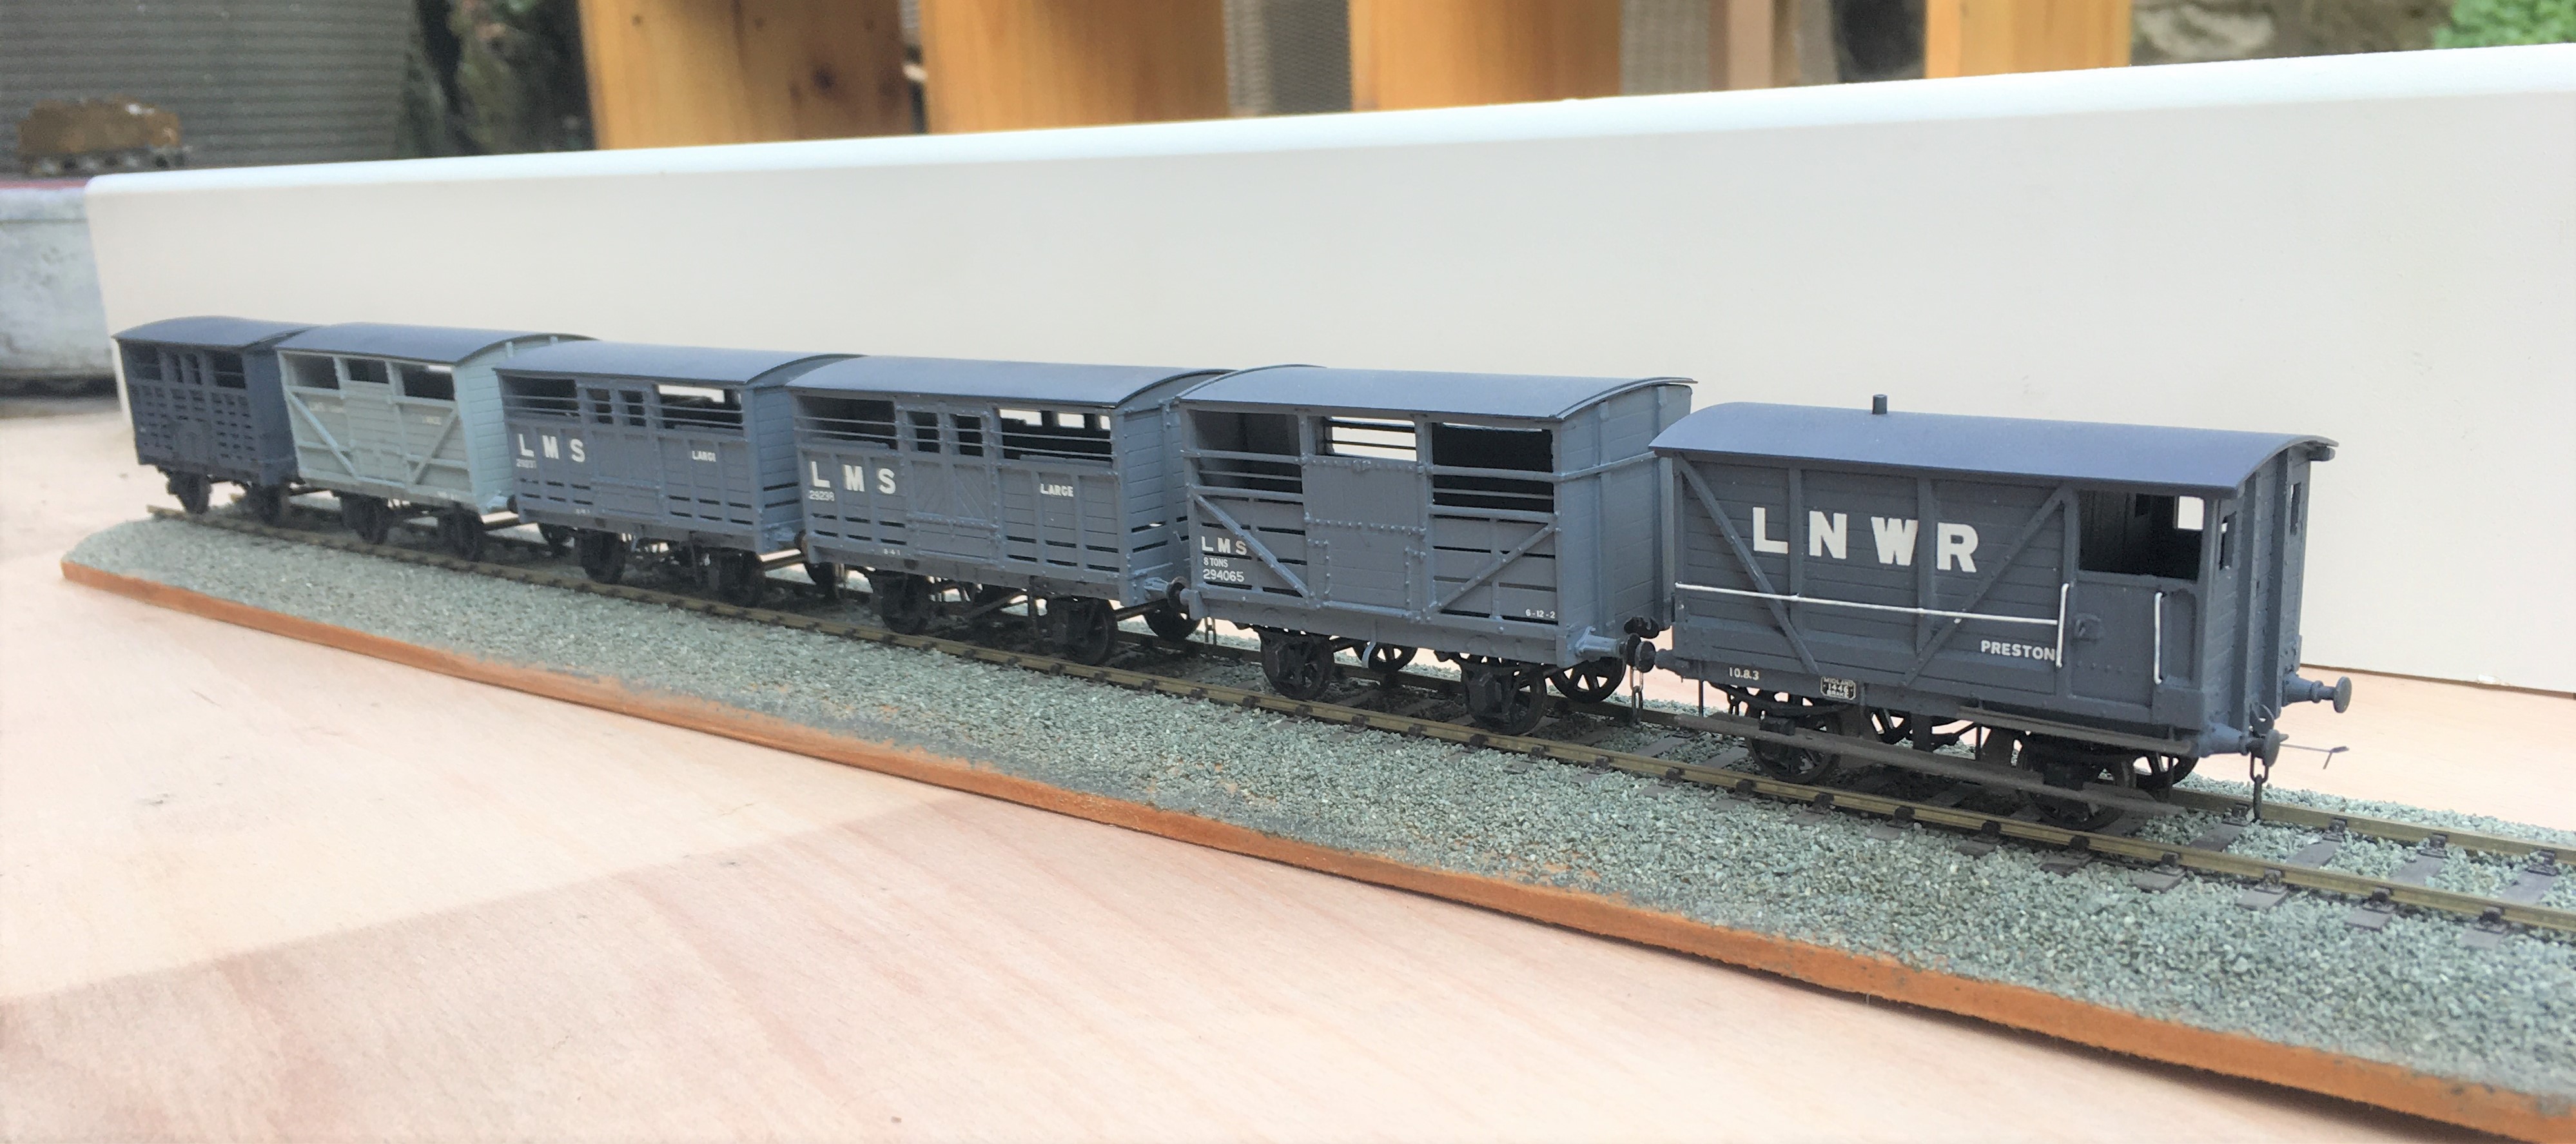
And here they all are on parade.
Now all I need is rather a lot of heilen coos to fill them up with. I have been working on this but it seems that resin casting is a tad more difficult than I thought……………..
Oh and yes, they are all way to clean; another weathering sess’ is required guys………..
More Weathering Results
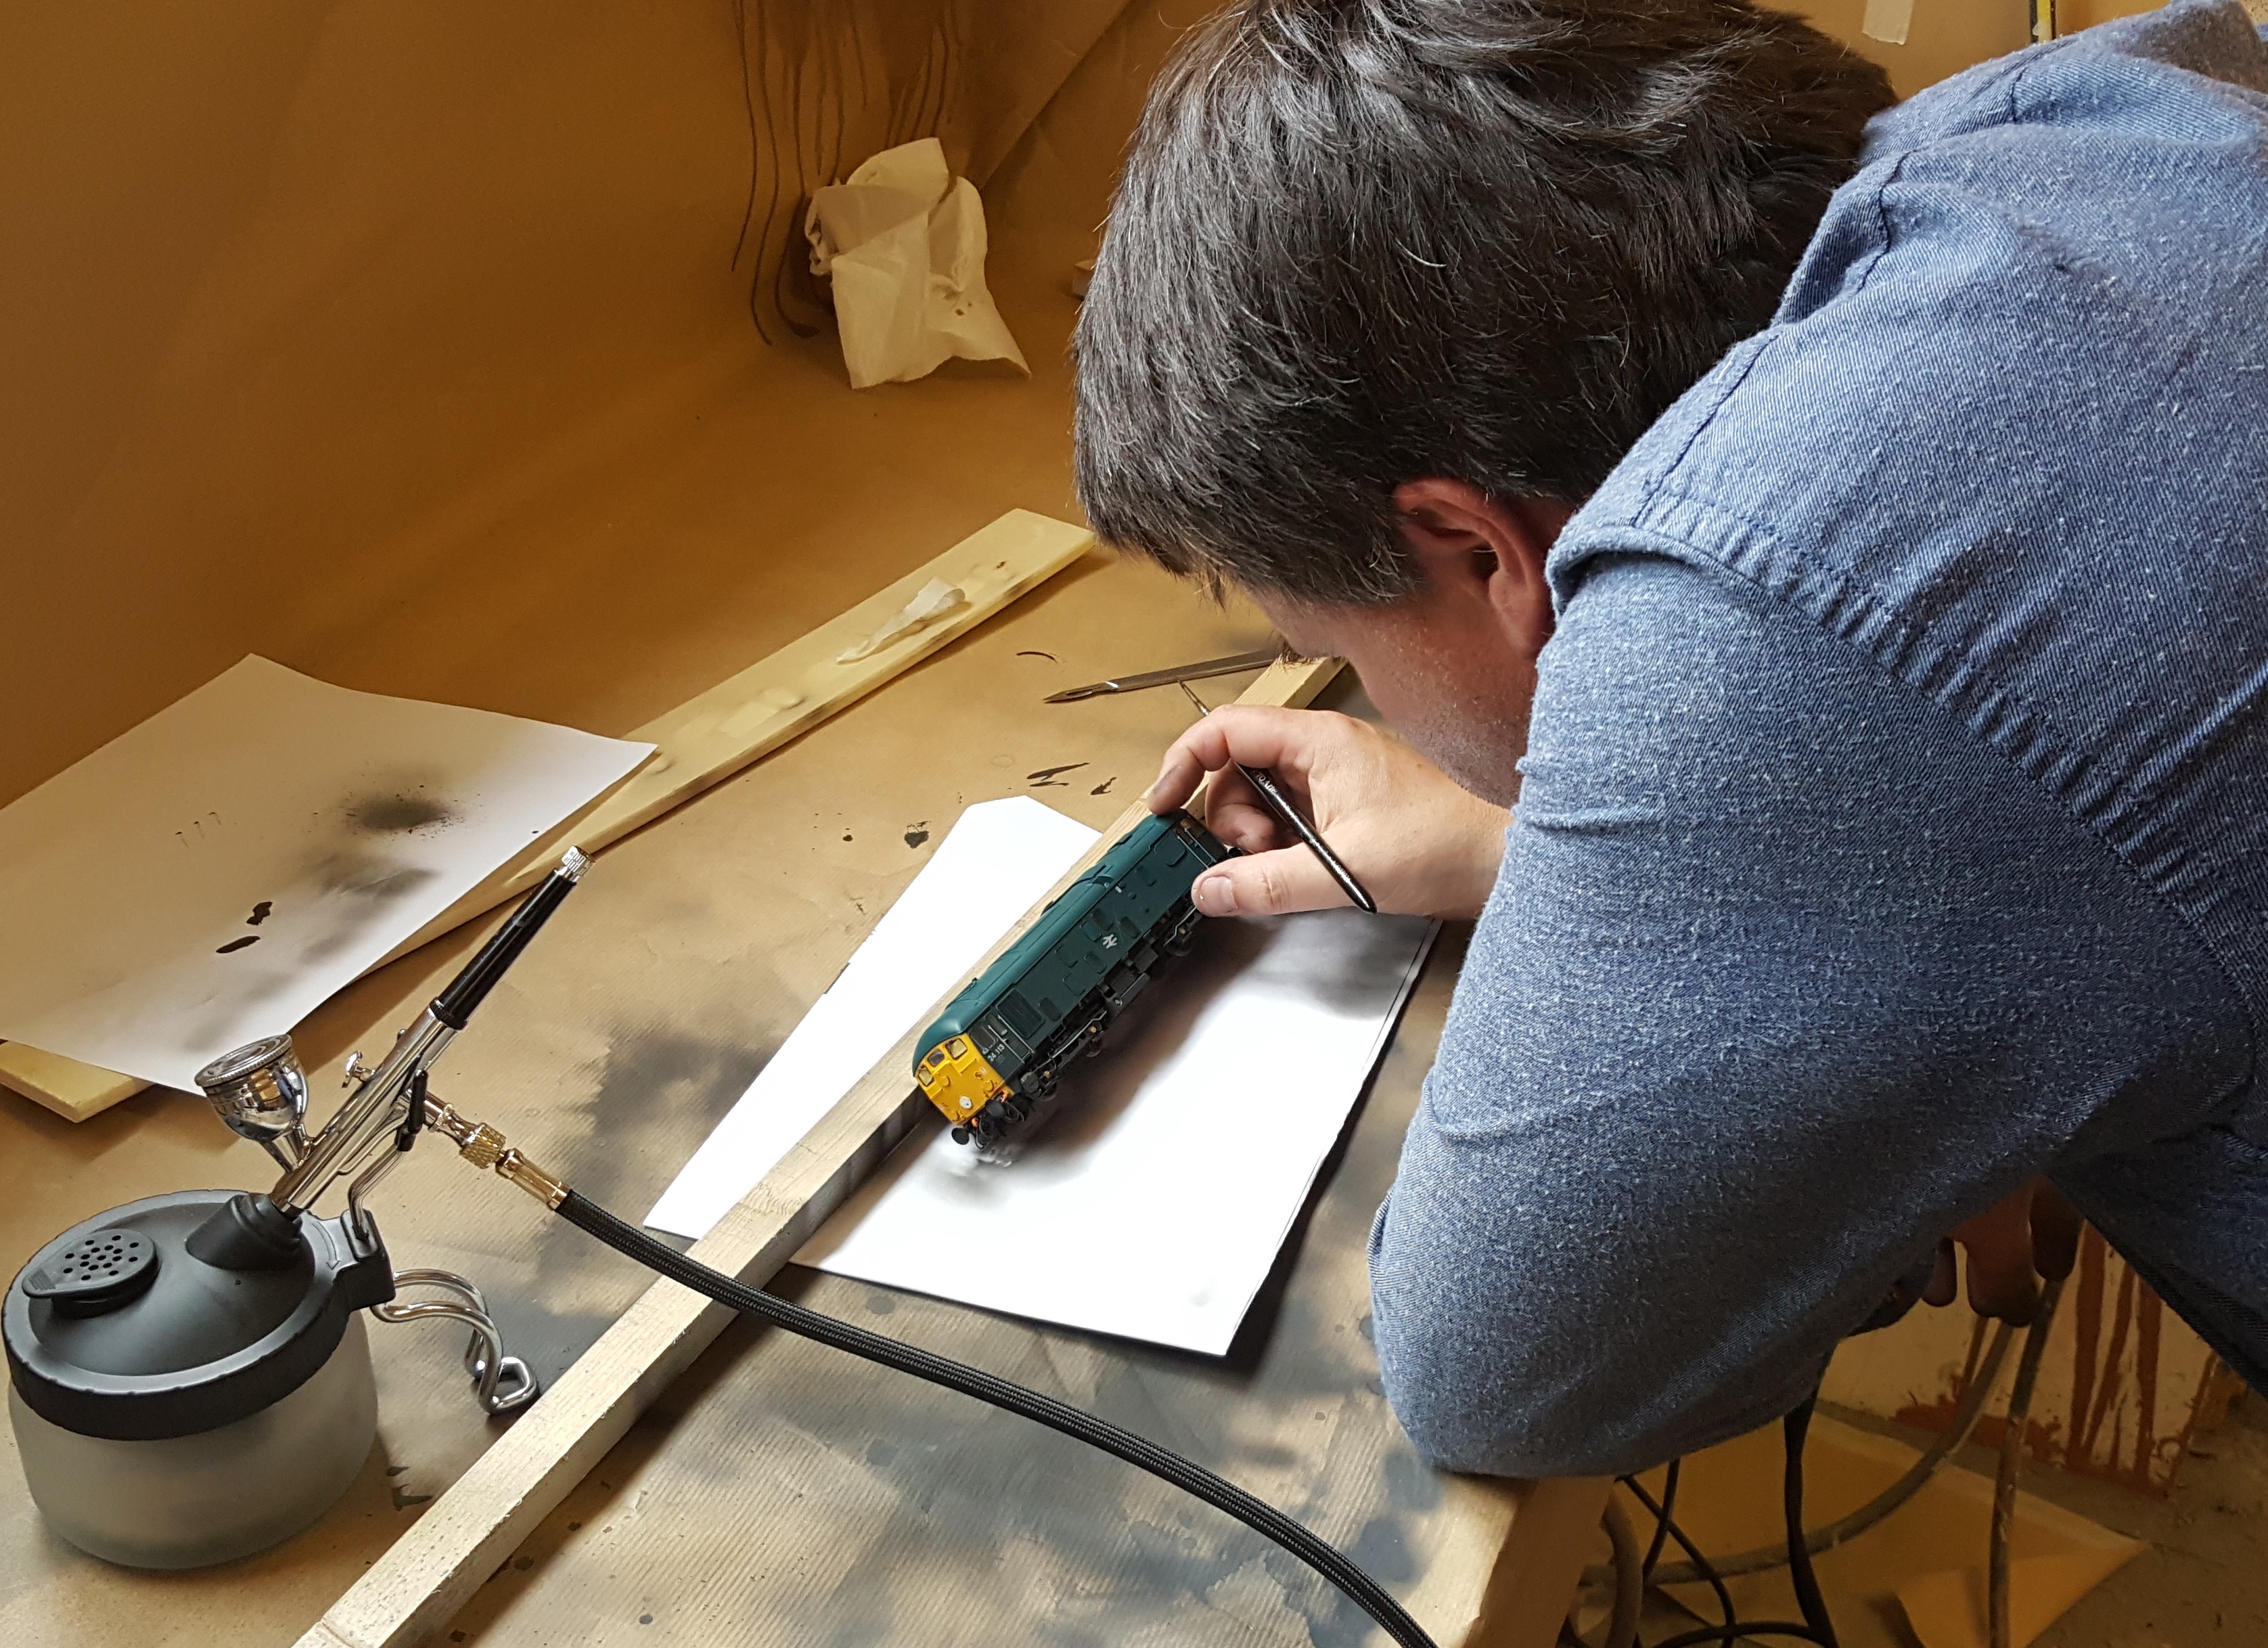
The class 24 skinhead was not the only output from the weathering day last weekend – indeed, it was a very busy day!
First up were some of my 1920’s rilling stock – both Highland, a timber truck from a Model Wagon Co whitemetal kit and a horsebox from a Lochgorm etched kit. Both are now close to finished – a load is requird for the former and some glass for the latter (and probably a light colour inside the groom’s compartment.
Neat vehicles though and I am pleased with them – less so than the brakevans that I managed to dislodge the lettering upon and may well need to be stripped – as you would imagine, no photos of these and nor any photo’s from today’s efforts with paintstripper!
But the main additional output was some more coaches for Portchullin. I managed three and Peter Bond looked close to finishing his third as I left, so we had a proper little production line going!
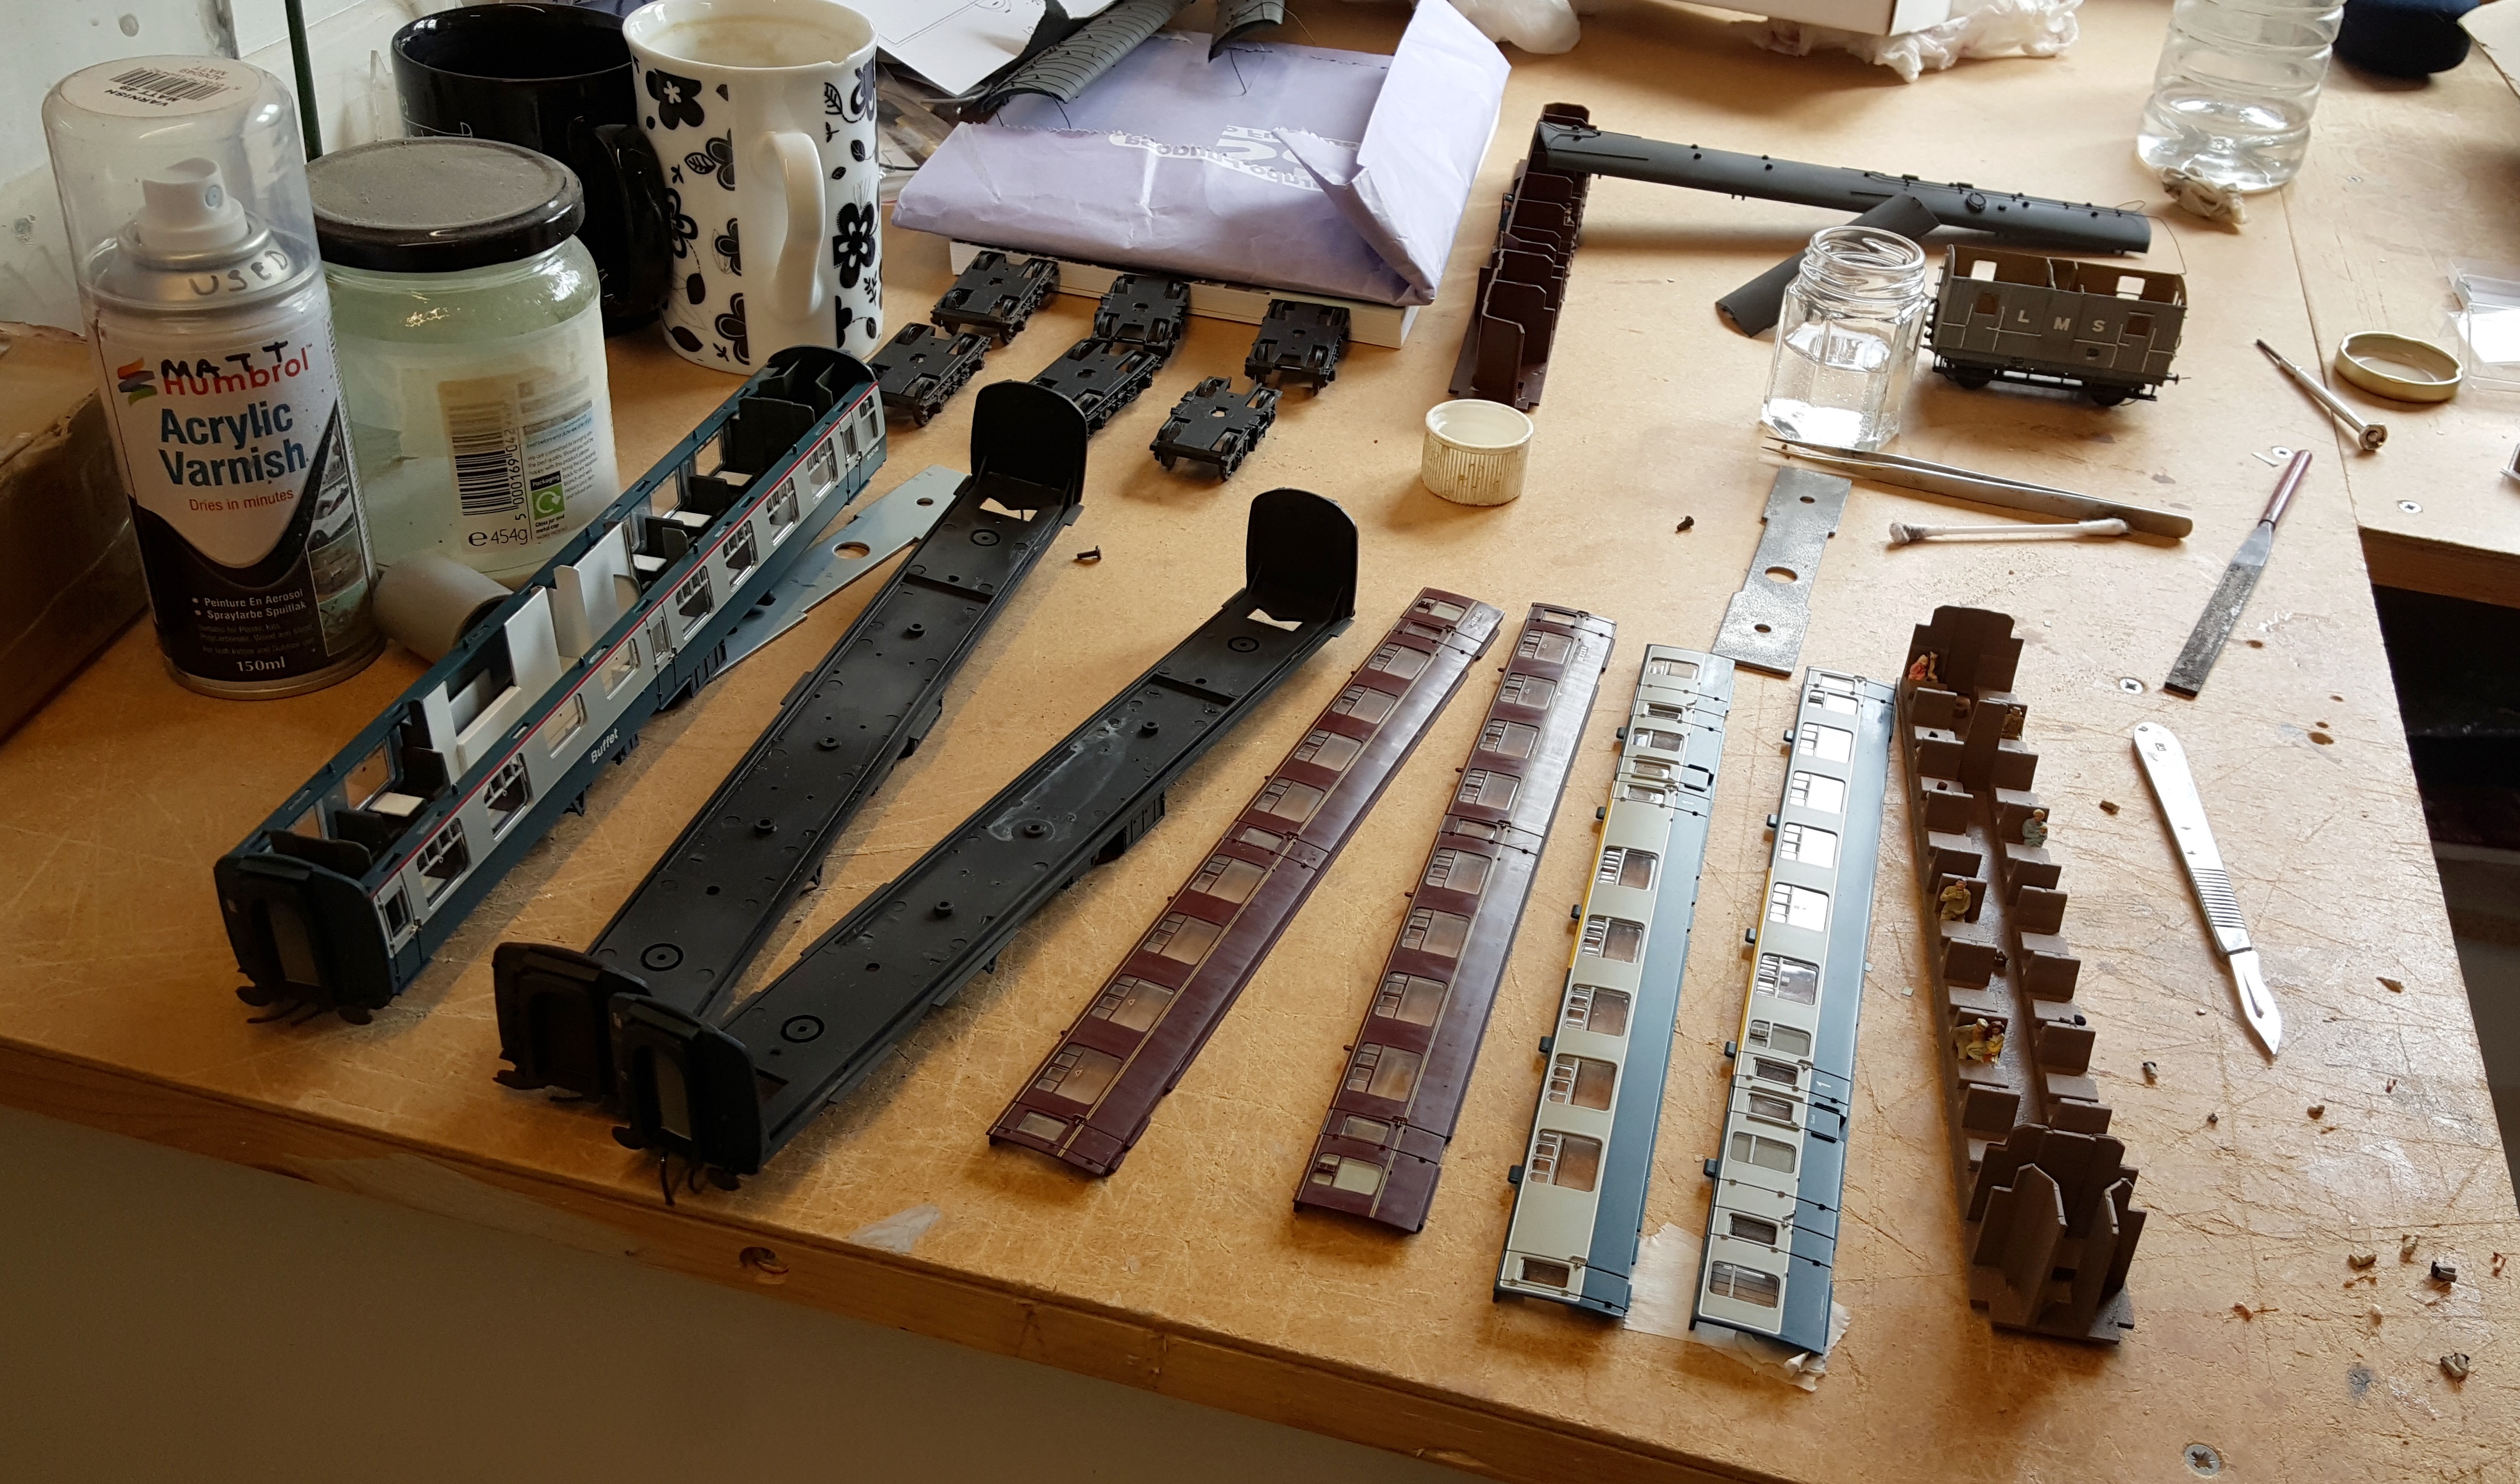
The technique was essentially the same as I described for the class 24, although as you can see the model was broken down rather more (in part to populate the interior of the carriages – I do hate seeing trainloads of empty coaches on model railways!). However, for the maroon coach, rather than using thinners to take back off the paint, T-Cut was used. This is an abrasive so does not work in quite the same manner but acheives broadly the same effect except that it also polishes the paint. I did not think this was right for the blue/grey coaches (they were finished in satin in reality) but the maroon coaches were in a gloss finish and the T-cut gives a slight sheen without actually getting to gloss. I did eventually think it was a bit too shiny, so did waft over with the finest of sprays of the “gunk” again just to take it back a touch.
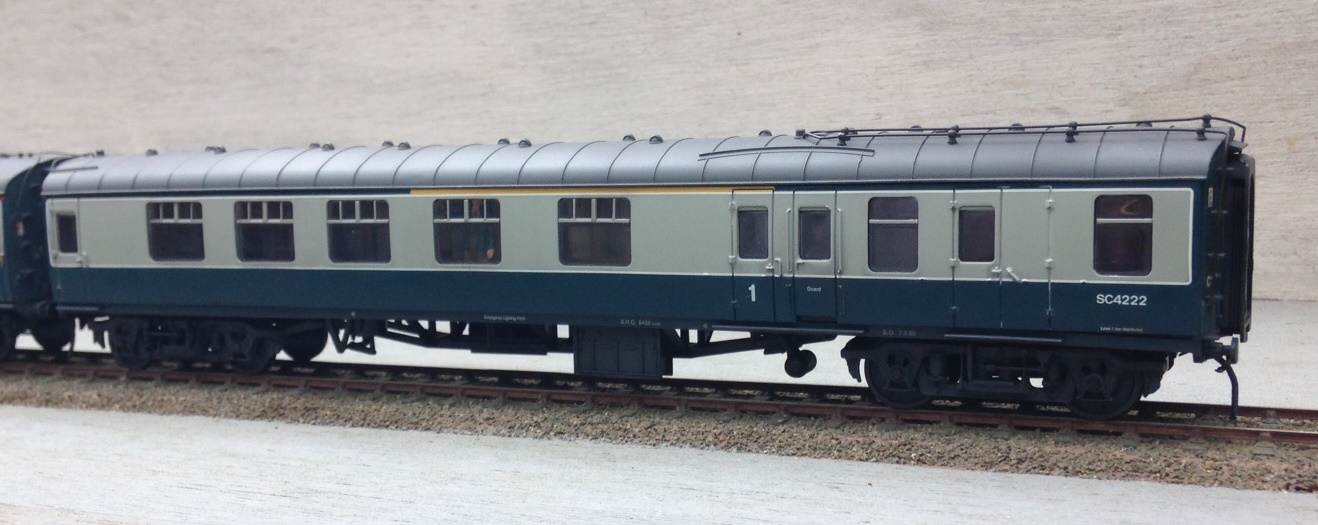
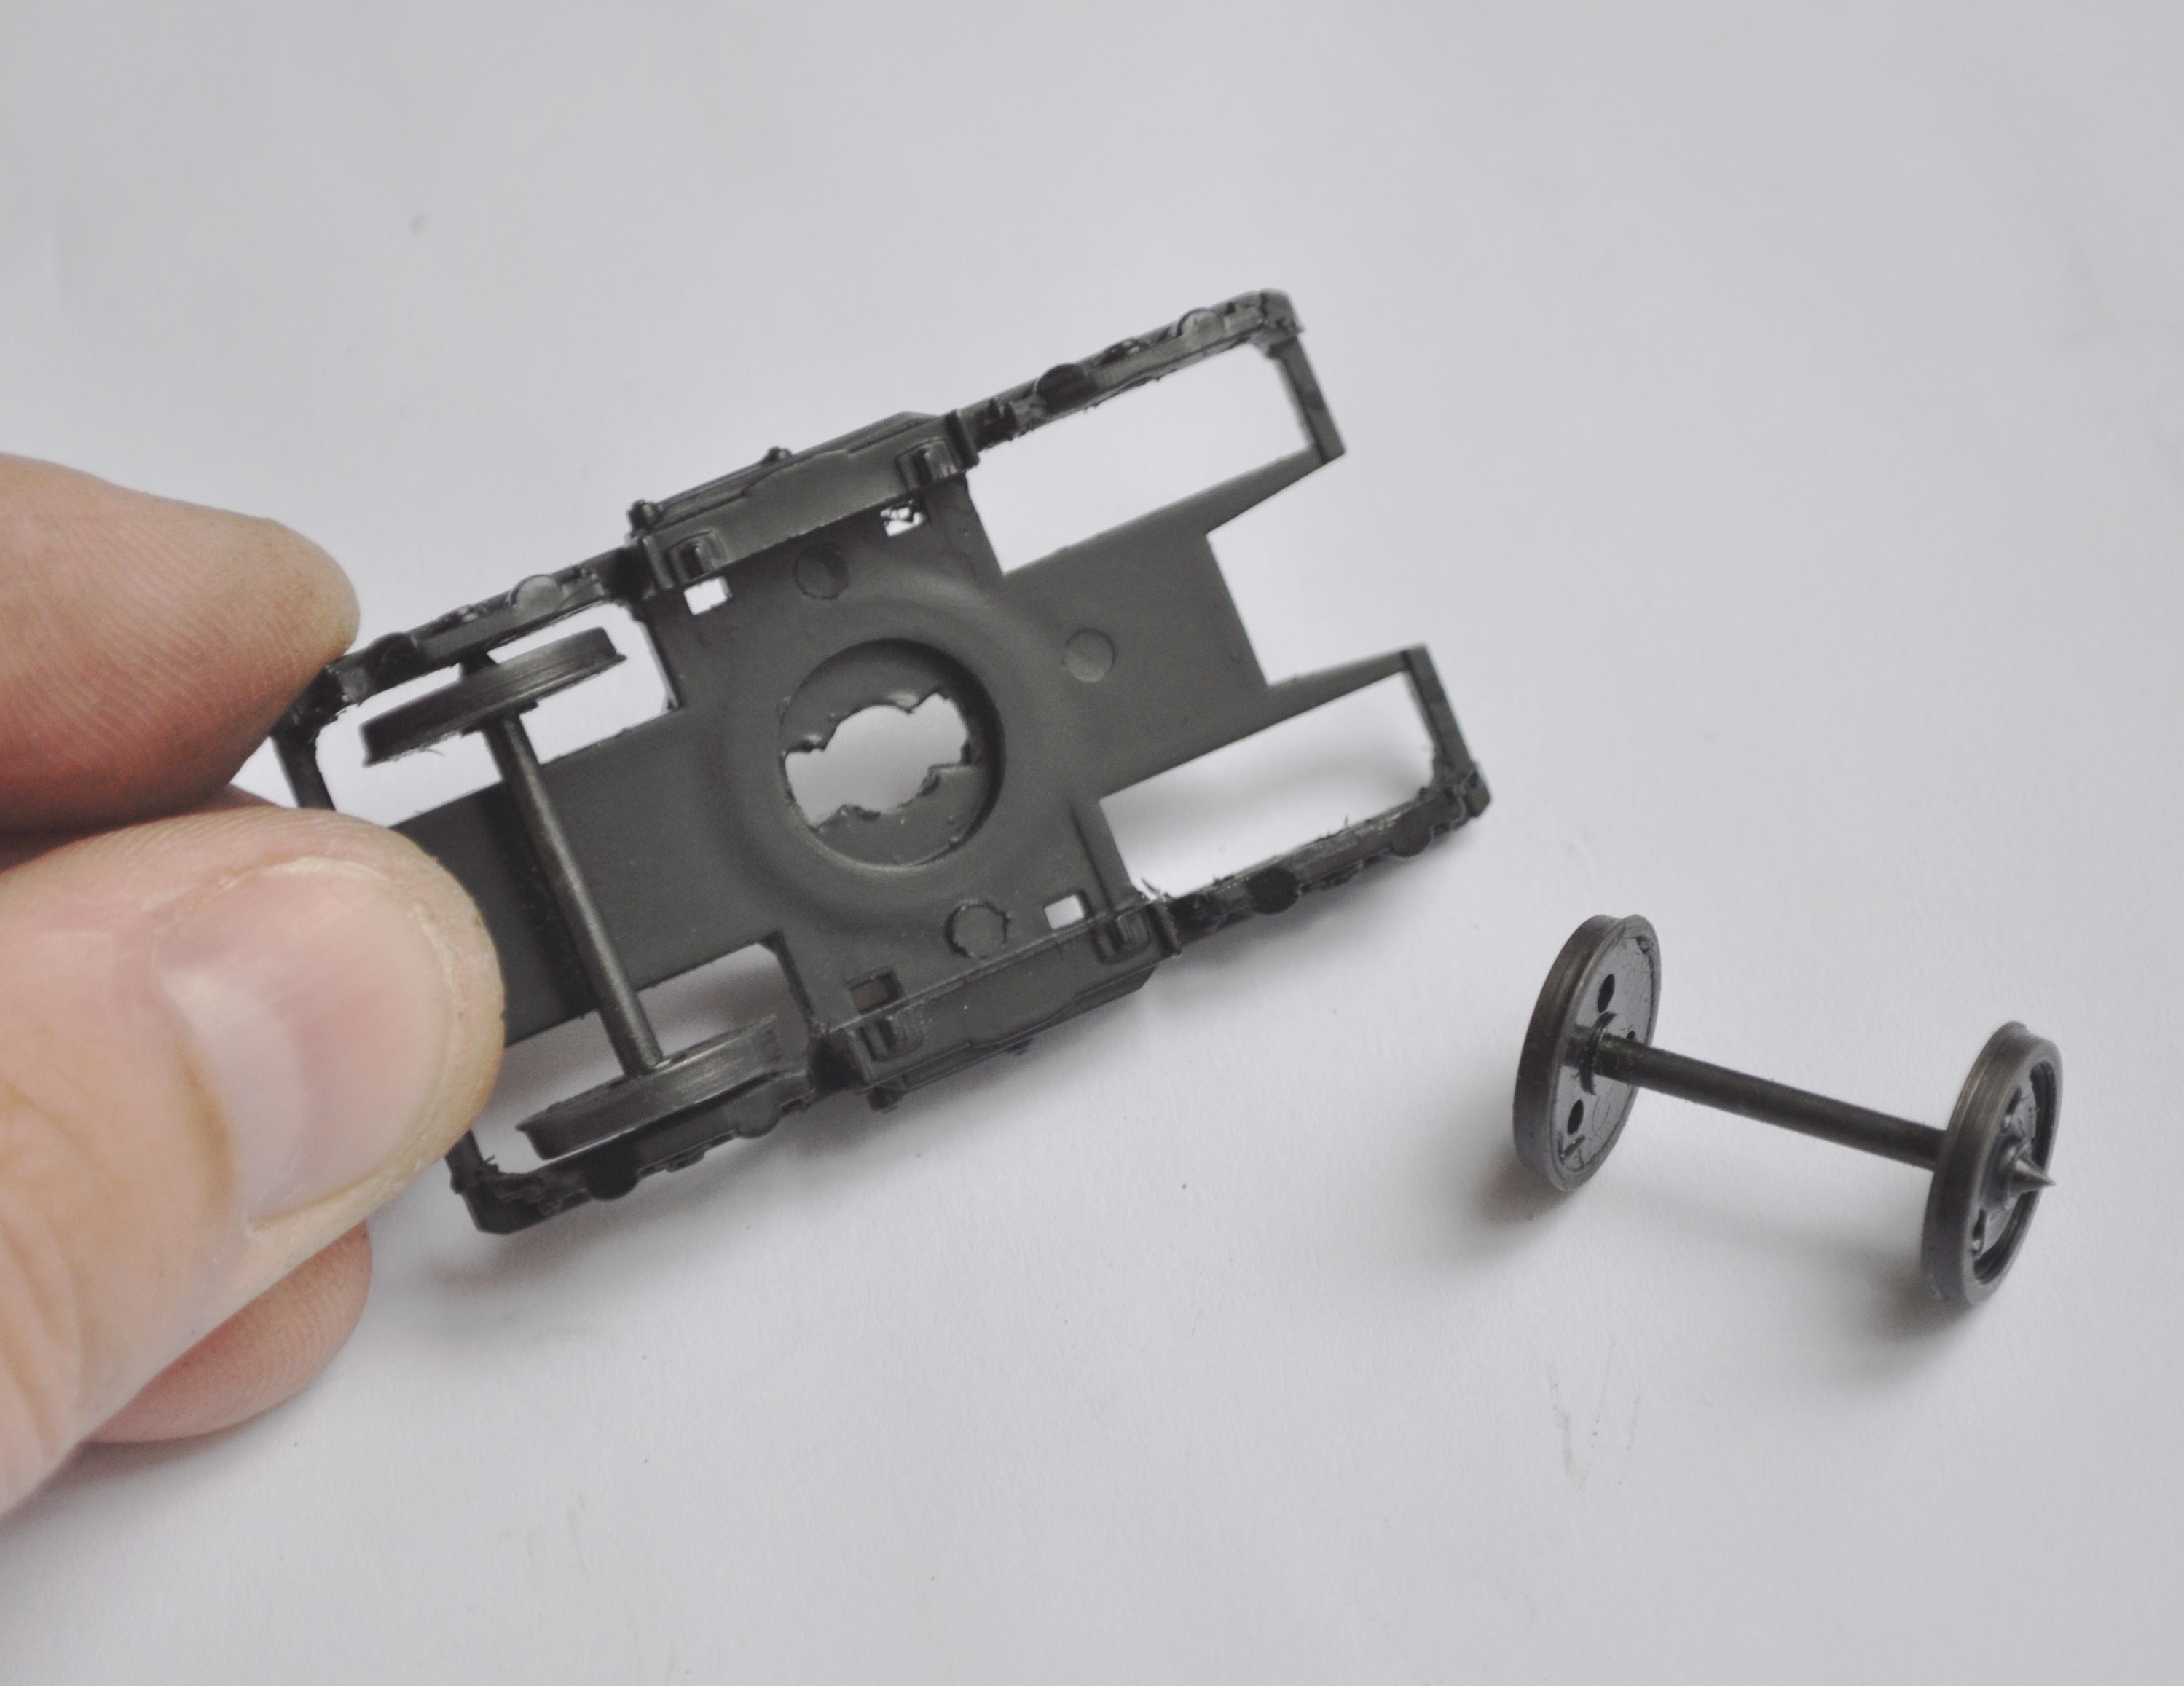
The Bachmann Mk 1s are very good models that have stood the test of time well. They are a doddle to convert to P4; taking maybe 60-80 minutes a go. There are a couple of things to look out for – firstly is that the side frames are a touch to tight for true guage wheels and need to be filed back. The plastic is quite flexible and does create burrs fairly easily, so once the filing has been done some work with a sharp scalpel is required to clean this up.
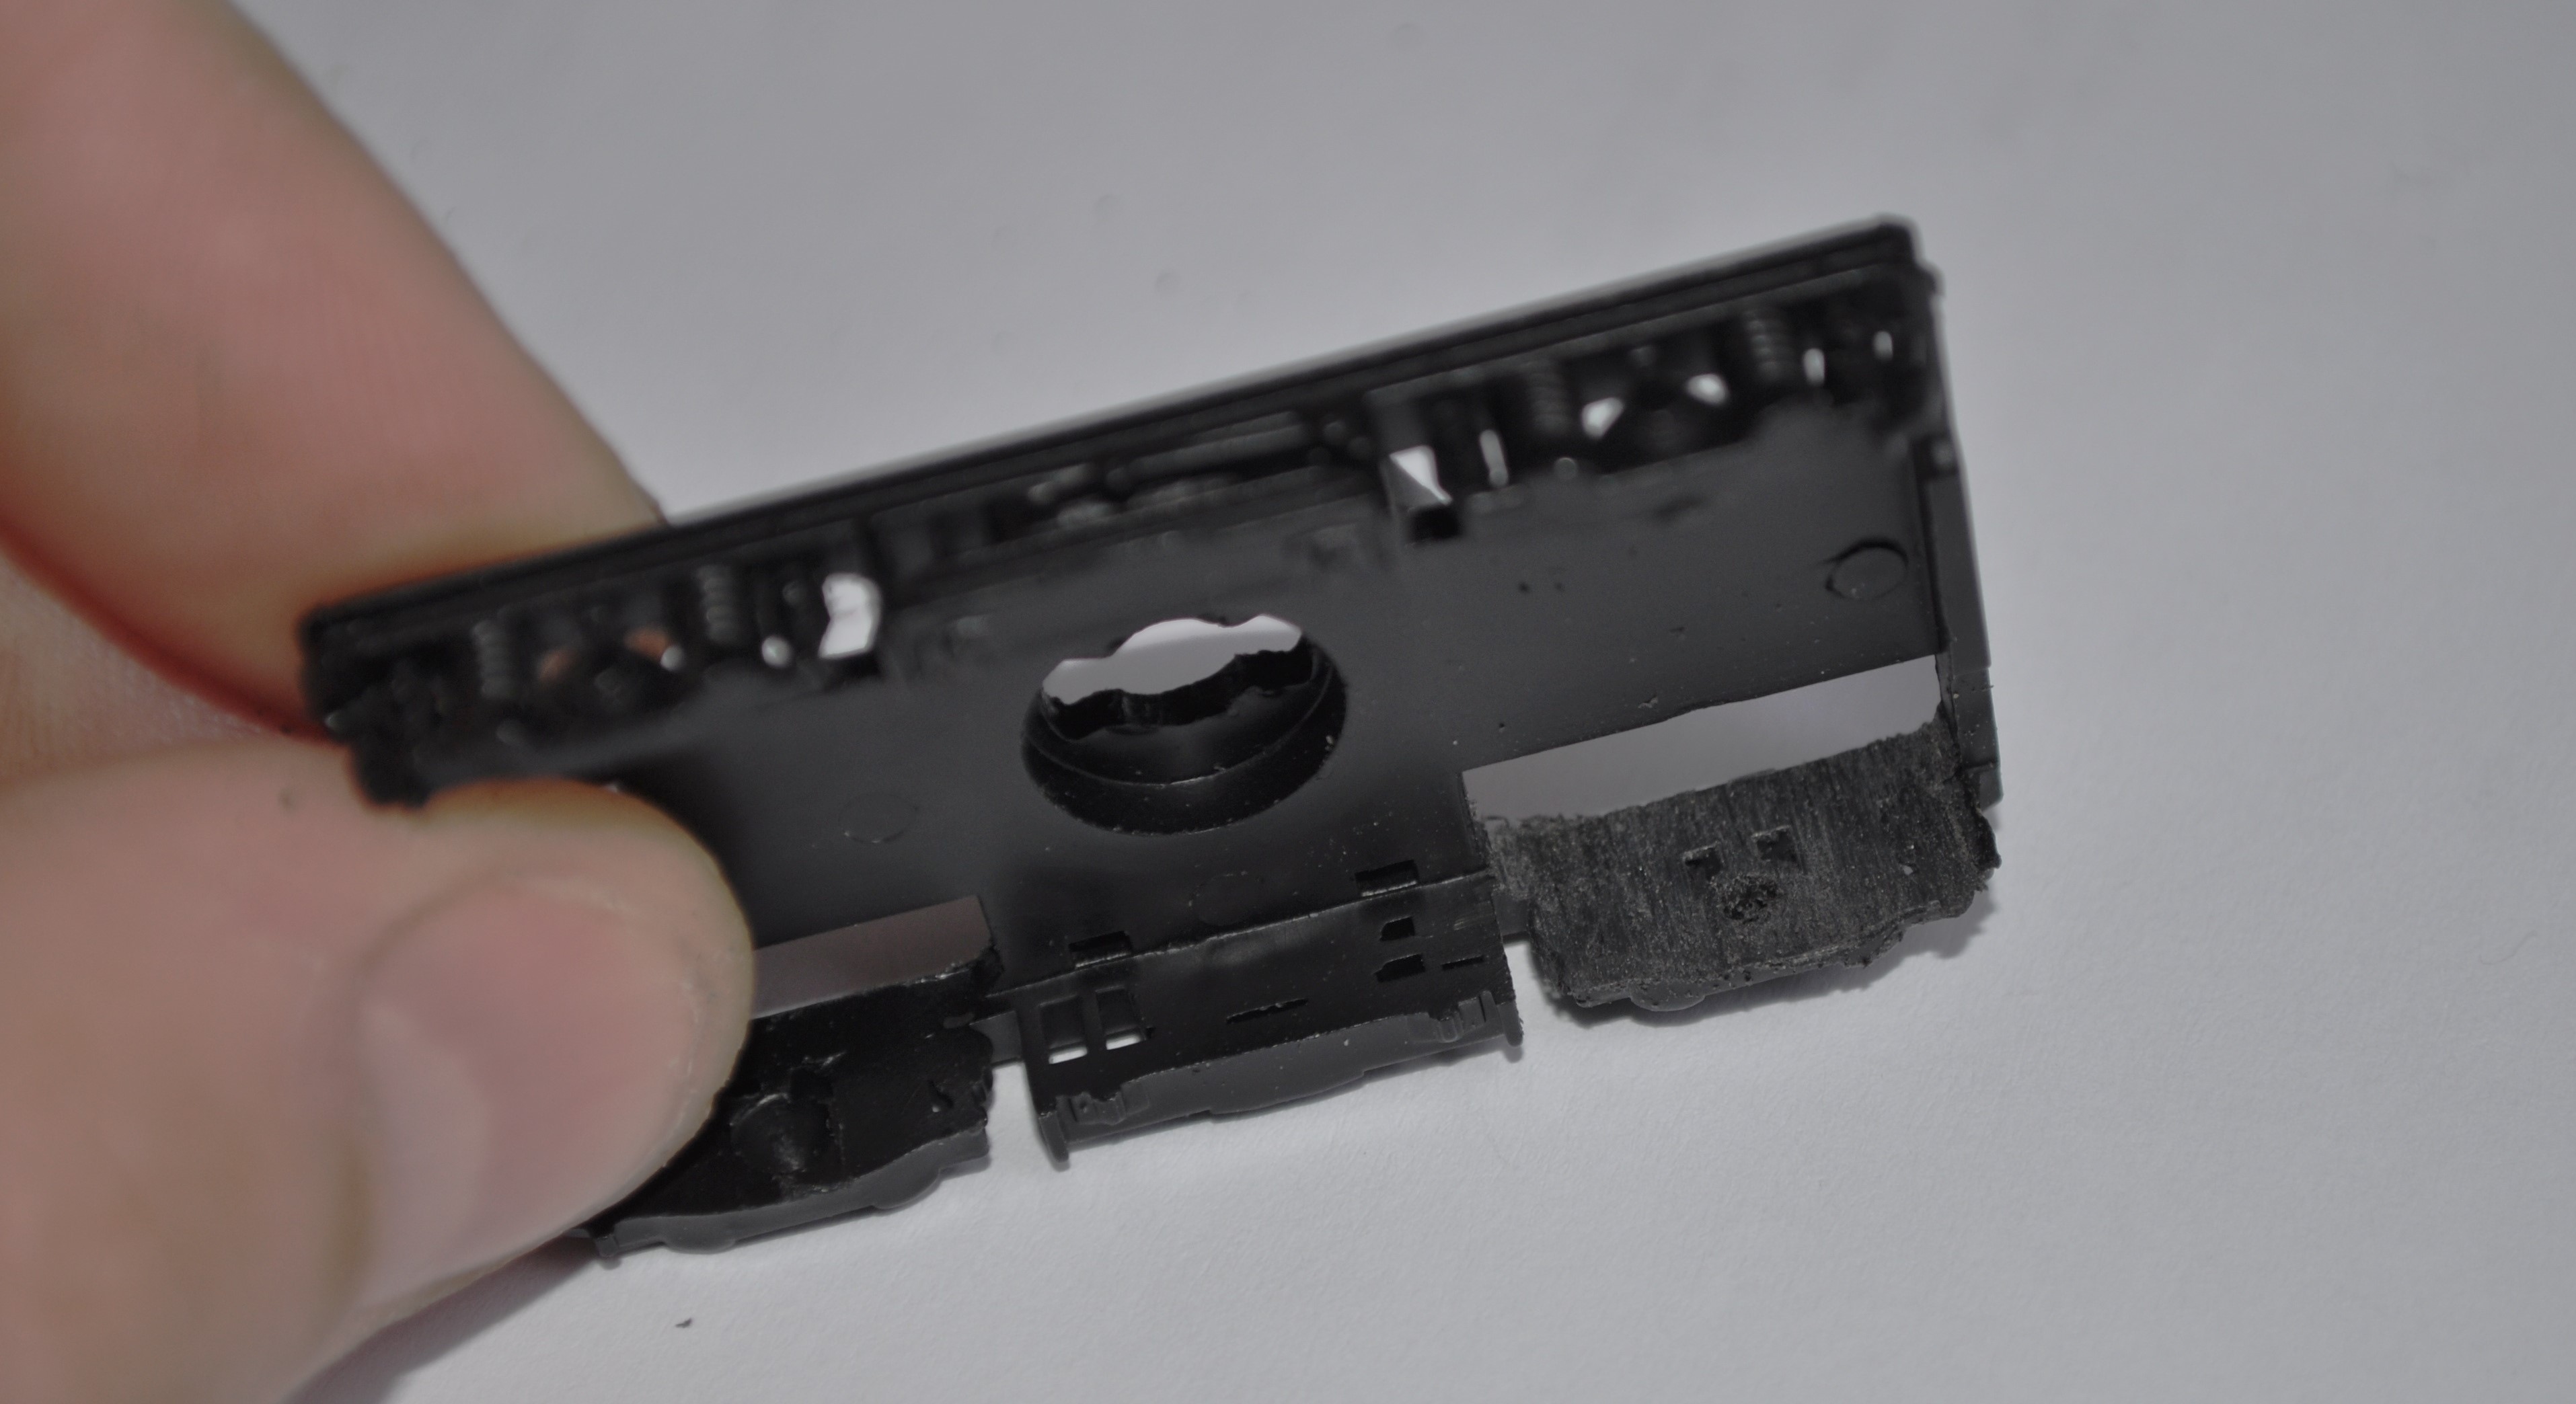
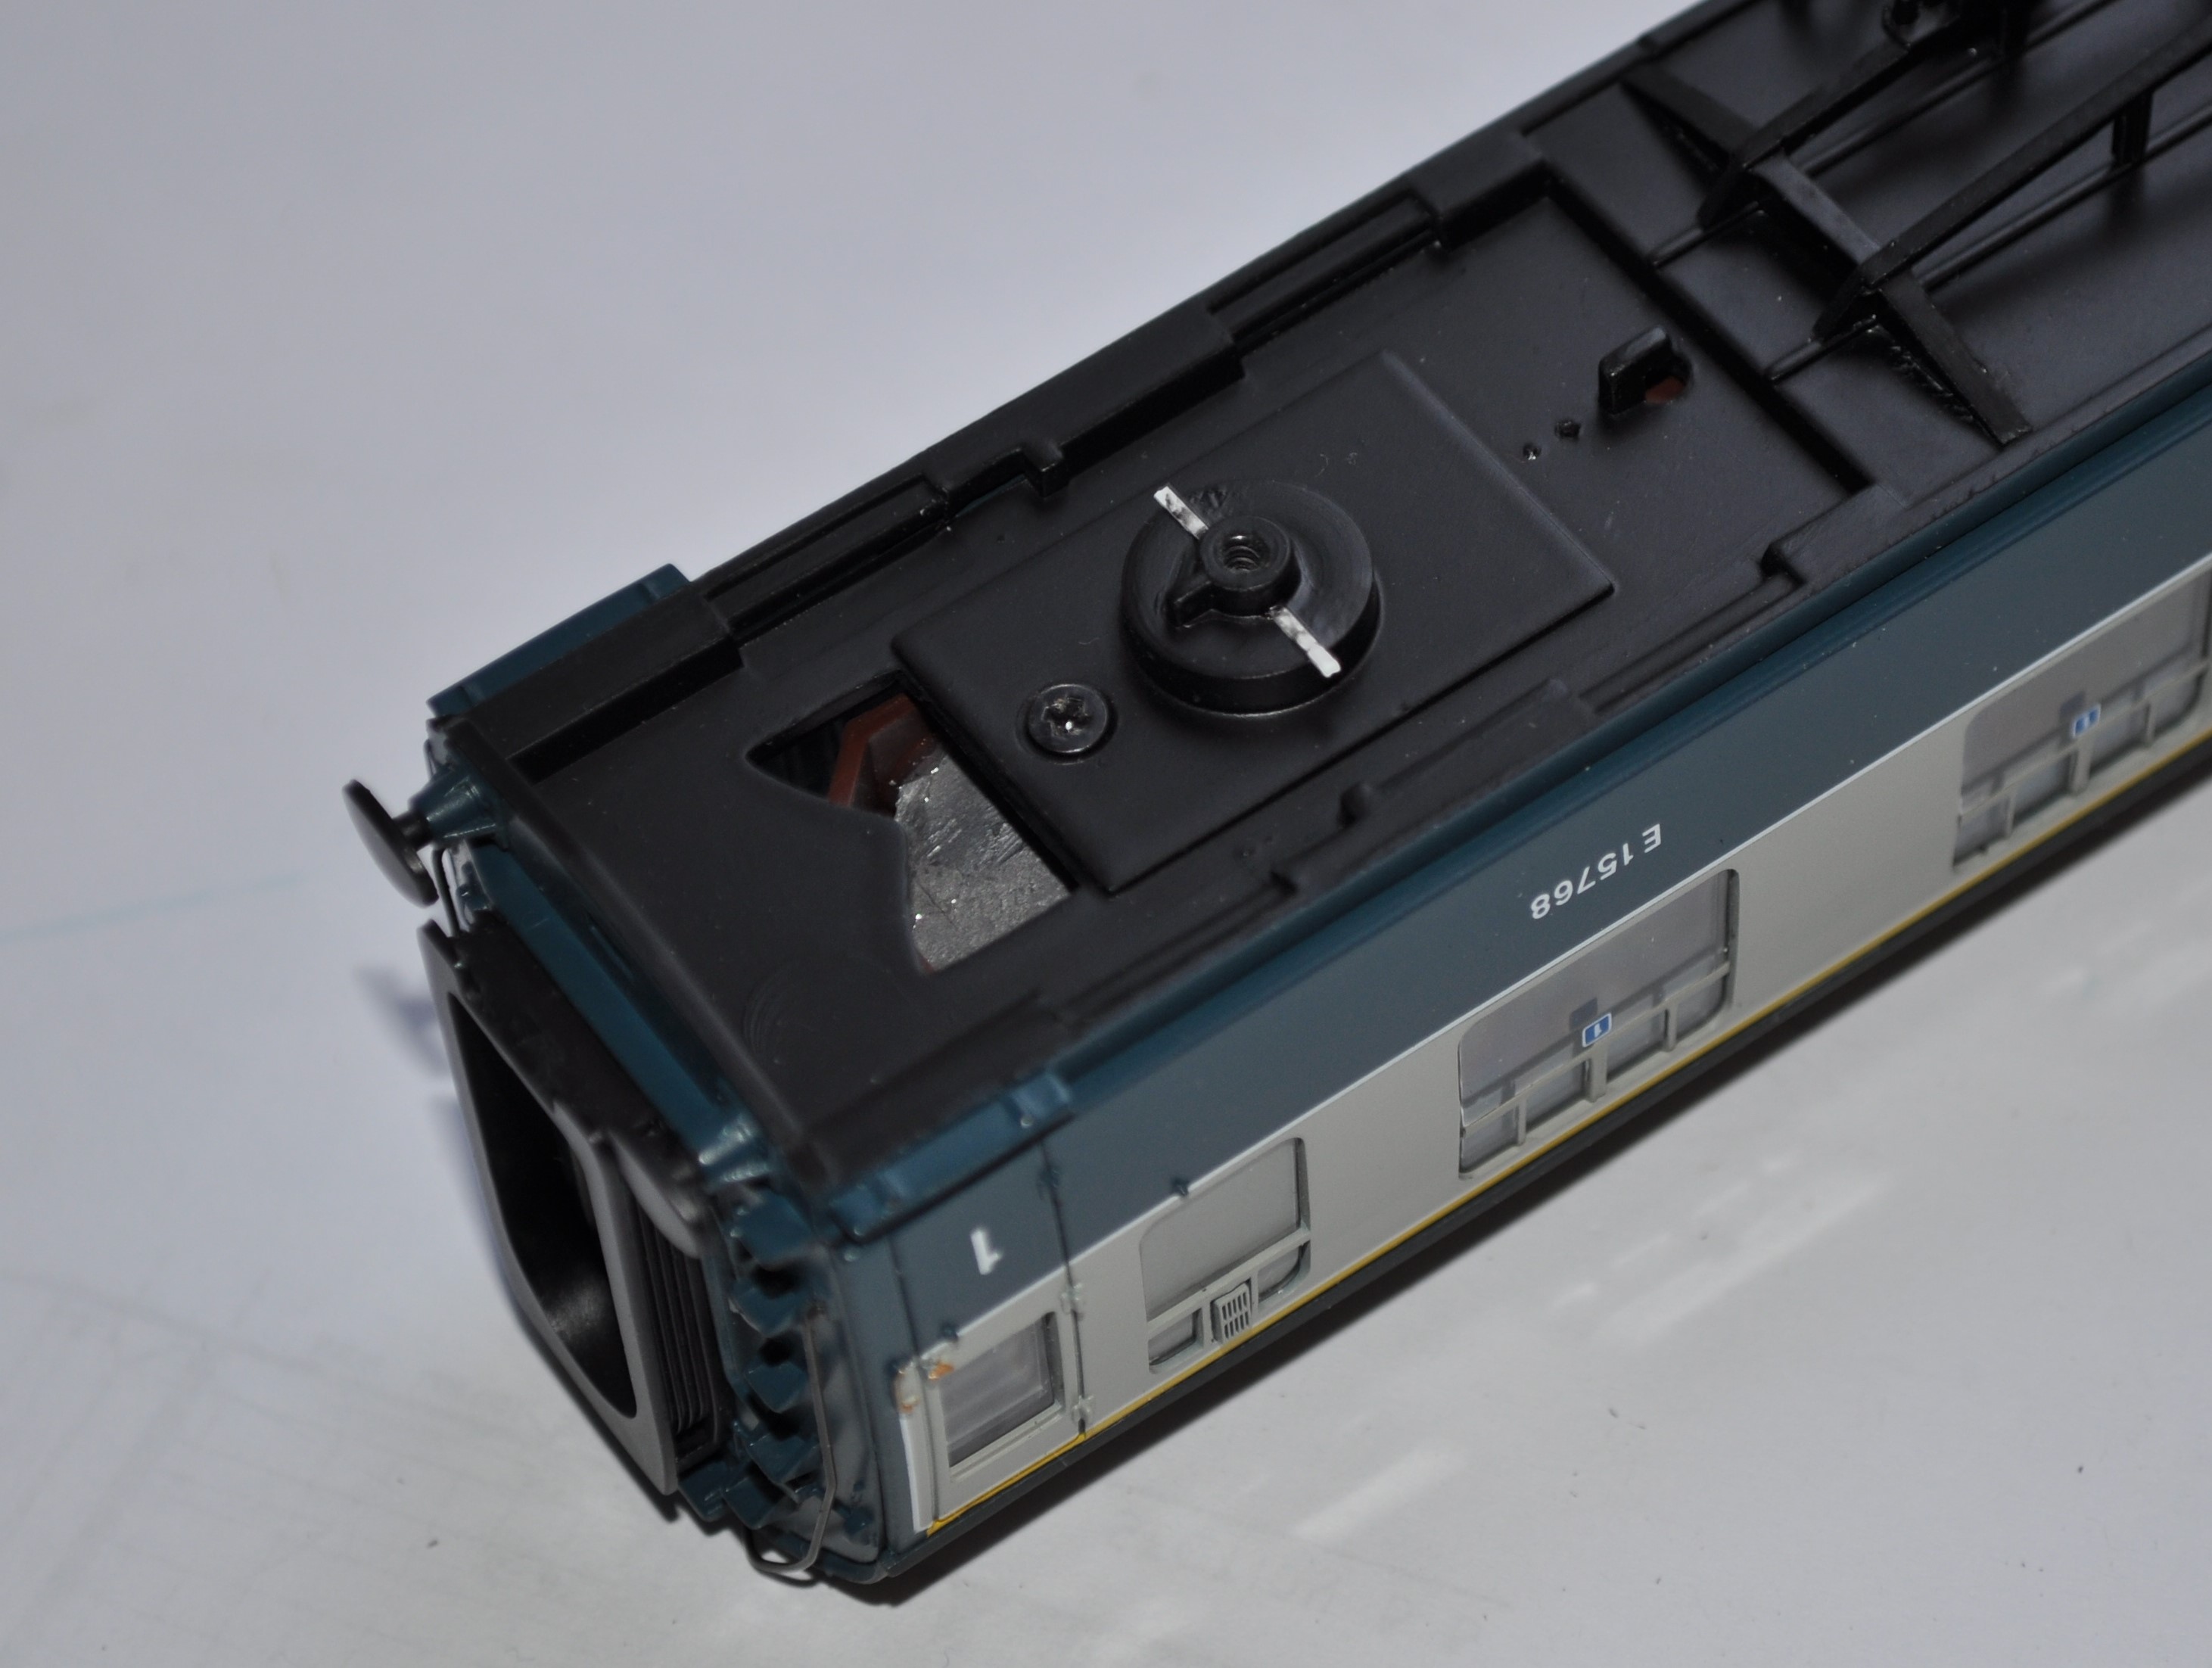
The next caution is that the bogie mounts are not always parallel with the rail head, meaning that the bogie can lean forward or backward. This is caused by the chassis being screwd a little over-hard onto the body, causing it to flex slightly. You are just as likely to have done this as the manufacturers and I get around it by making it rock slightly with some thin (20 thou) strip like this.
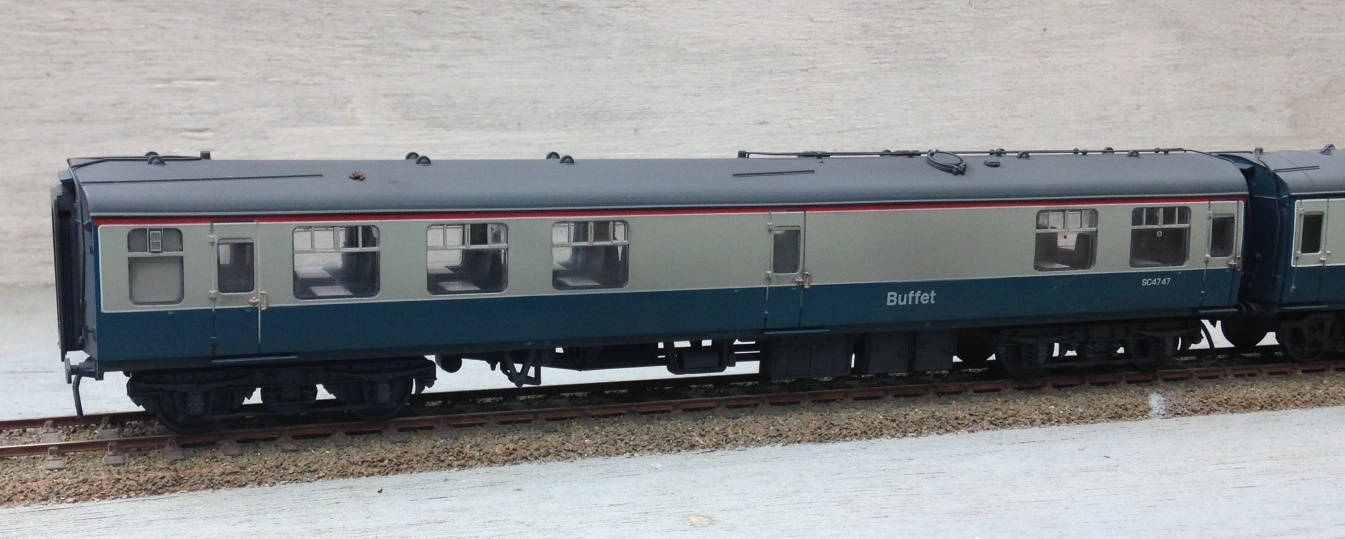
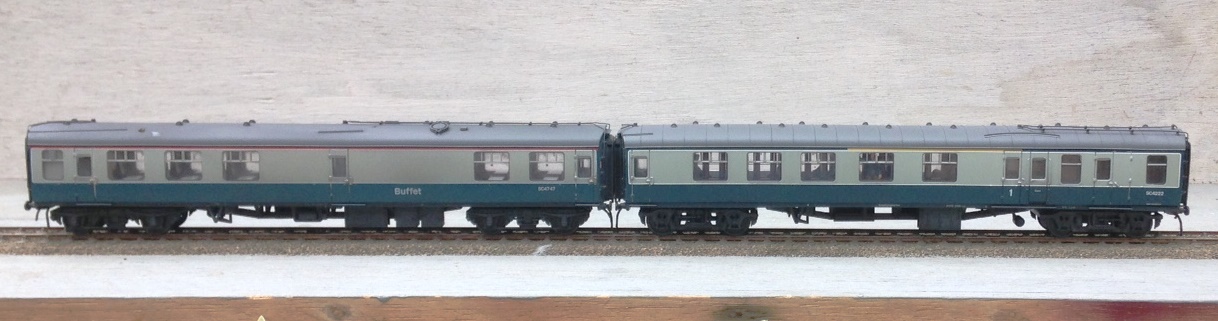
Arguably one of their weaknesses is the corridor connection which is a tad toy-train (well it is a toy train!). A dodge that I have started to do is fit a few of my vehicles with some black foam in the door jambs. Make this so that it sticks out 3-4mm and engages in the equivilent of the adjacent vehicle to block out the light. A simple dodge that makes a big difference. It does mean that the vehicles that are fitted thus have to be in the centre of the train (as the foam looks crude where it is exposed) but this can be done with care – for example a buffet would nearly always be in the centre of a train, so this is the vehicle of the two I fitted with this.
NER Hoppers
I am presently cracking on with a batch of NER hoppers for Benfieldside. Having acquired the layout, Tim and Julian have very little stock to run on it, so as part of the repayment for the use of their facilities and expertese on my boards, I thought I would help to correct this shortfall.
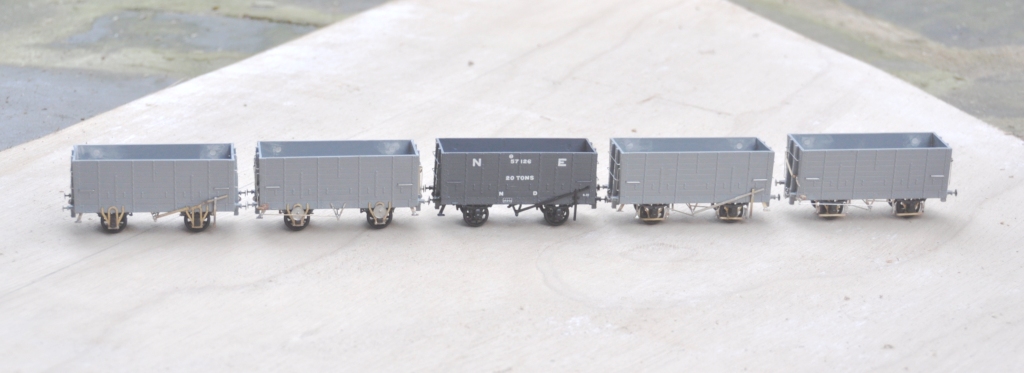
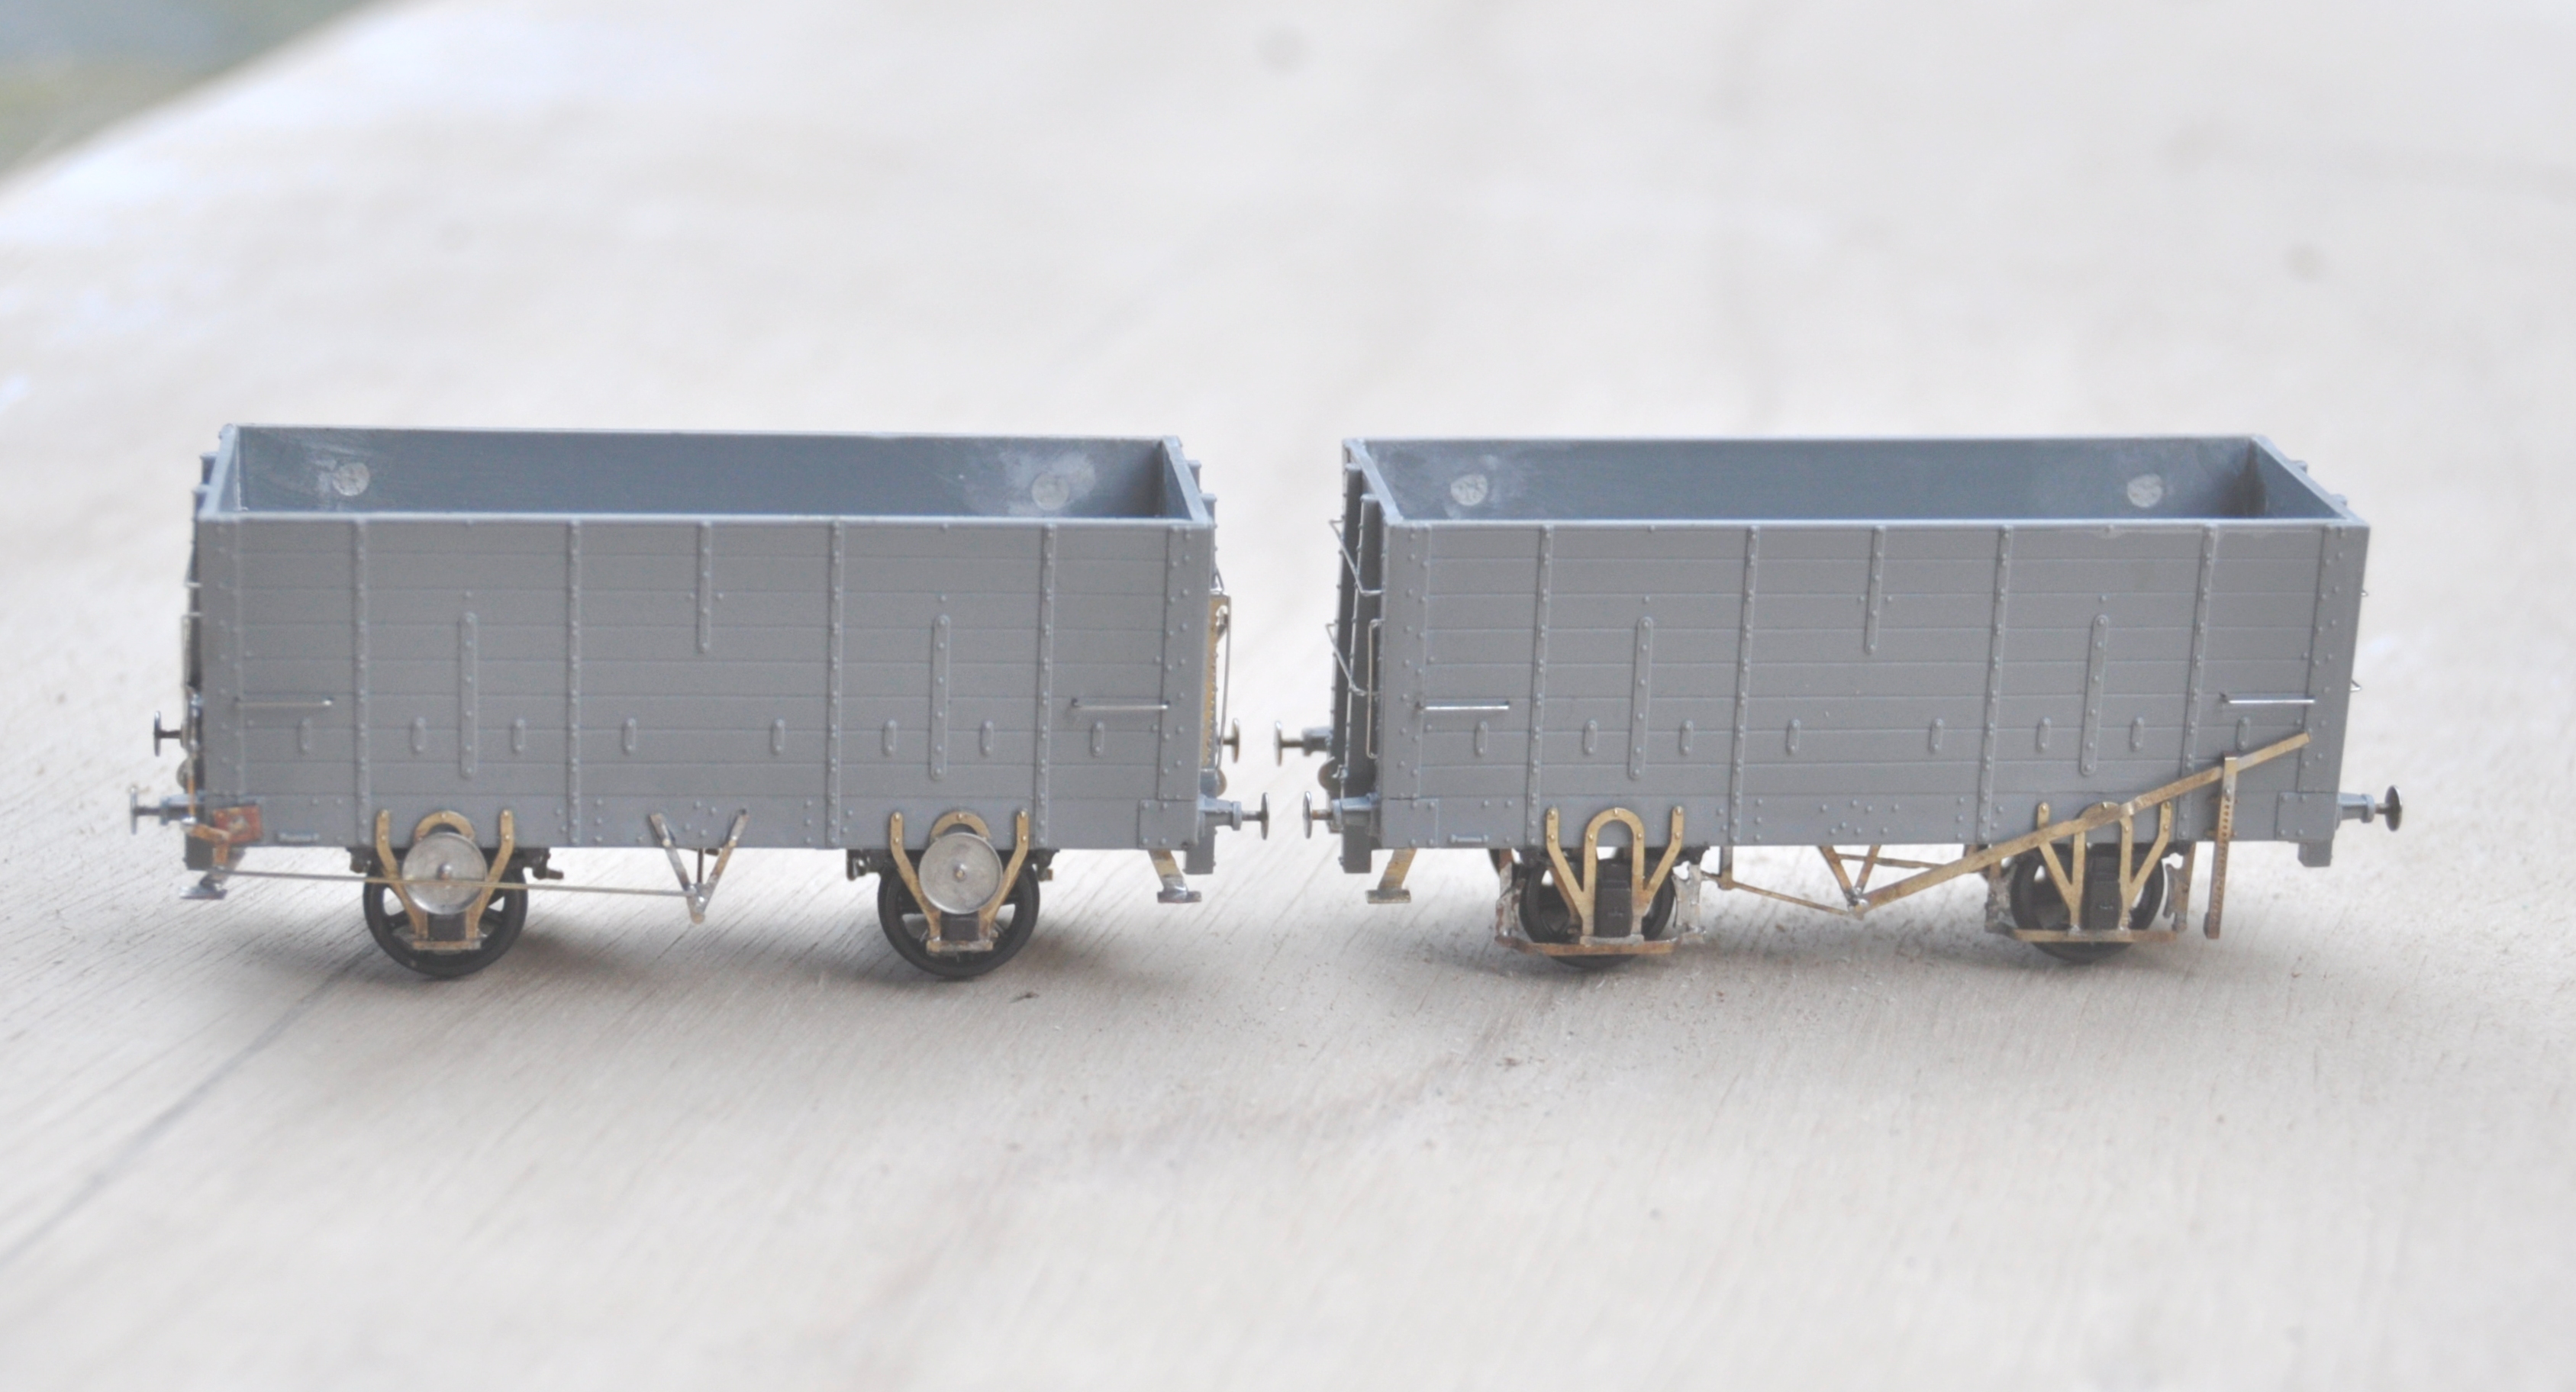
The origins of all of this present batch of hoppers all go back to the Slaters’ injection moulded kit, which is of diagram P7 wagon. There were around 17,500 of these wagons at the time of the grouping and the LNER carried on building them for some years thereafter with only subtle differences; so not unsurprisingly there were quite a lot of variants. Thus, I have been doing a lot of modifying!
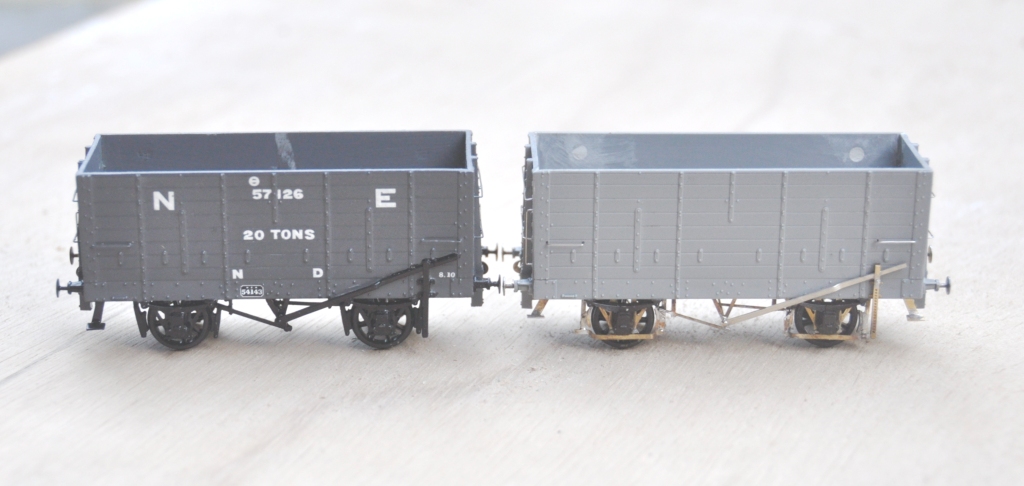
In each case, I replaced the very clunky W irons with Bill Bedford replacements; even though these were to be to EM, I felt that they would improve their performance. The first examples were essentially built as the kit was intended with fairly traditional brake gear (which was to one side only). However, having built my first one, I decided to refine the brake gear by drawing an etch for replacement steps, V hangers, morton brake mechanisms and brake levers. This (along with a comparison with the plastic equivalent – the painted wagon), is below:
However, a significant proportion were modified with end levers that operated a crank that was connected to the Morton gear. At the ends, there was a much more chunky ratchet arrangement to retain the lever in position. Again, I drew this up on the etch, and the arrangement looks like this:
The NER undertook a number of experiments with these vehicles to attempt to reduce rolling resistance and this was the subject of my next modification. On the right (below), shows the provision of a second outside set of W irons. This was to add stiffening to the axles. There is a set of Bill Bedford W irons to cater for this, but I chose instead to create a fresh set on the etch. On the left is a further variant, where an anti-friction bearing was added in addition to the outer W irons. This was a wheel that ran on the top of the axle and I presume the idea was that as it rotated less, there would be less friction. I suspect that the introduction of an open bearing surface that would instantly get contaminated with coal and grot would actually have the exact opposite impact – as these were removed by the grouping era, I may well be right!
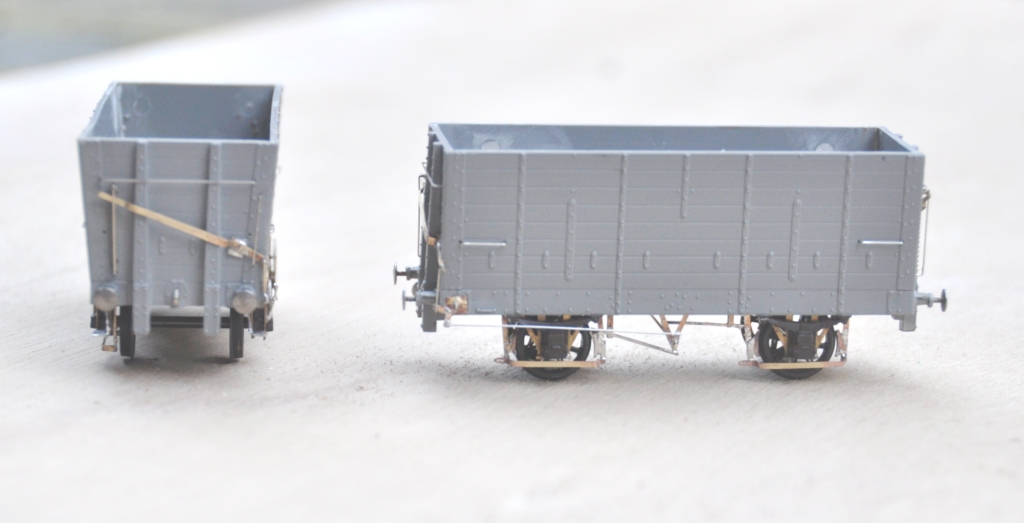
The final variation of construction that I have modelled was a slot cut into the ends, which appeared on some vehicles. The NER used these on vehicles that were hauled up rope inclines – of which they had many. A plank of wood was inserted into the hole and wedged such that it was secured behind the end posts to ensure that the haulage point was close to the centre of the wagon. They found without this that there was a tendency to pull the end posts loose due to the uneven point of pressure.
Next up will be the painting and lettering of these; where I have three eras to chose from that would have all been apparent immediately pre- first war, which is when Benfieldside will be set. More on this in a future post.
If there is a desire from anybody for the etches, I would be able to offer them; so drop me a note?
