Blog Archives

What Have I Been Doing…………..?
Gosh, another year where my intentions to increase my rate of posting have got away………..
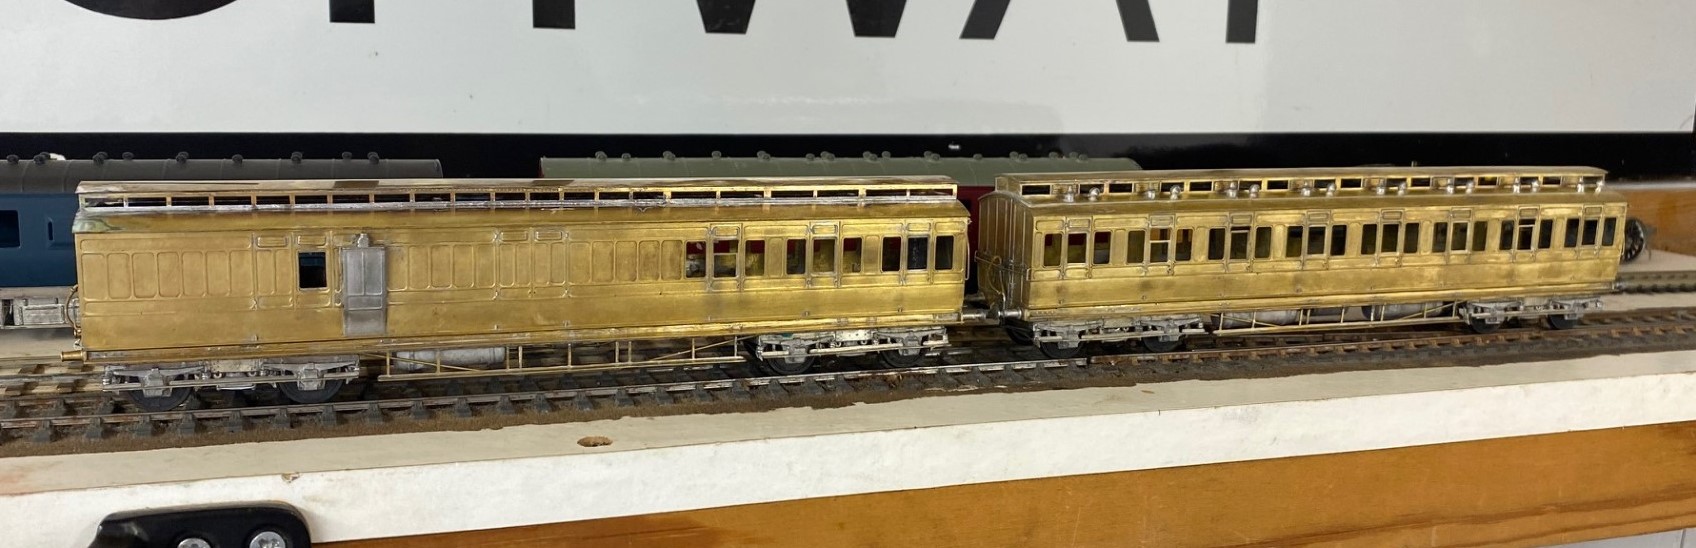
Whilst work and home life have intruded, I have still managed to get some modelling done; including a rake of NER coaches for John James for which i do get something in return in due course.
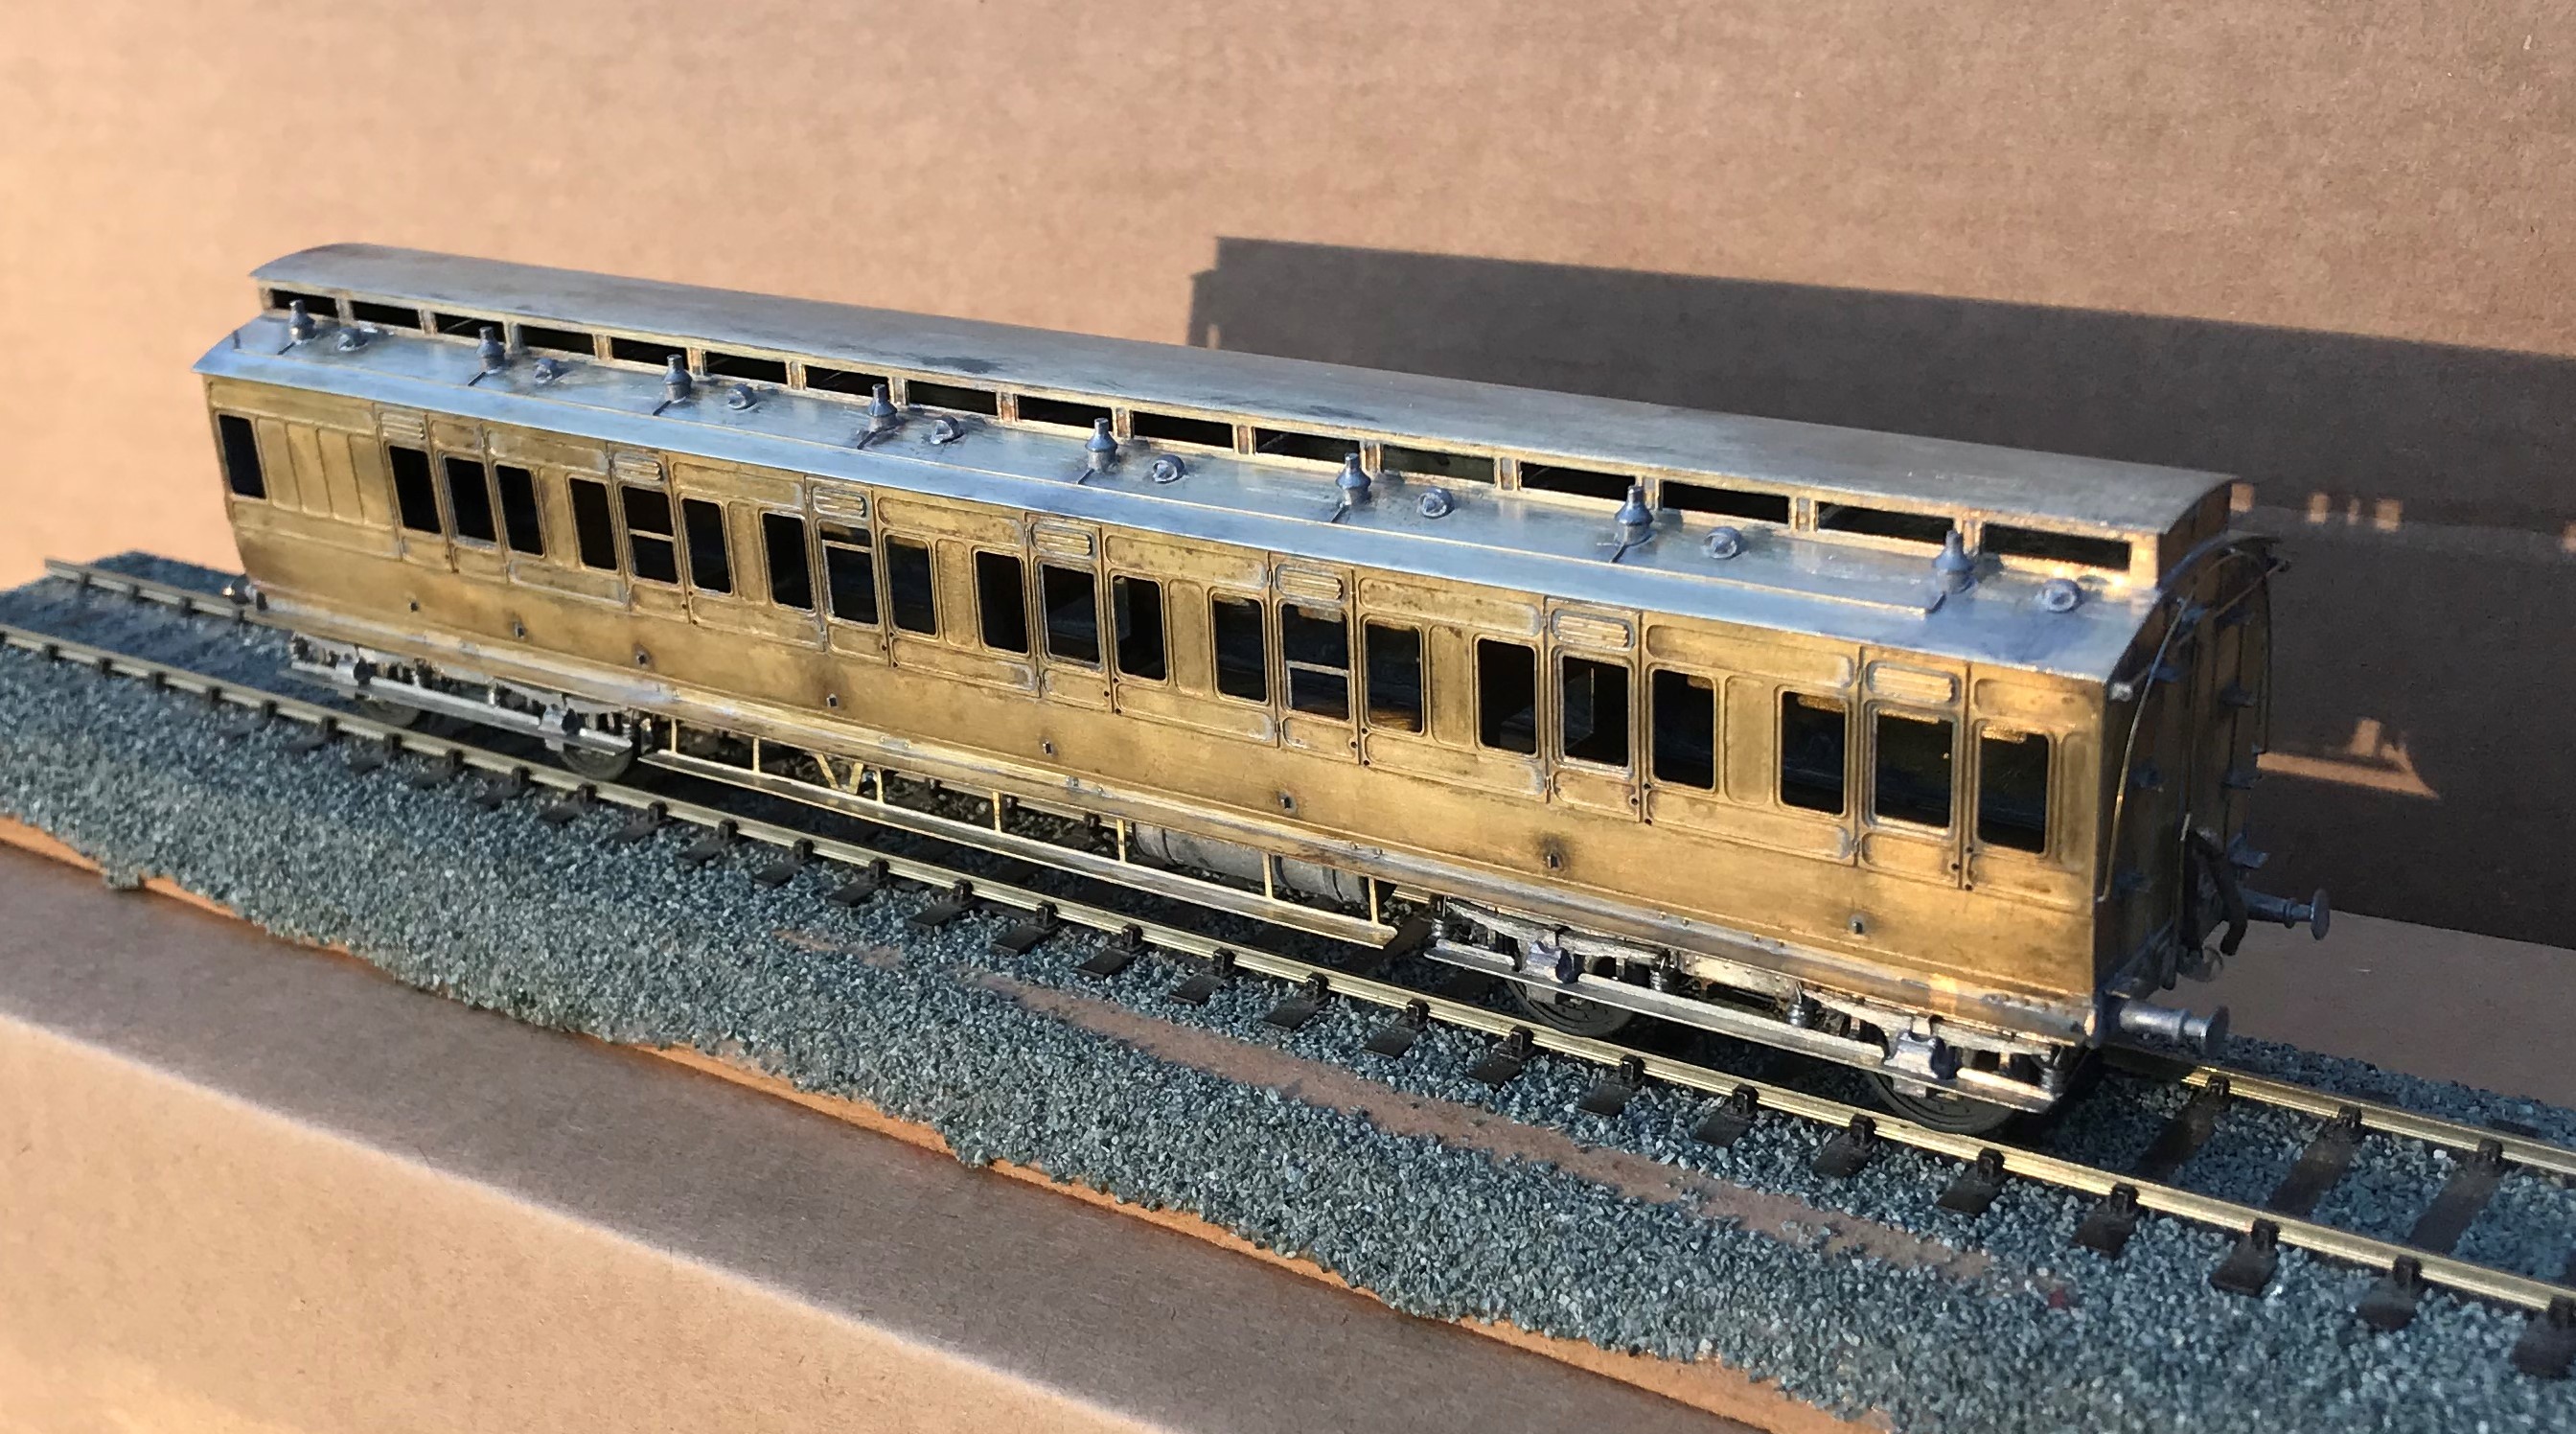
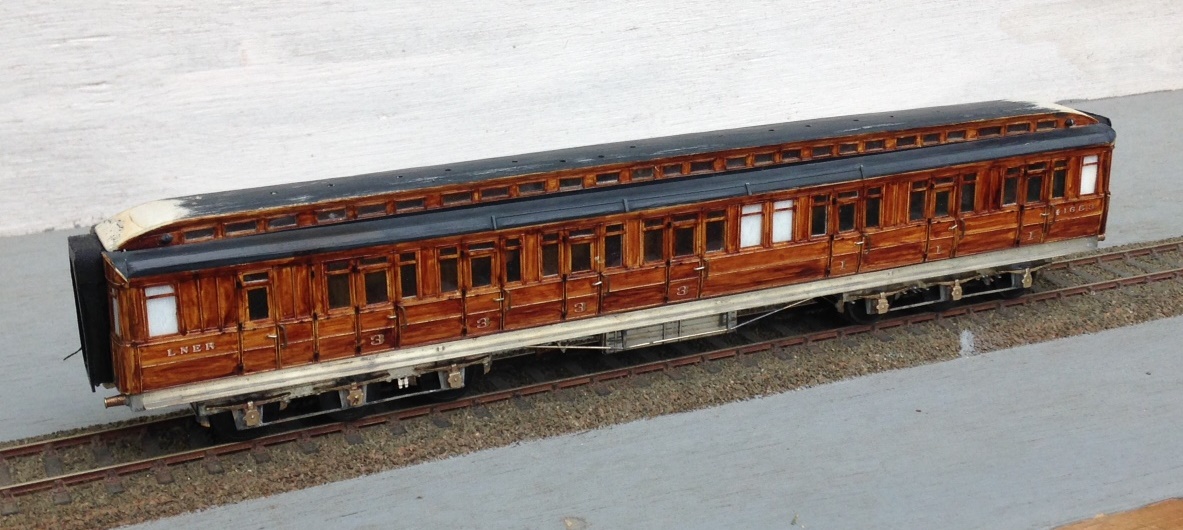
The rake had a pair of three compartment thirds, of which this is an example:

All of the coaches were constructed from D&S kits on my Miscellany Models Fox bogies with replacement roofs formed of nickle silver sheet. I find that the plasticard offering in the D&S kits to be their weakest point. The problem with this is that if you make your own roofs i find you might as well also cut out the section below the clerestory – it makes a huge difference for the coach to be illuminated from above. The issue is, that there is a lot of work in these roofs – I found that for each there was 15+ hours of work just in the roof!
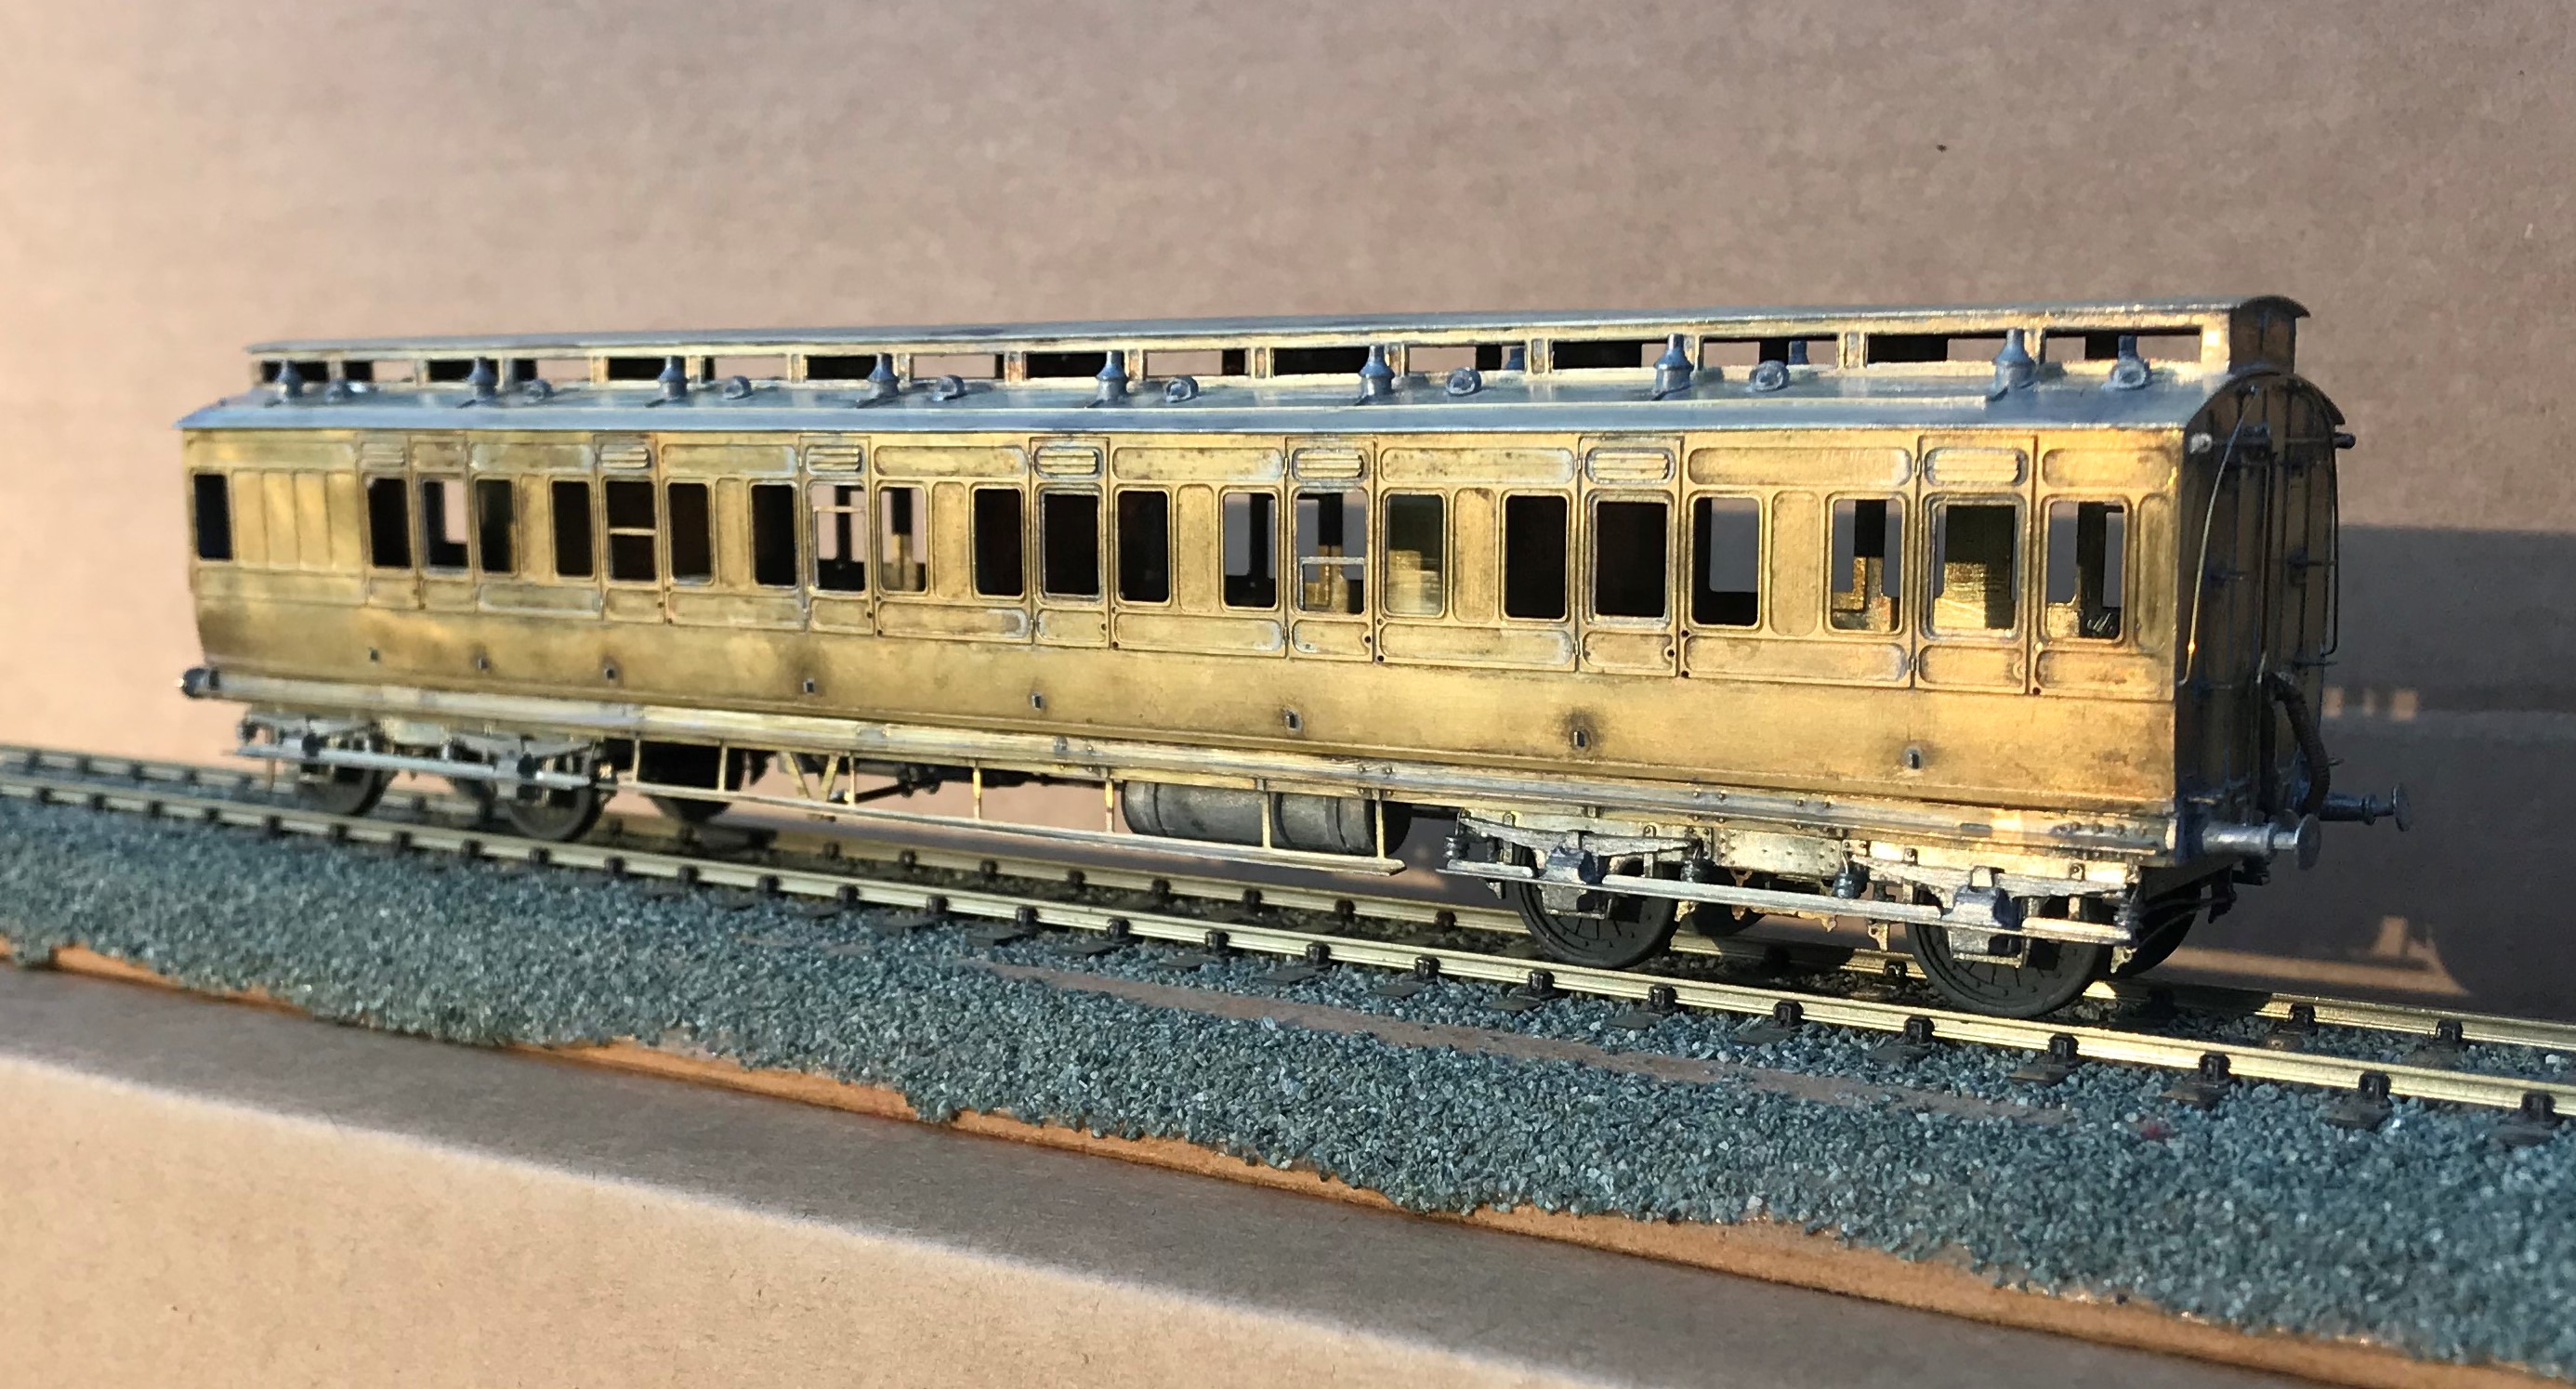
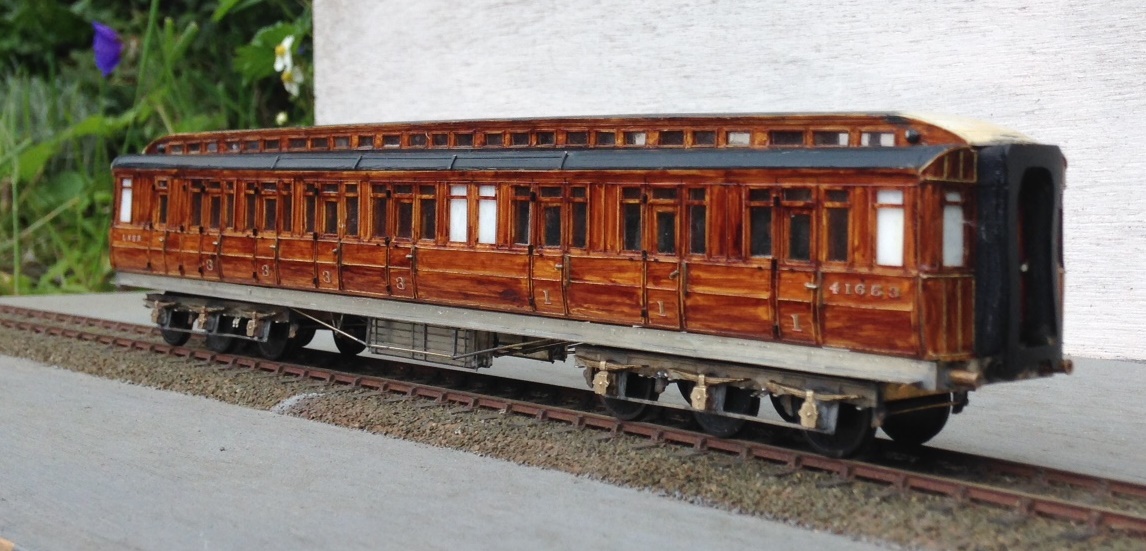
Also in the rake is an all third, which is probably my favourite of the build as it feels quite “pure” and also wihtout the problems of the composite…….see below…….

The rake only needed a modicum of first class accomodation made up from a composite diagram 7. Alas, this had a challenging problem that needed to be overcome, with the clerestory side pieces. These were much shallower than those on the other kits orwith the ends supplied in this kit. In addition to being obviously incorrect given the inconsistancy but the frames around the glazed lights were stunningly delicate. I regret persisting with this, i should have just drawn up some replacements in CAD and popped them in the next etching order.
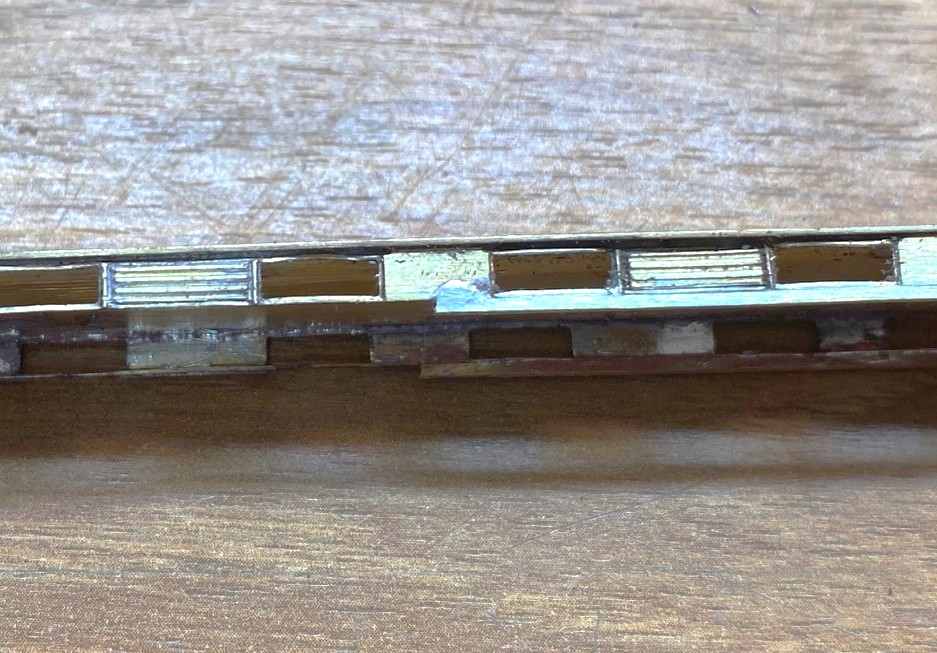
However, i solved the problem by soldering a flat strip, 1.5*0.5mm along the base. in theory it should be to both the top and bottom but that was not realistically possible and I decided life was too short. After much fighting, cussing, fighting, screaming and more fighting, I did get it there, as I hope you can see.
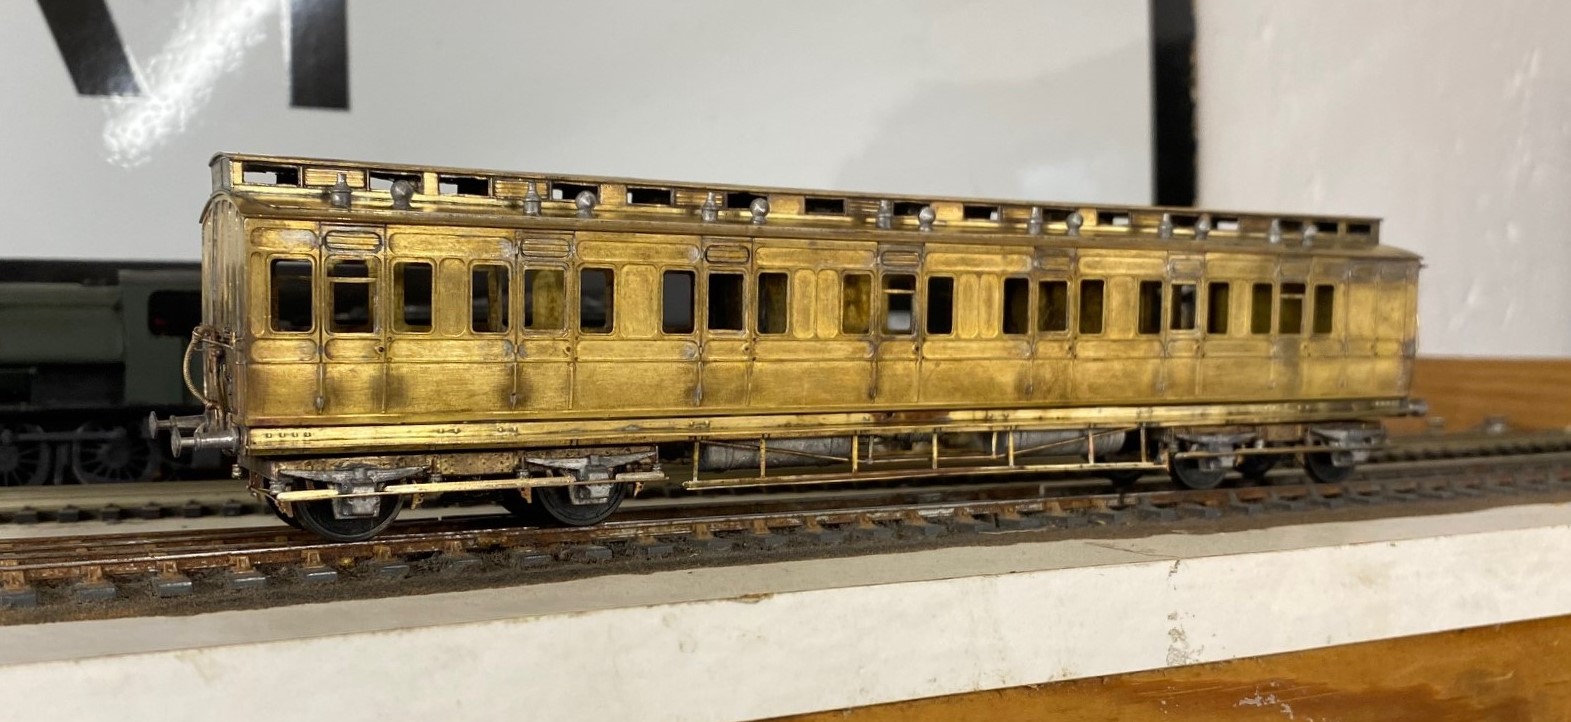
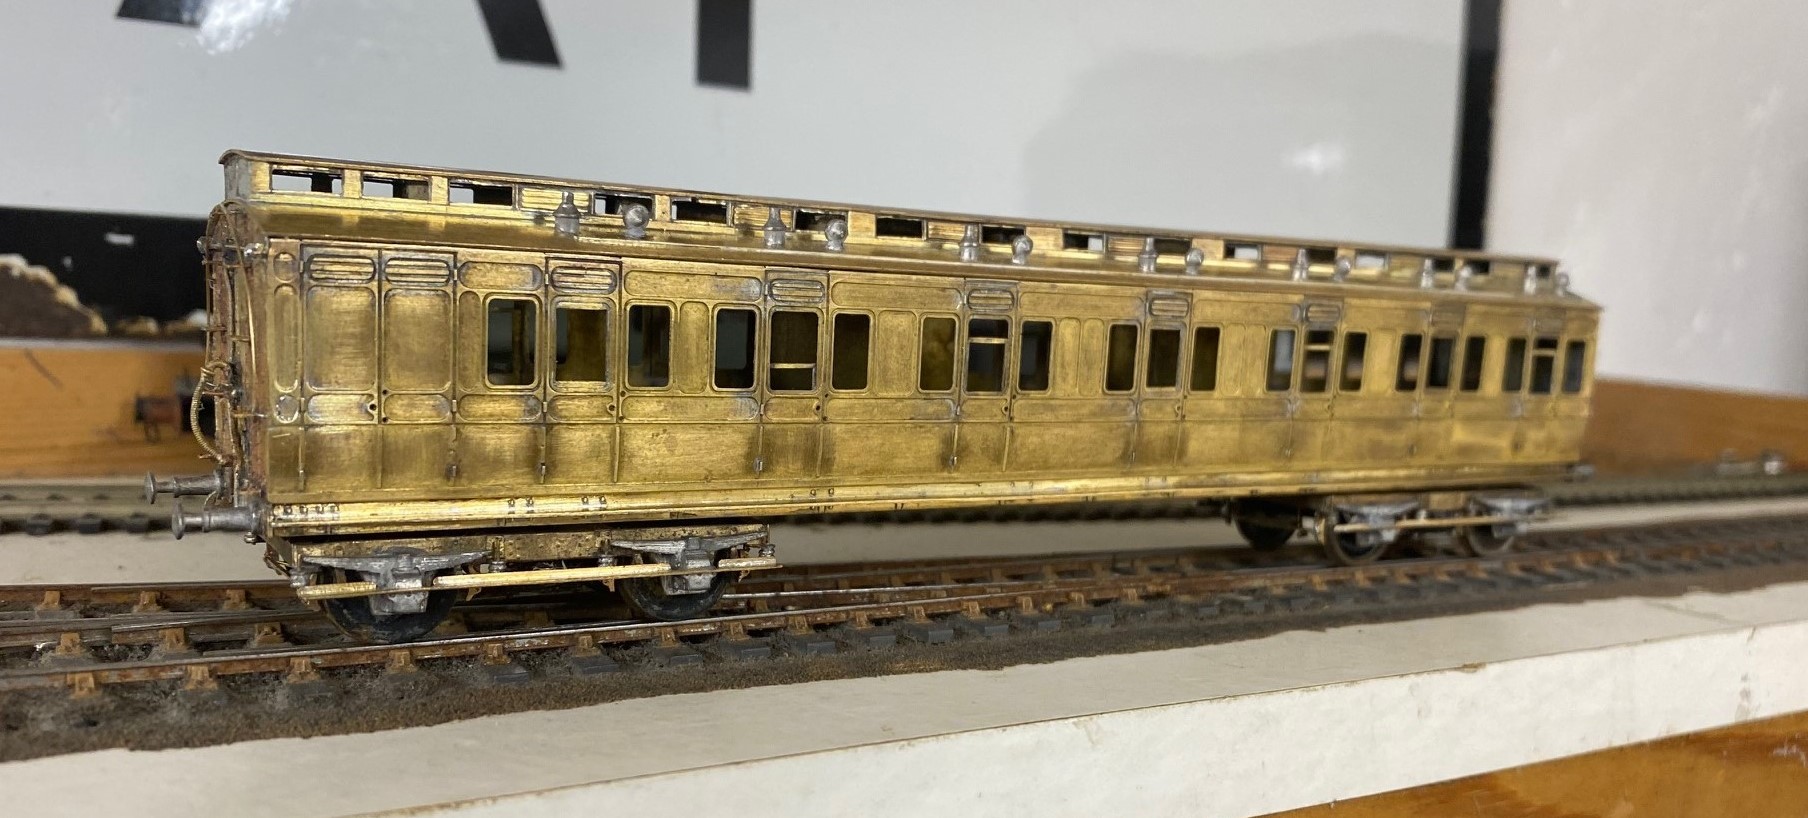
I was asked to do these as gas lit coaches and therefore there is a bit going on below, as one might say.
As the coaches were quite long lived, they went through many detailed changes. for anyoen who is contemplating building some, I would heartily recommend reading David Addyman’s notes on how he built his in the Scaleforu Forum https://www.scalefour.org/forum/viewtopic.php?f=39&t=7210&p=101662&hilit=ner+coaches#p101662 David’s coaches are modelled in the 1930s, so have different lighting arrangements, footsteps, bogie spring dampers and sides to the clerestories. Lots of things to be aware of if you are doing something similar.
At the end of this rather mammoth build, I had four coaches that i was rather proud of. They look rather fine on John Wright’s Benfieldside viaduct.
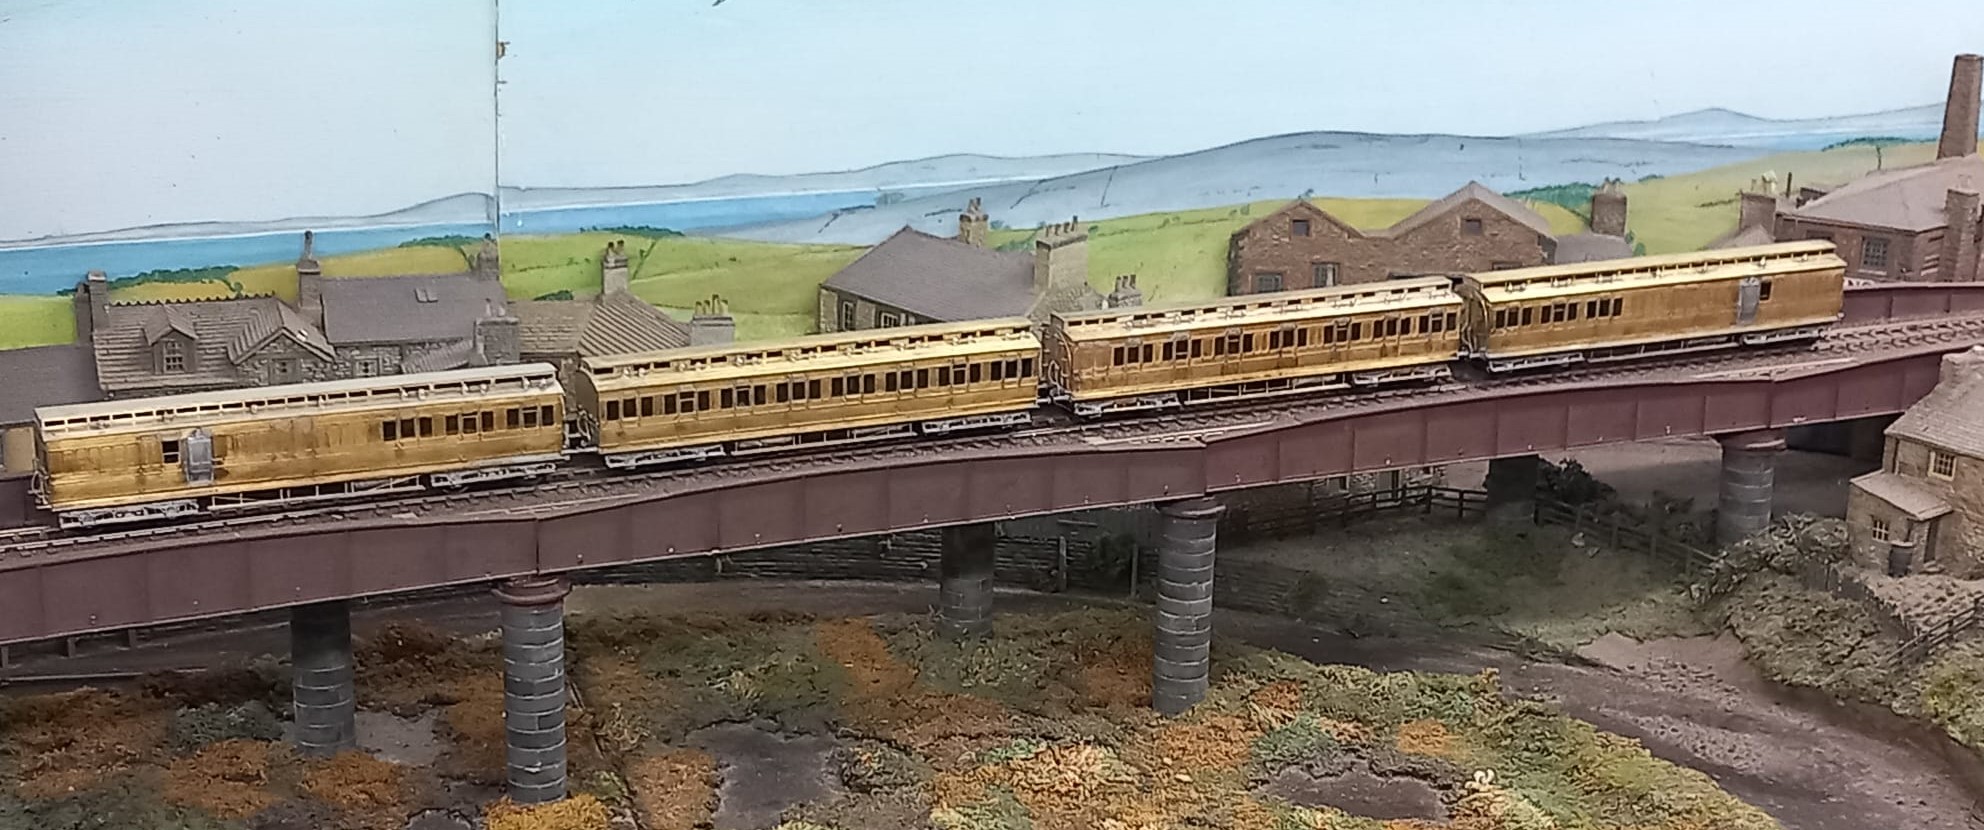
I am also pleased that i do not have to paint these; i am still looking for my lining mojo. I had it as a teenager, but have grown shy of lining. Maybe something for the Christmas break?
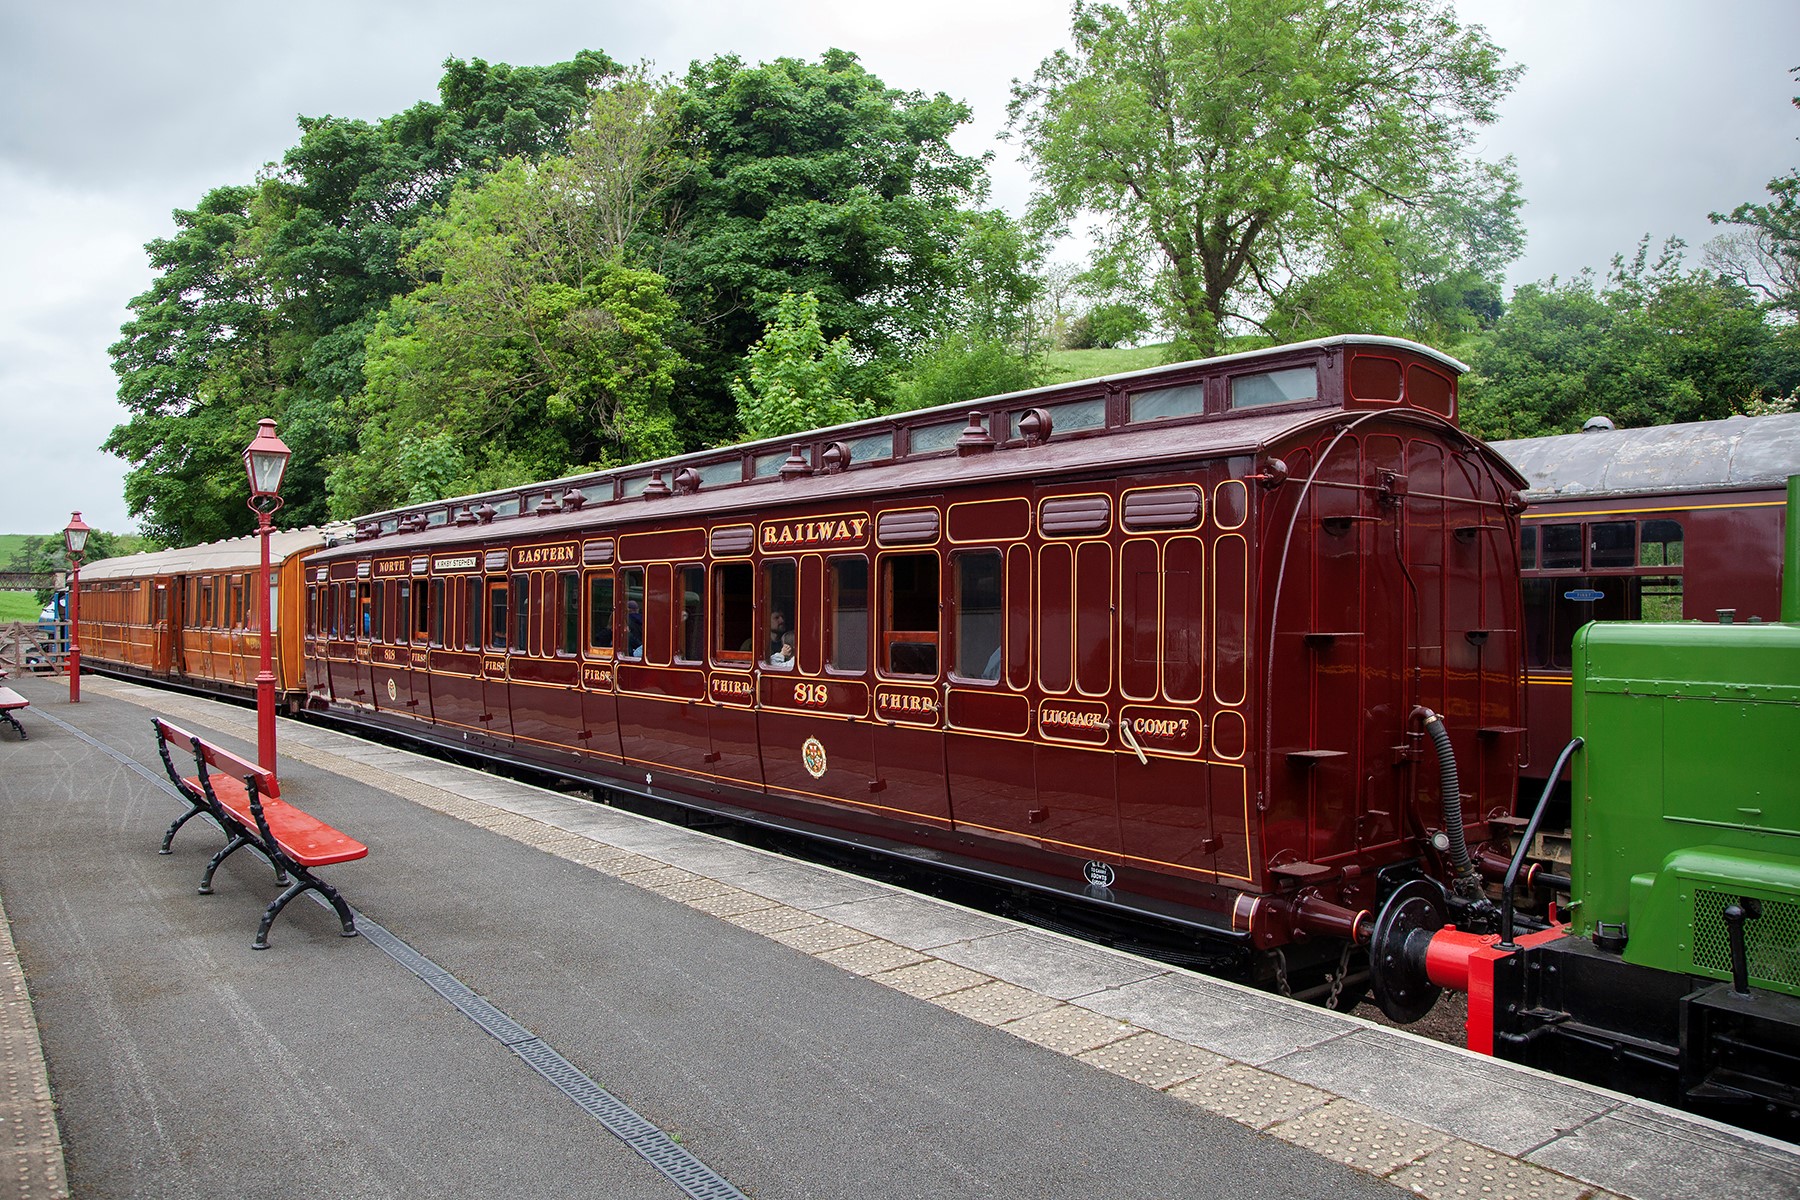
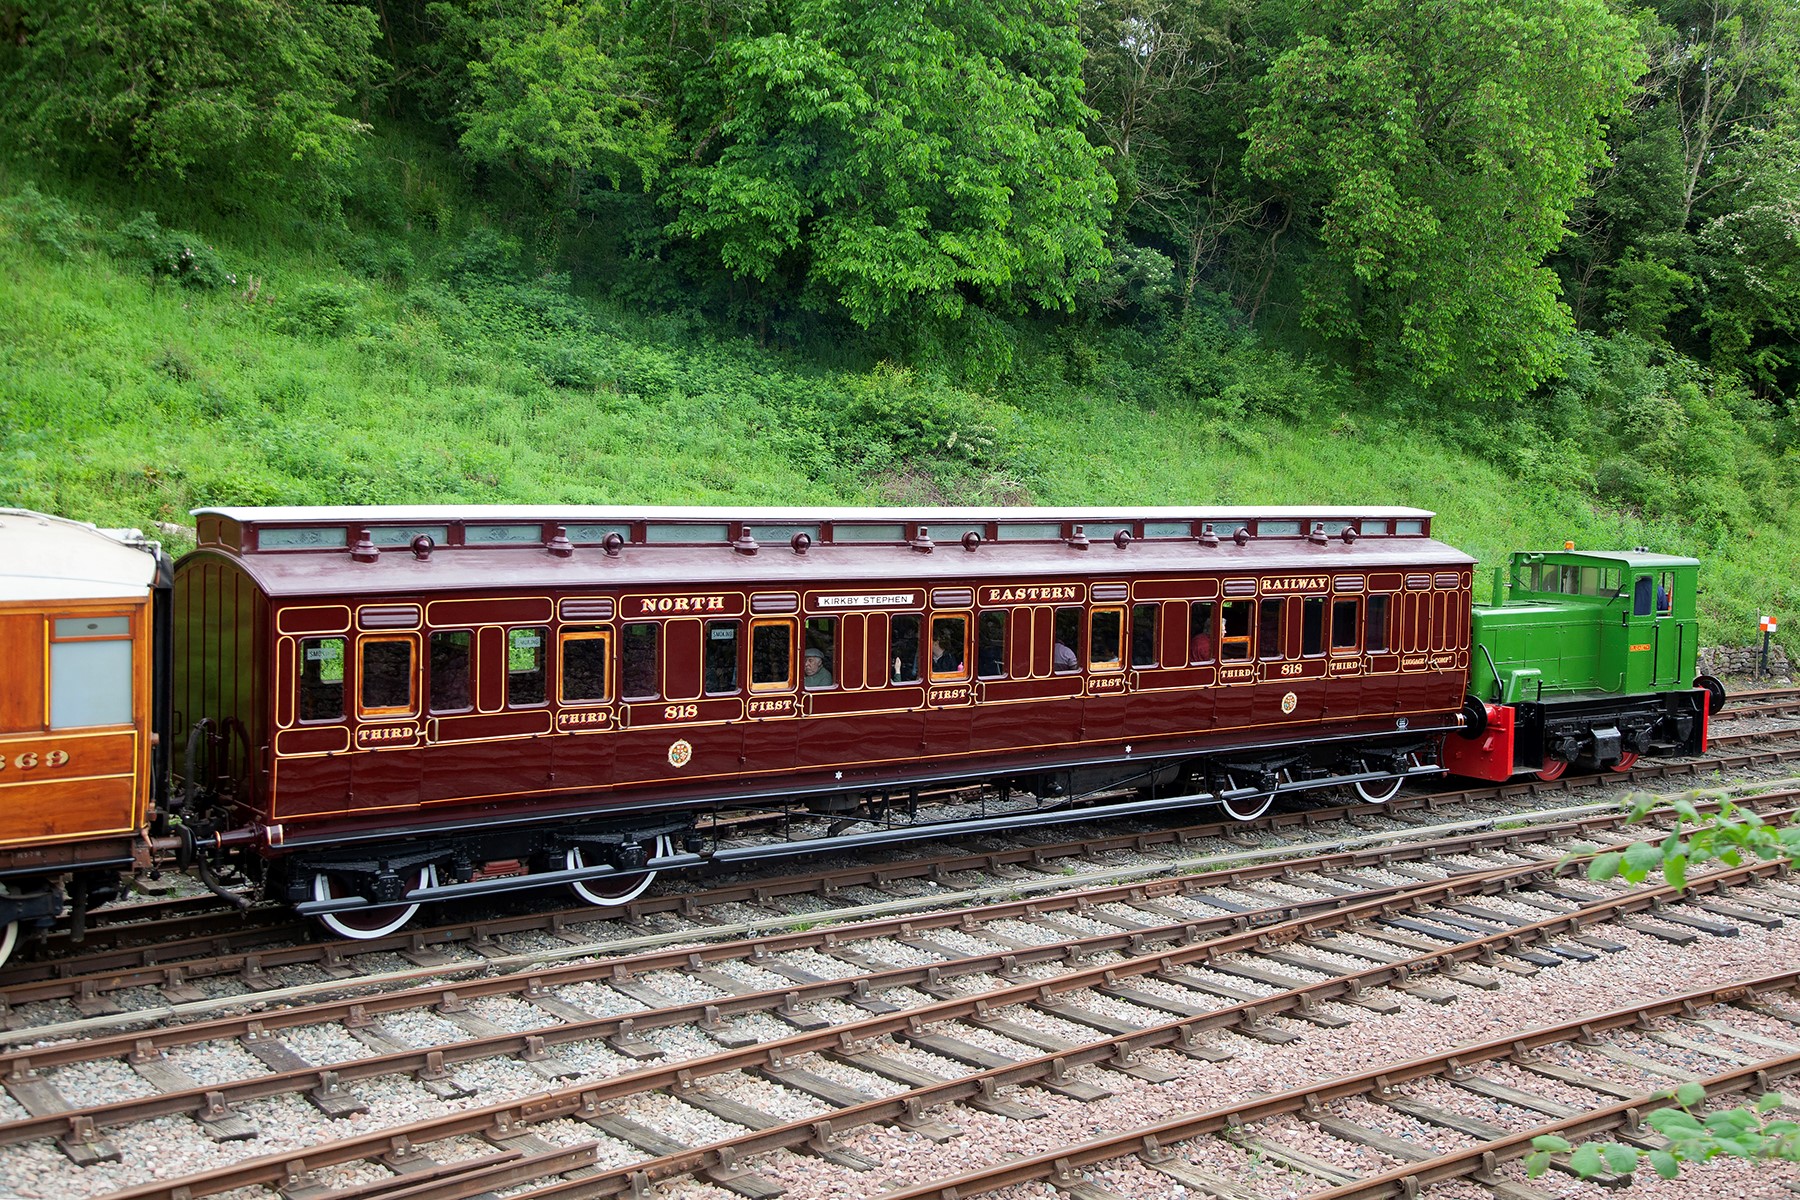
In the meantime, here are a couple of pictures of the newly restored NER coach 818 at Kirby Stephen, courtesy of the Beamish website. Does’t she look magnificant? I really must get up to see her.
The Other Auto-coach
Some time back I posted about the construction of a NER autocoach that I was building for Benfieldside and subsequently what it looked like once painted by Warren Heywood.
The NER generally used these in pairs, with a loco sandwiched between, although they did go out singly and even as quads. In this case, the Benfieldside team wish to operate them as a pair, as the bay to the right of the layout is conceived to receive such a train, with a NER / LNER G6 in between. This means that there was pressure to build the second from the moment I handed the first over. They have recently given me a favour, so it was high time I repaid it.
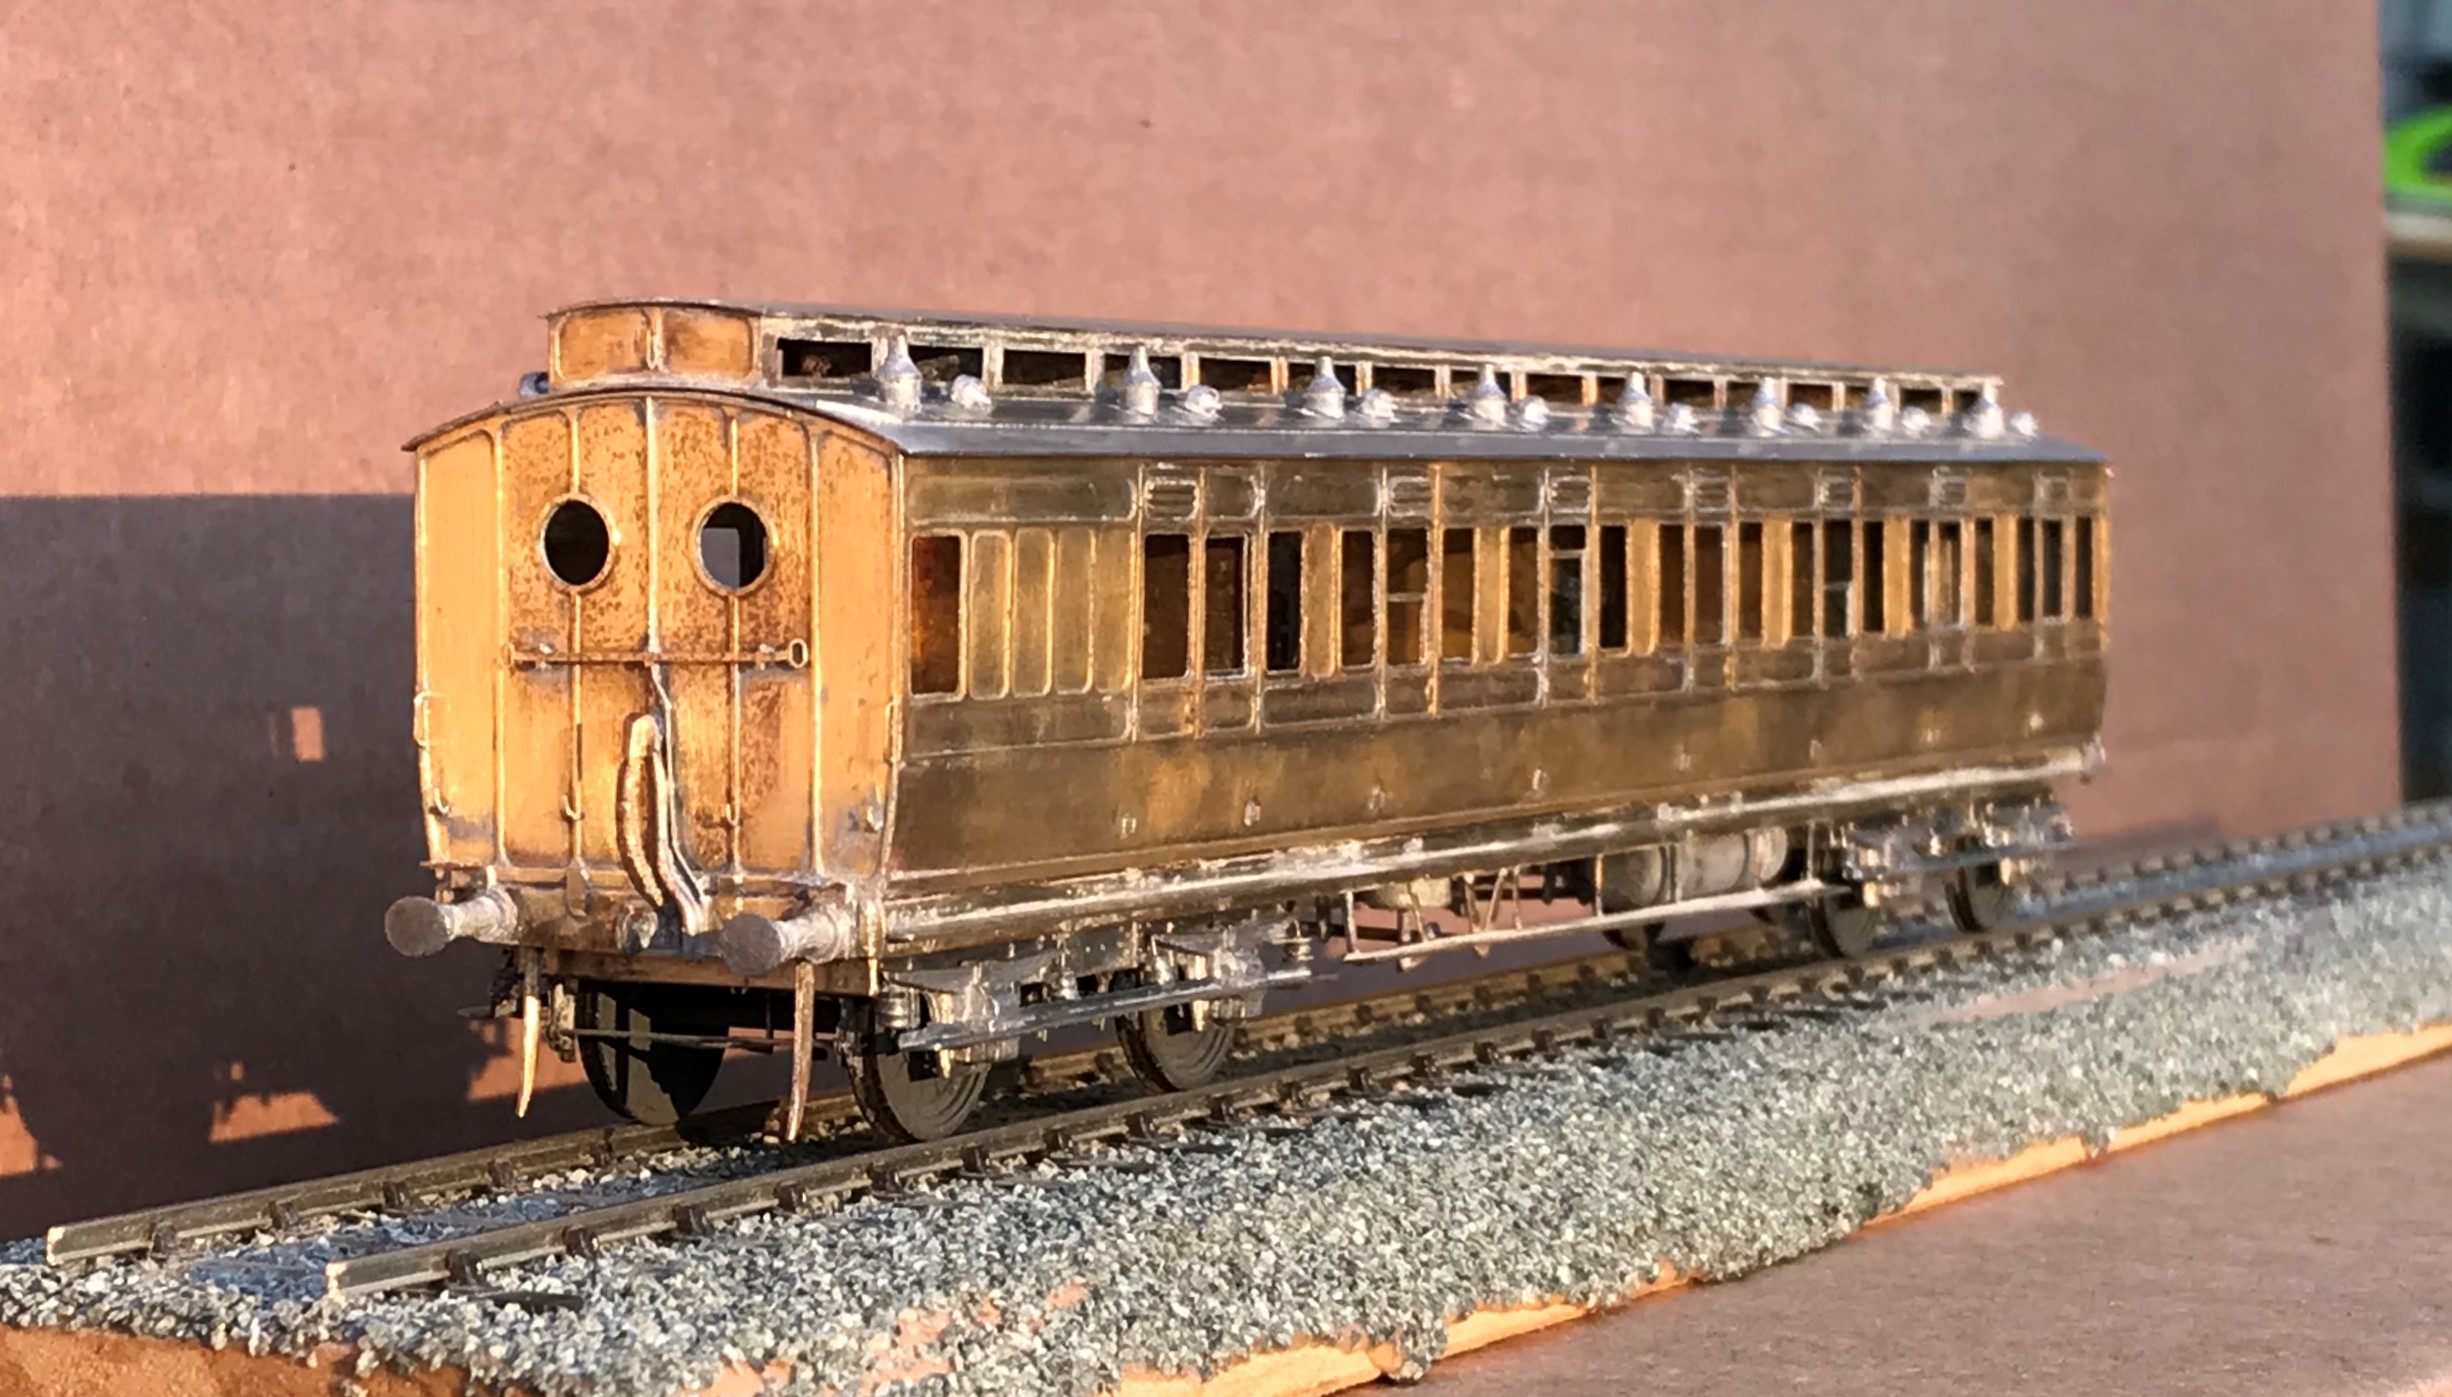
It is now completed down to the final check over stage (which has indicated that I need to put the steam heating pipes on – doh!) and then it can be delivered. So I have braved the fading light this afternoon (so sorry about some of the depth of field issues) to take a few pictures and to prove to the fellas it is done!

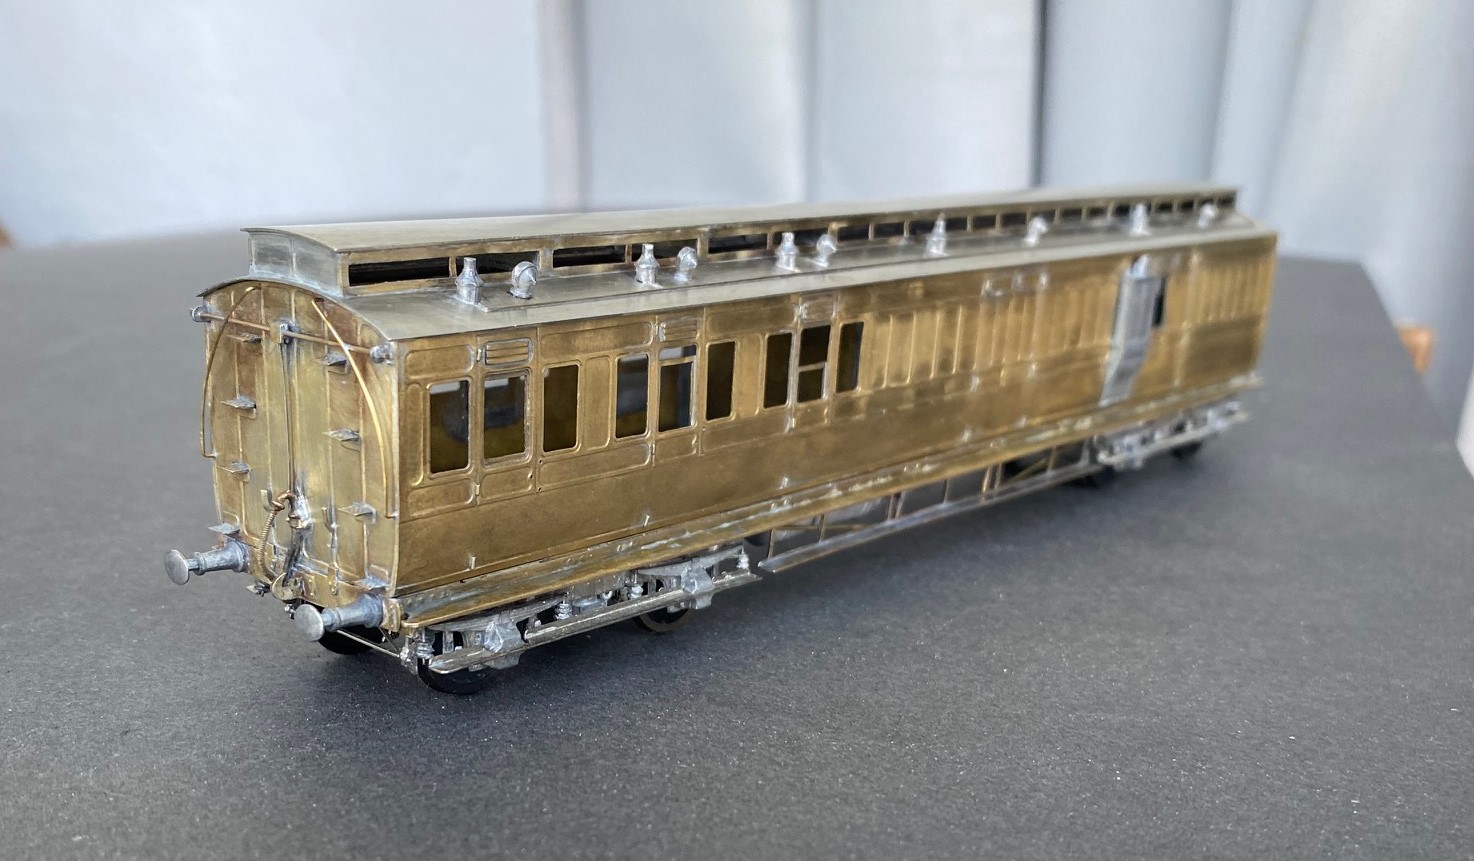
I completed a few personal upgrades to the kit in both this and the earlier autocoach. Chief of these is around the roof where I ditched the plastic roof and replaced it with rolled brass. This was formed of 0.25mm to give it a tangible depth, which makes its rolling a fair challenge. Add to this, I elected to cut out the portion below the clerestory, so that it was a clerestory! By the time I had added the gas lines and the various gas lamps and ventilators, I reckon there is around 20 hours in making the roof alone!
The prototype coaches were fairly long lived and numerous. They thus collected a good number of alterations and differences over time. I took some guidance to David Addyman and tweaked the kit in respect of gas lines, foot steps, handrails, footboards and gas cylinders. If someone thinks this is wrong, please don’t tell me!!
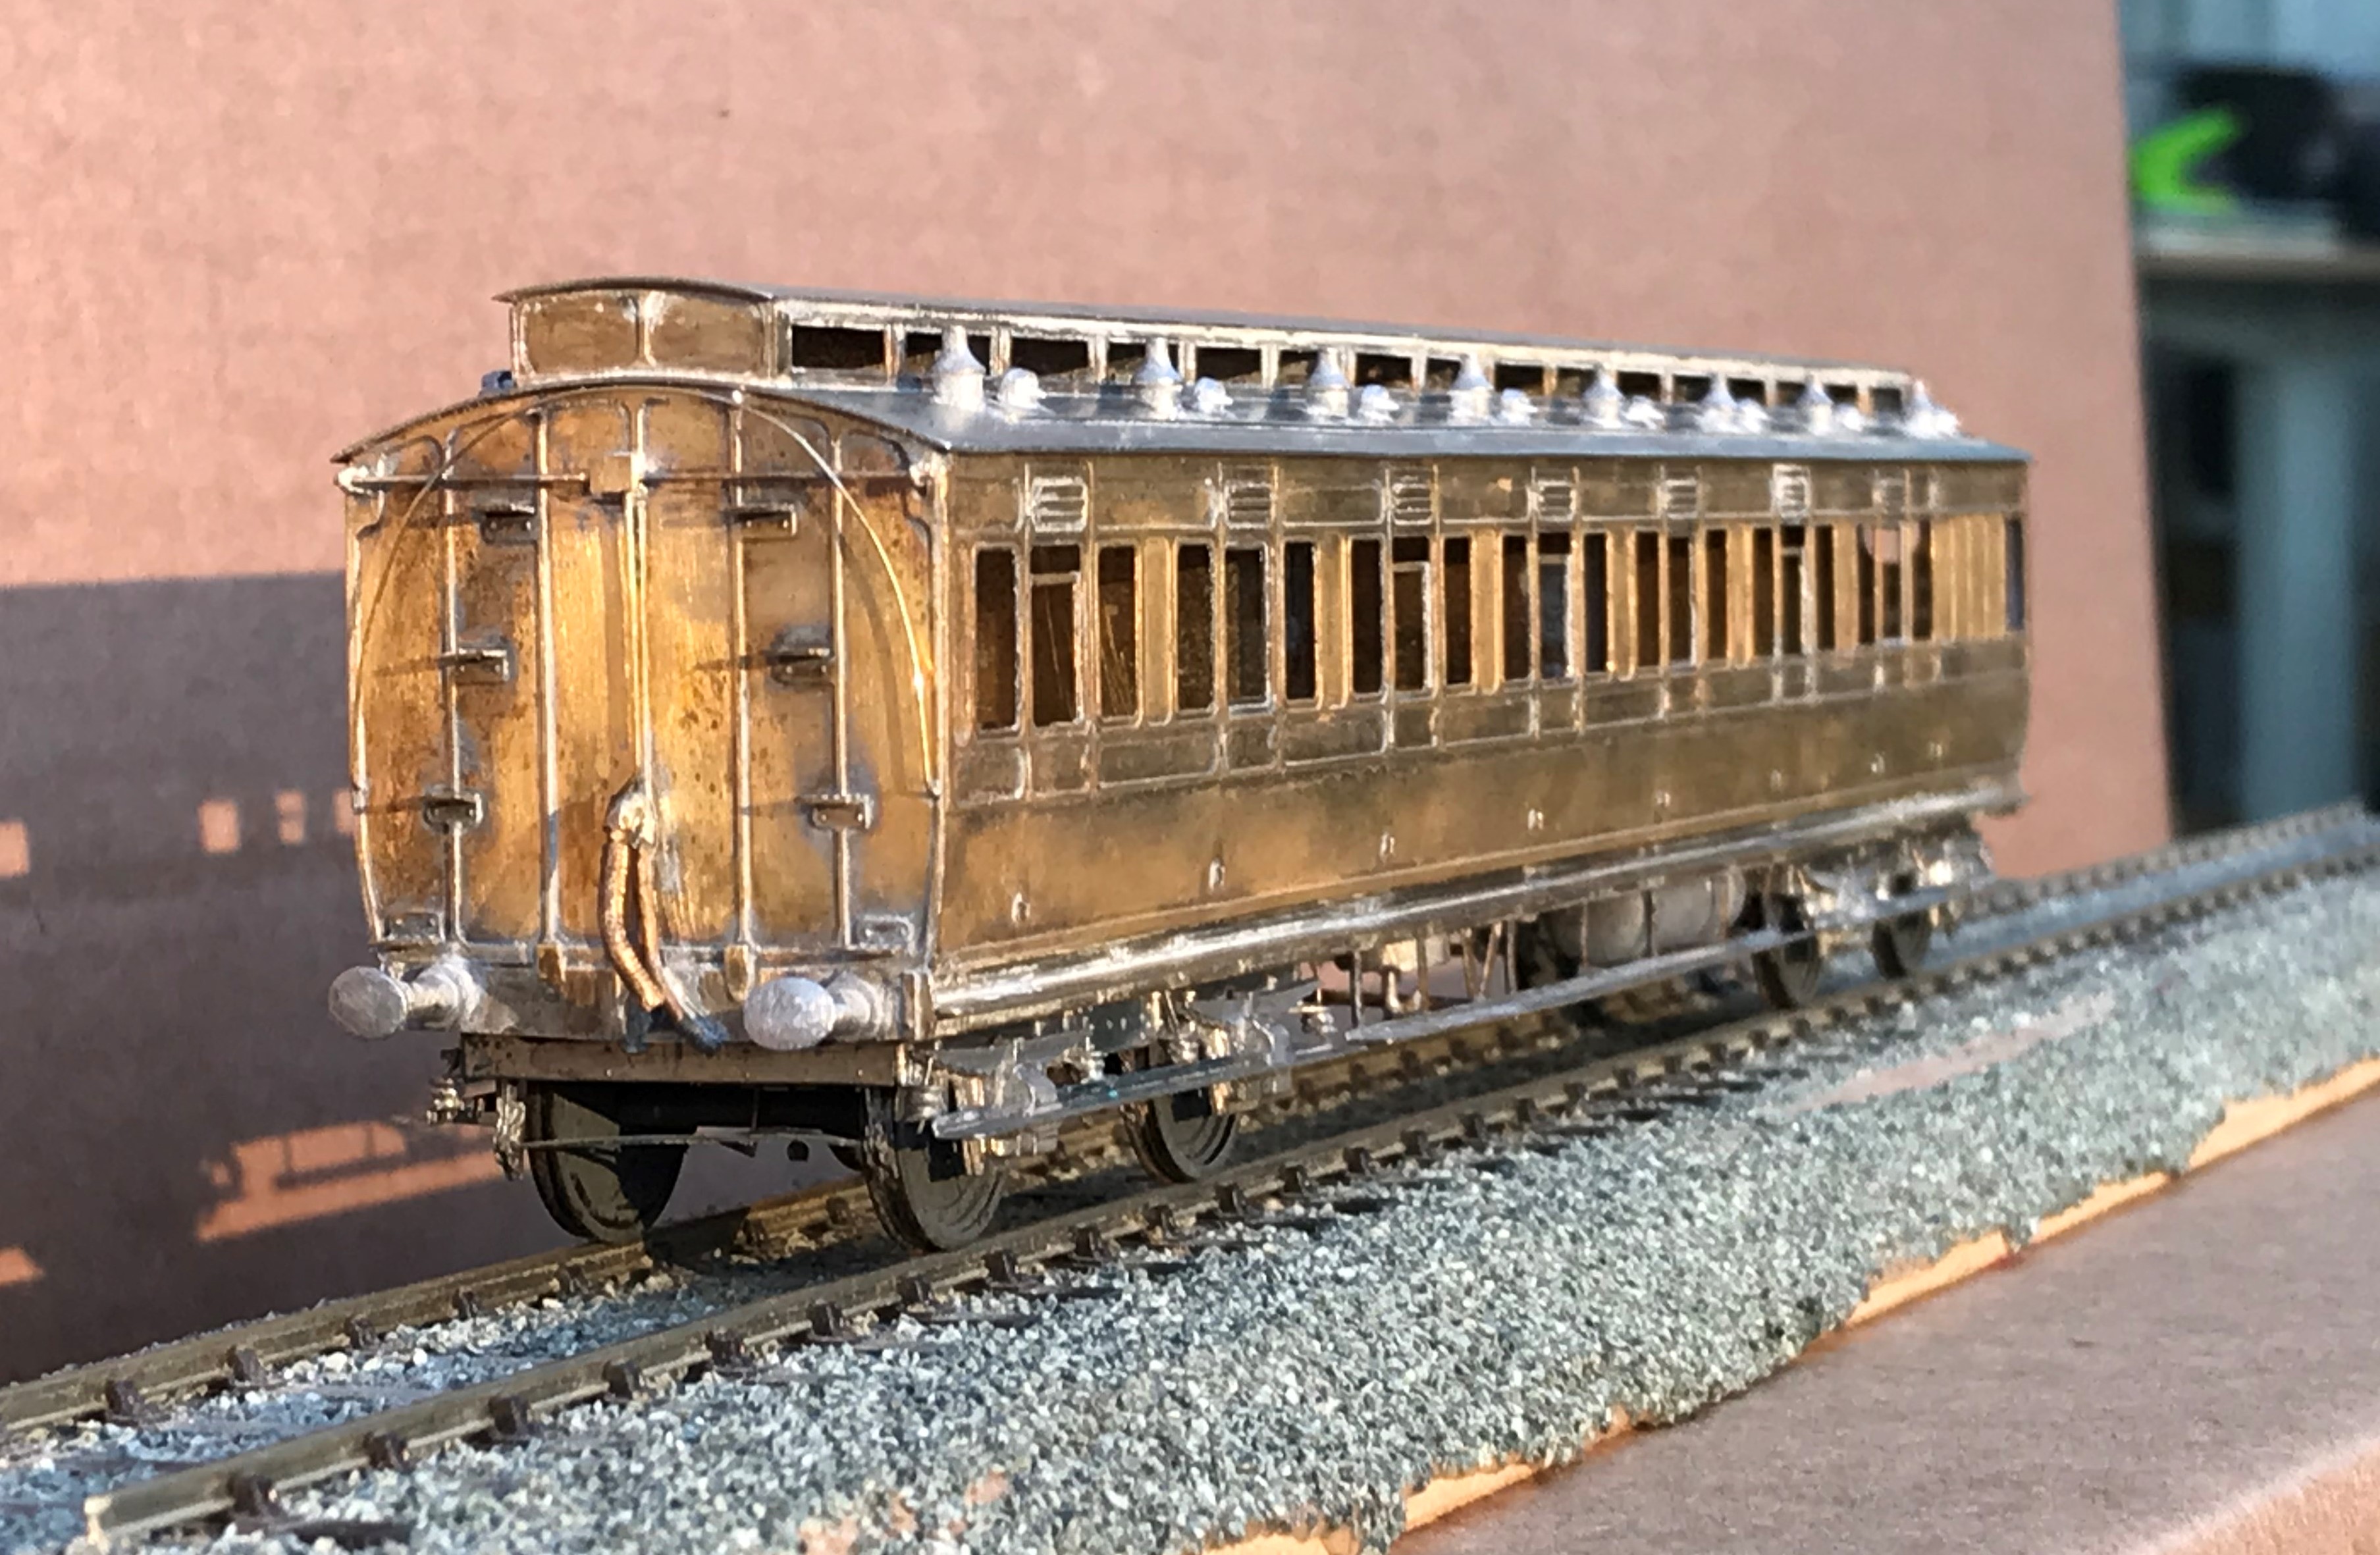
It always amuses me that the driver had to stand and peer down the line through two tiny windows. They lived in different times – could you imagine the snow-flakes tolerating this in the 21st century?
These are rather beautiful coaches, but not for the feint-hearted as there is a lot of time invested in these. I am pleased I do not have to paint it!

Going Long – Part 2; Bogies Most of the Way There
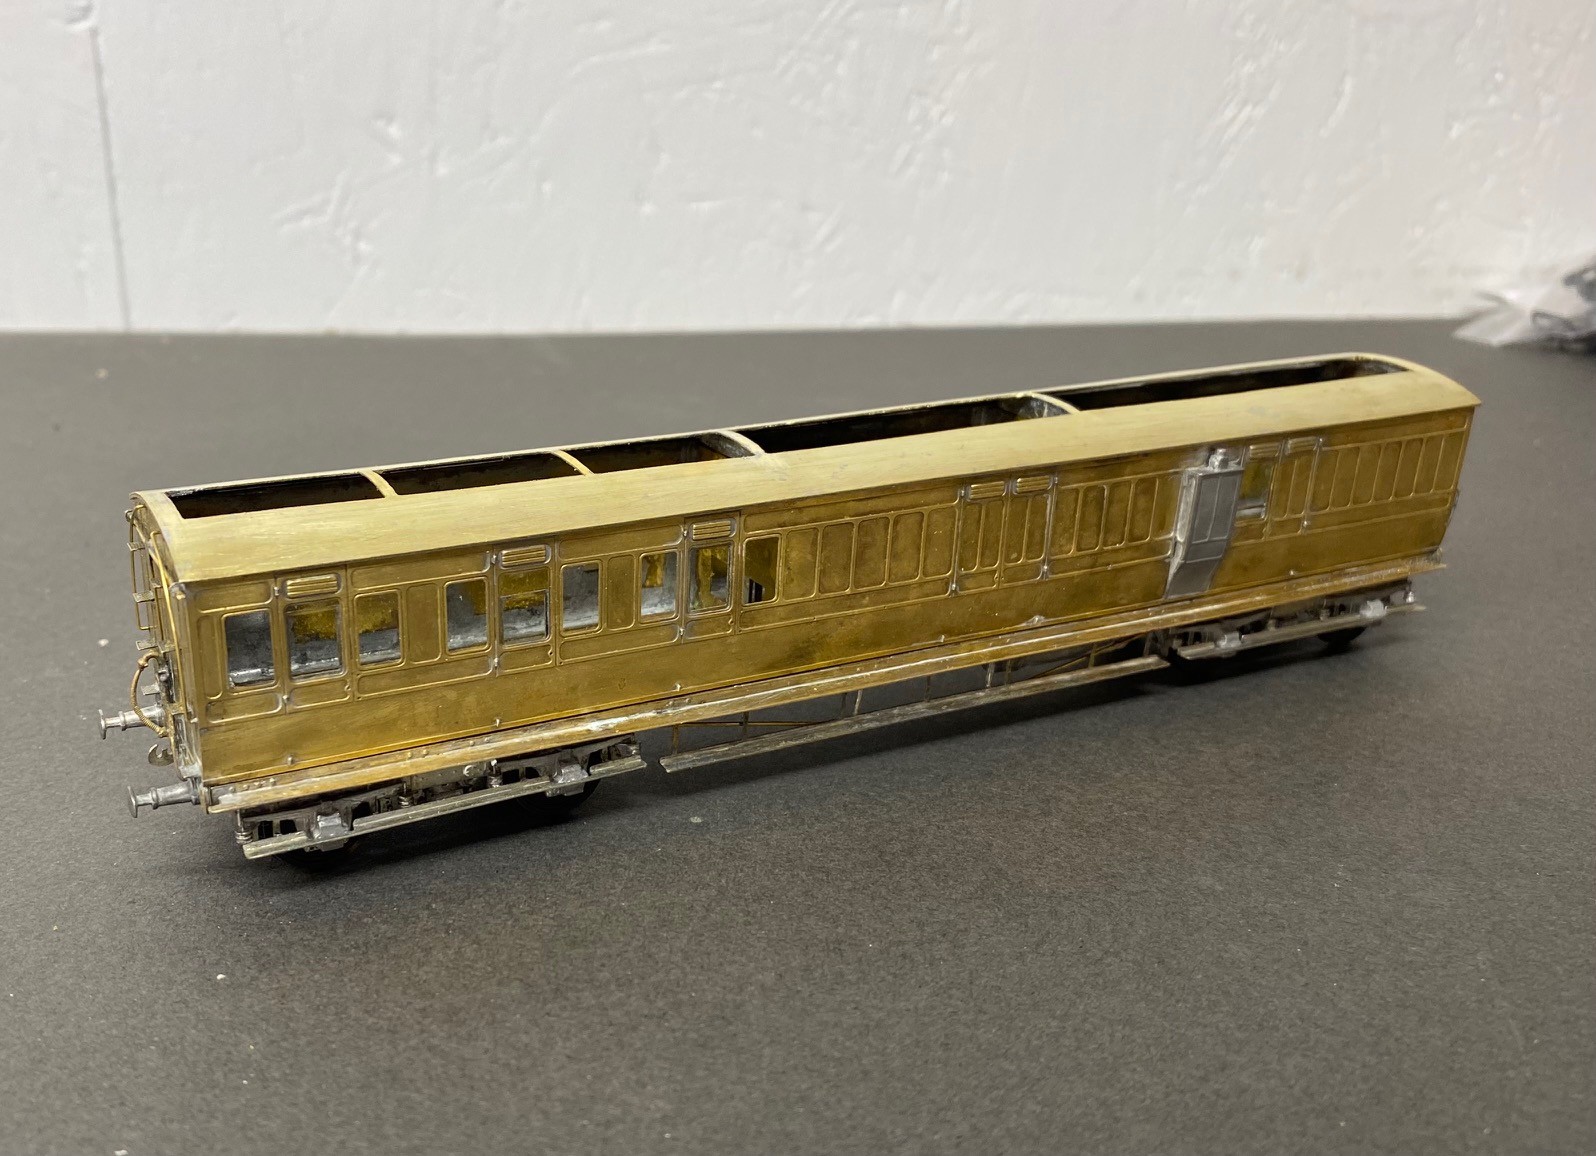
As originally conceived by Barry Fleming, the floor was to be permanently attached to the body sides and so too were the lower roof sections. The only access internally, therefore, was to be the clerestory roof/sides to the centre of the roof. In addition to being very restricted, over time there was a little distortion of this section relative to the more chunky body, such that it has developed a bit of a bow – see the final picture of this post. I have been building a few coaches of late and have arrived at the view that it is desirable to have the underframe detachable from the body and if at all possible the roof too. In this case, I am going to give up making the roof detachable but will keep the underframe as a separate piece and arrange for the floor and interior to slide out of the body. In order to provide a mount onto which I can secure the securing bolts to retain the two parts together, I came up with a metal bracket that has been glued into the coach vestibule where it is hidden as below.
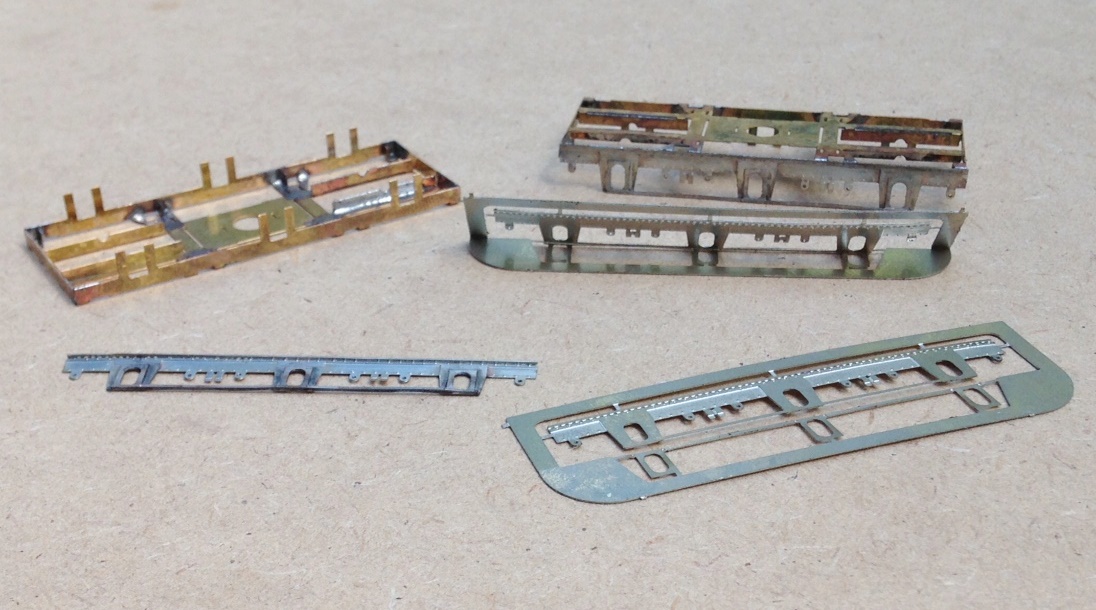
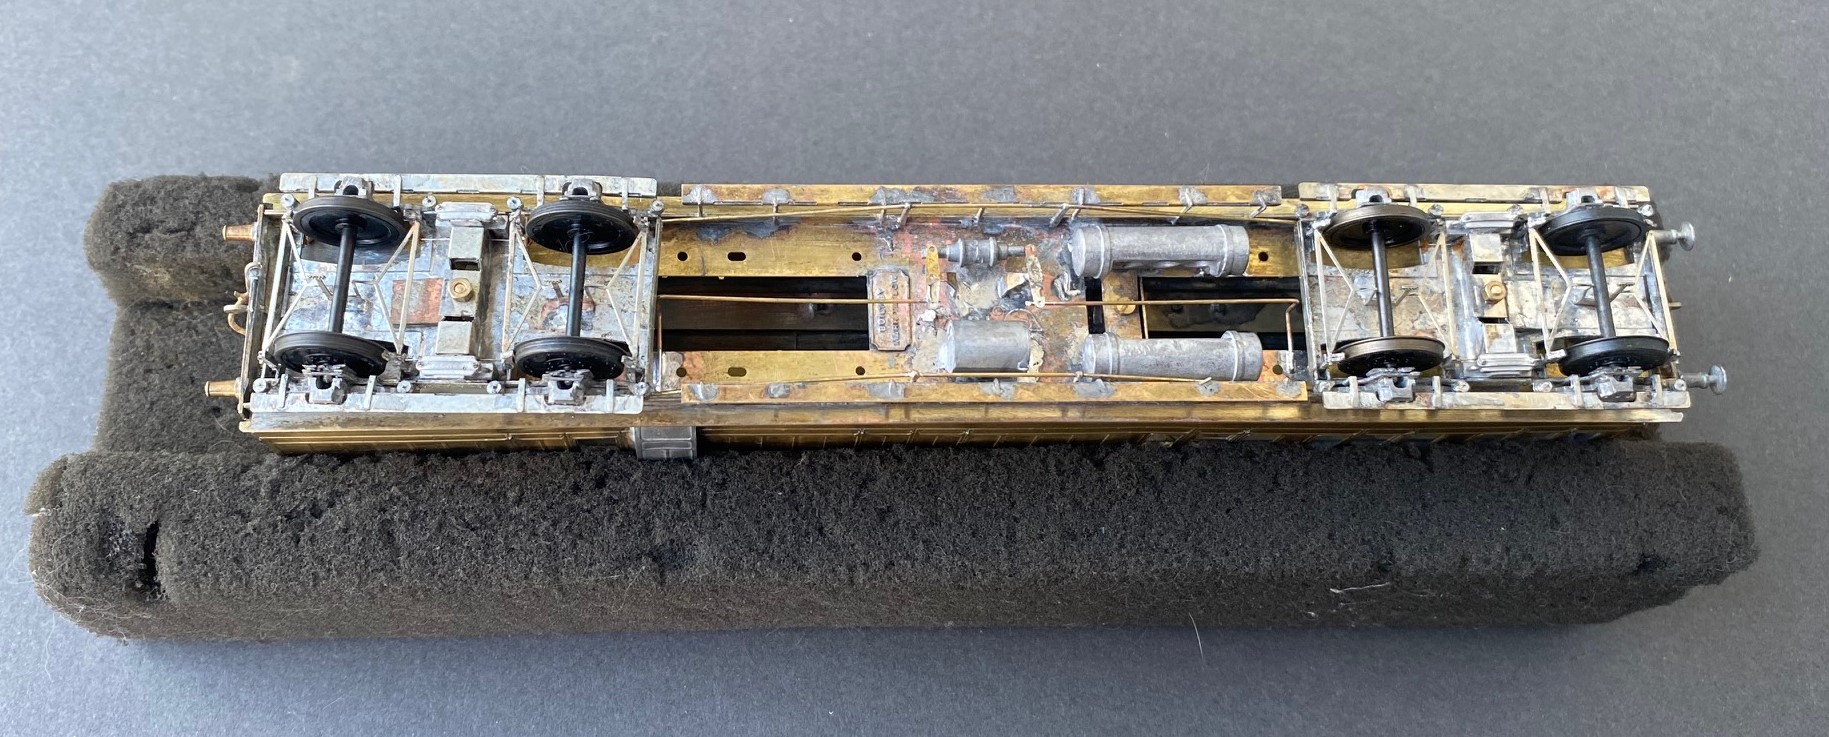
With this completed, I turned my attention to the bogies. These are based around the Bill Bedford sprung bogies, now supplied by Eileen’s Emporium – there is one with the right dimensions for the ECJS bogie. These are only the sprung assembly and offer no detail of the real bogie at all and these were quite characteristic riveted plates. I am not aware of any offerings from the trade for these, so I have had to create my own – out comes the CAD machine again! Actually, they are quite easy to draft and there was a fairly good drawing available. As with some of my other etch designs, I have used folding jigs to ensure that the layers come together correctly without bother. In the photo below you can see the basic Bill Bedford sprung frame on the left upper, the basic etch to the bottom right and the finished side with the layers laminated to the bottom left.
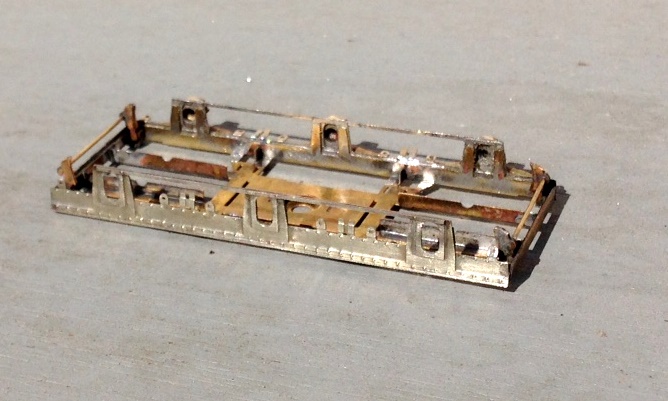
And this is a close up of the bogie sides fitted and some of the brake hangers fitted.
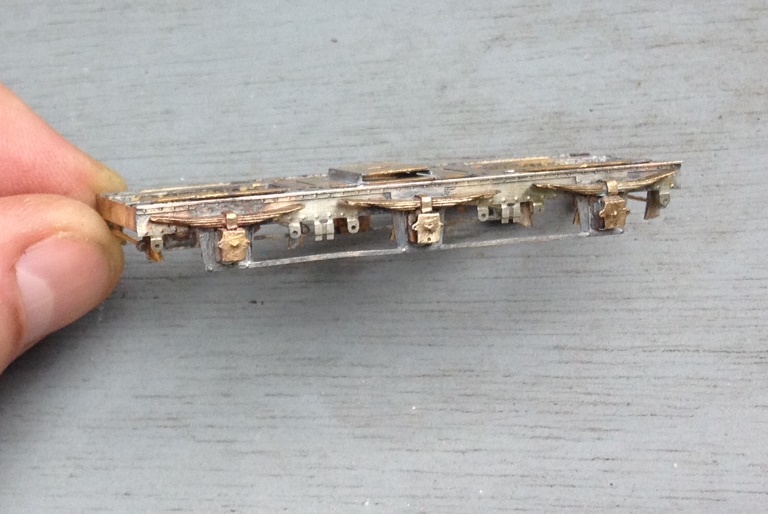
After searching around, I decided that the best means of making the axleboxes and springs was to use the Drummond pattern axlebox/spring assembly from Lochgorm Models. These are really nice but the springs are too long such that the hangers are a bit far out for the six wheeled bogie – hence I formed a hanger point as part of the etching, which you can see yet to be folded down on the above picture. The intention will be to insert a brass rod through the hole in this and to then mount small washers on it to give the impression of the springs. A similar rechnique is used on some of the 5522 models bogies and is quite effective. With this representing the hangers, those to the casting could be cut away.
The axleboxes are rather nice, as you will see, and are of cast brass. The bad news about this is that they are really hard and quite a lot of work is required with a dental burr to open out the rear to be free of the bearing.
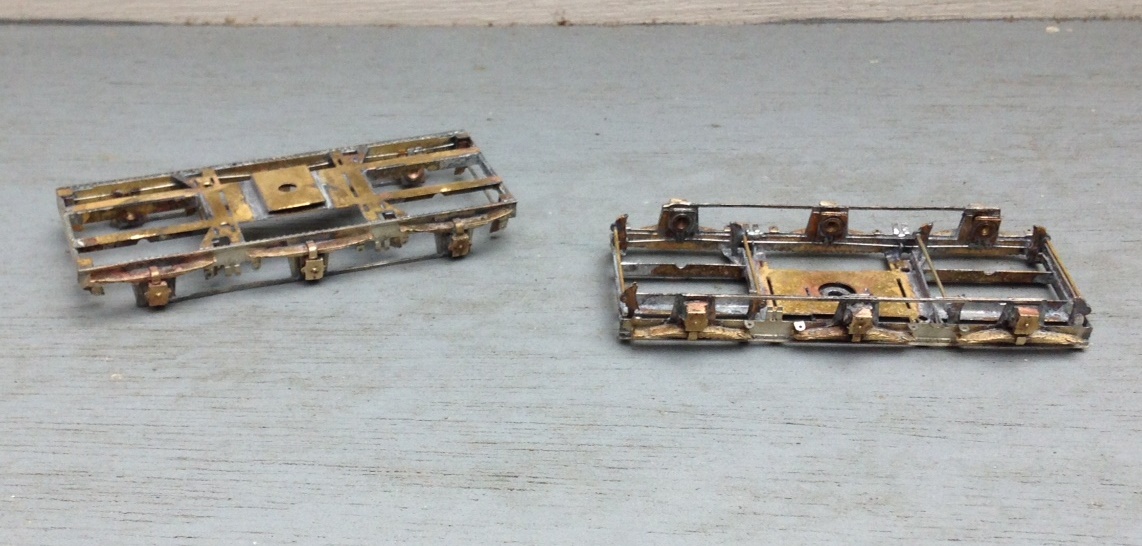
And a look at both bogies together, now with the bearing spring hangers in place along with the brake hangers and rods.
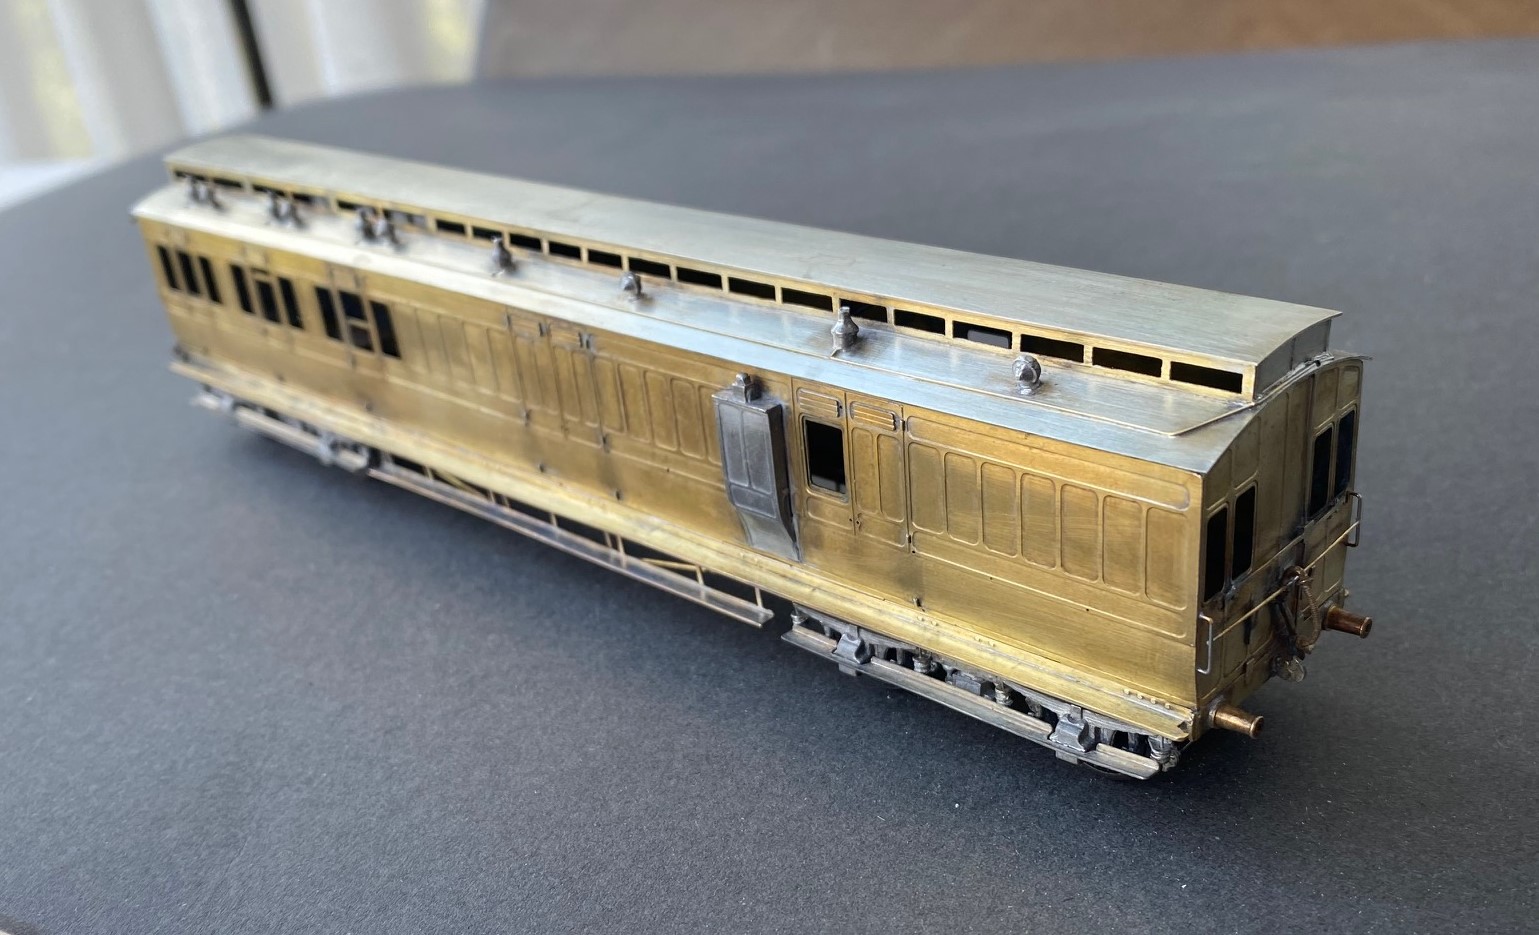
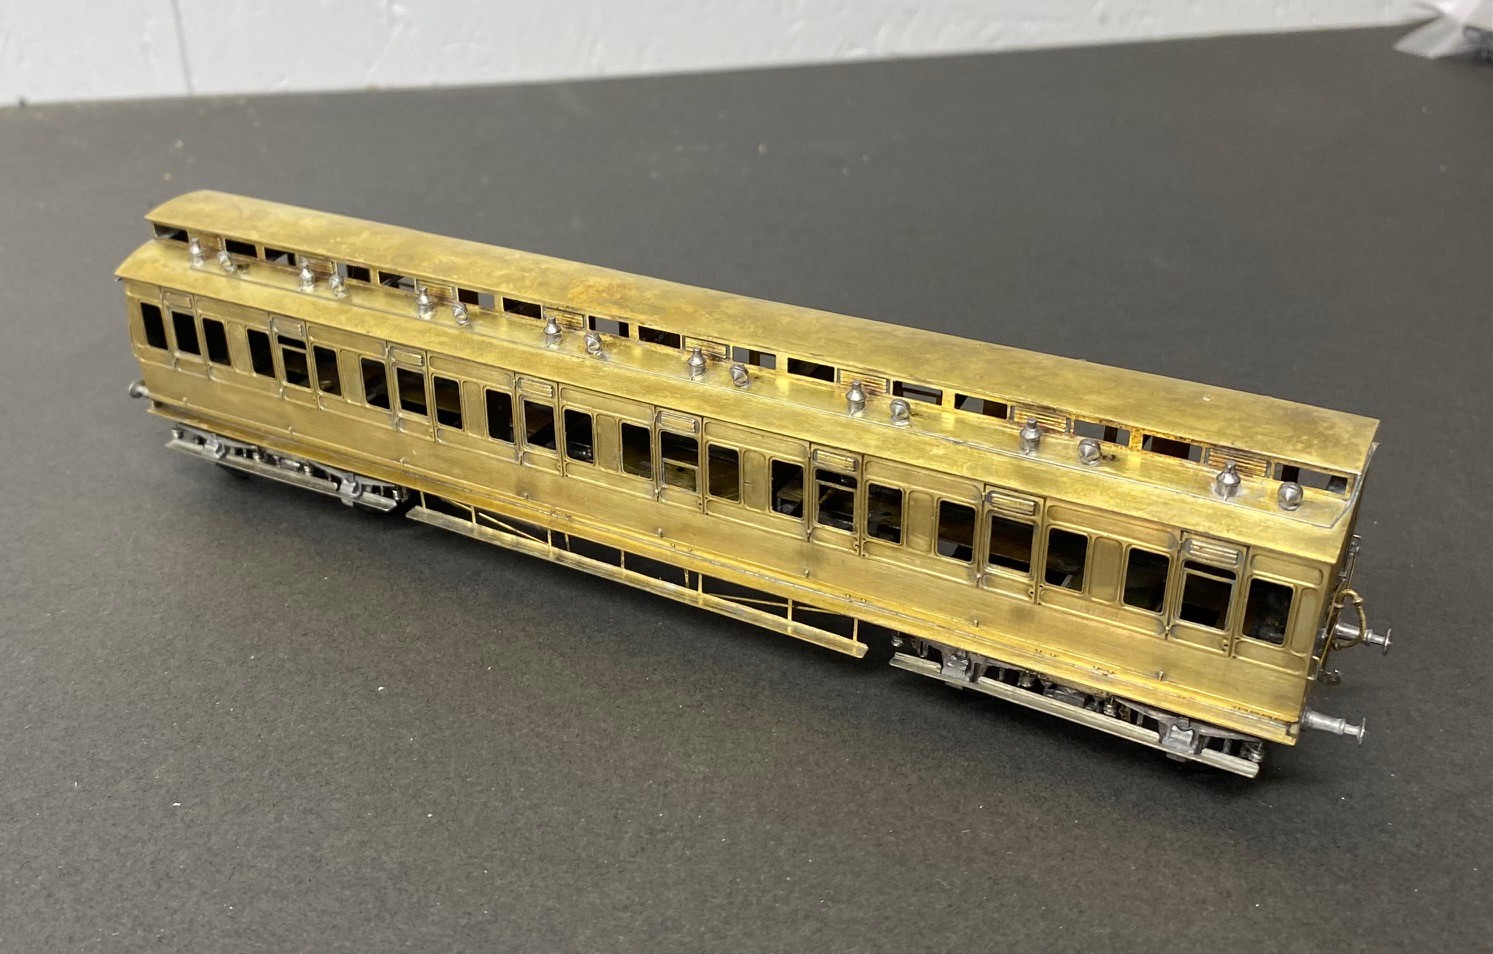
A key feature of these bogies was the transverse bolster springs, which are apparent between the axle spacings. I did come up with a scheme to form these but they have not proved to work. I think I can cut and paste a pair of the bolsters from what I have produced (ie half the number I need) so I am going to have another bash and if not, it is back to the drawing board! So whilst I work out how I am going to wrestle with this (I do have some ideas, I just need a bit of time to implement them!), lets at least admire what the coach looks like in its semi-complete state:
There are other things to do with the coach; the centre part of the roof has a bow, there is various detail missing from the underframe, roof and ends yet to go – but it does look the part doesn’t it?
In response to the first part of this blog, Bill Bedford did contact me to help with some prototype details. He was able to tell me that the buffers that I used would only be correct for the brakes and that the udnerframe only had two trusses, not the four that I have modelled. So some corrections will be required……………but first those transverse bolster springs and maybe give the carriage a bit of an outing (I will bring it to Scaleforum for that).
