Blog Archives
Last train to Castle Rackrent?
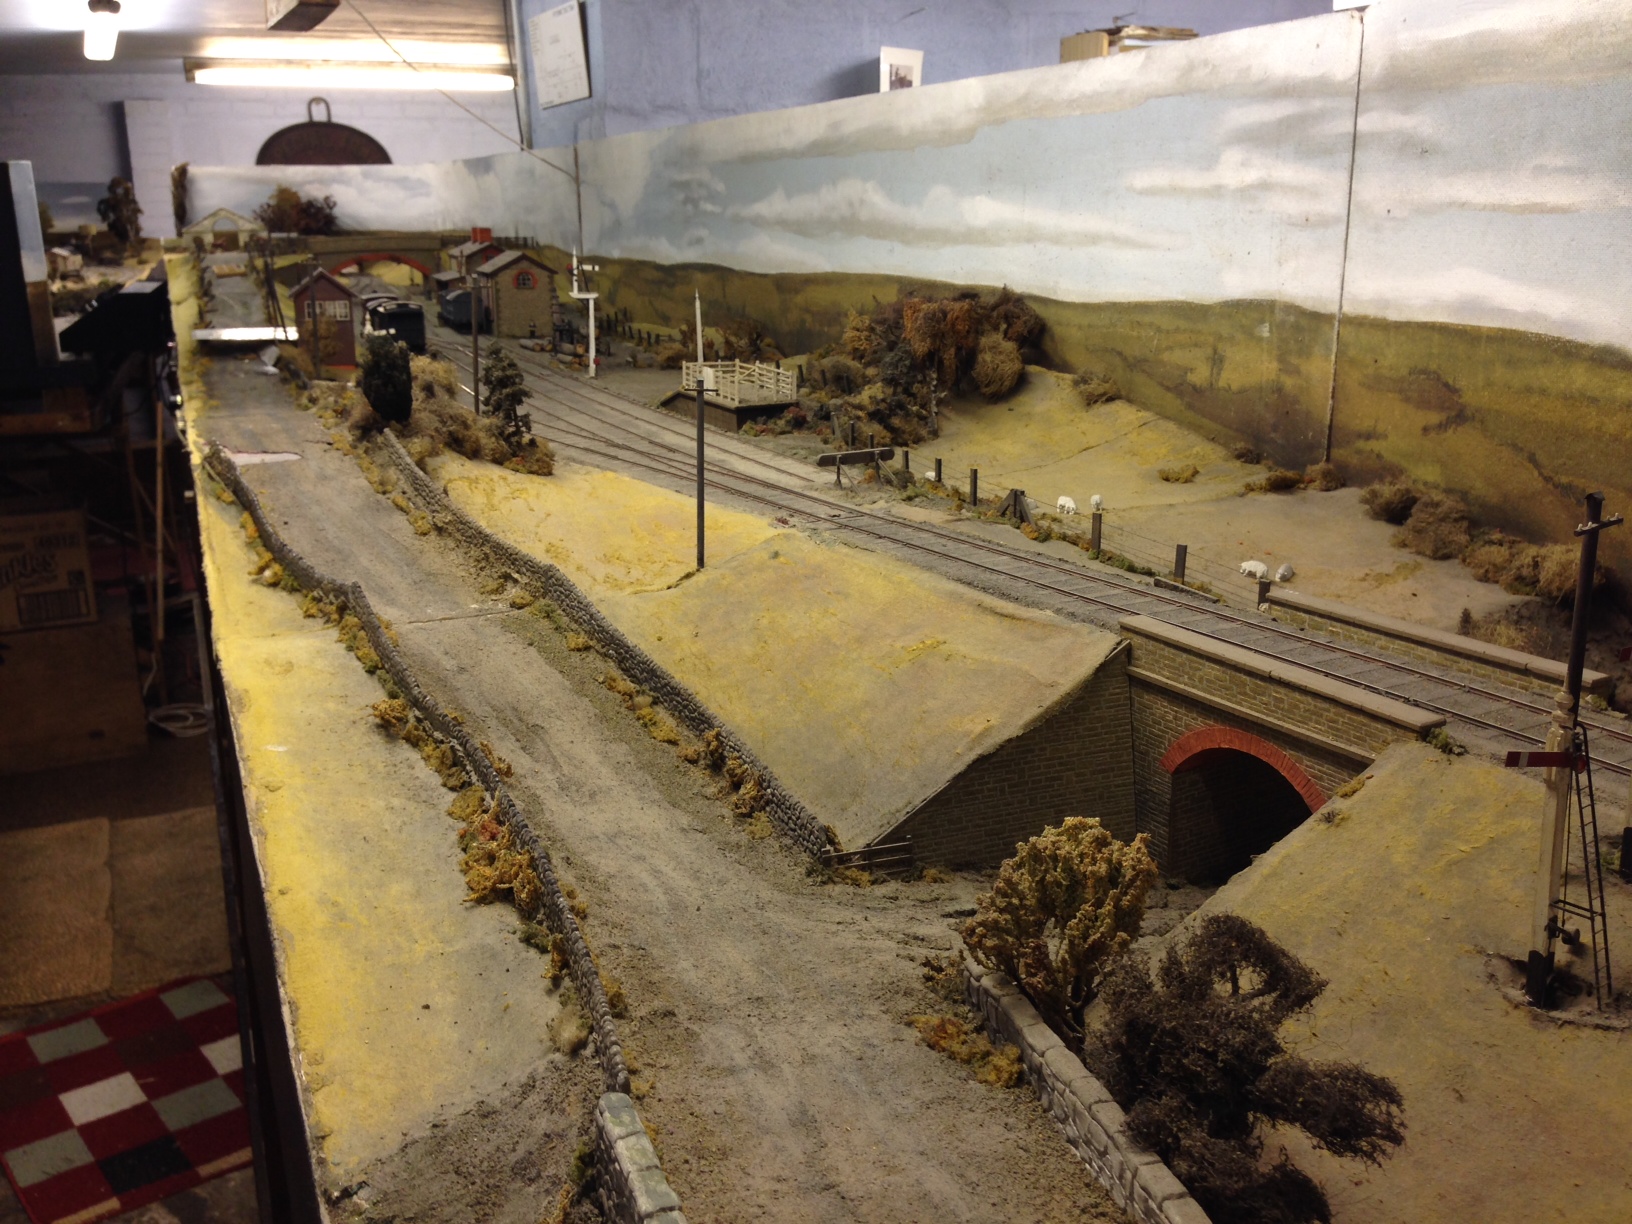
Last week I was able to visit Richard Chown’s house to have a play with Castle Rackrent at one of his operating sessions.
Castle Rackrent is both an individual layout and also a system; comprising a total of five stations, a harbour and a couple of fiddle yards. It is based on Irish practise, so is all hand built to 5’3″ gauge. Given that the layout is 7mm/1ft, it is pretty substantial and wraps around Richard’s basement a couple of times. This creates the situation where it is somewhat of a challenge to know what is going on in any other location on the system – this does not matter as the stations communicate with each other via bell codes (well, only one adjacent station in our case due to a fault, so we adopted a version of the telegraph system known as shouting!).
It is fair to say, even with this and possibly due to some inexperience on my part, things still get chaotic. We ended up with four of the six possible trains at our station at one point. The normal controller Mr Summers was not in attendance fortunately, otherwise I sense some firm words might have been had………… It was all good fun though and is not really a basis of operation I have experienced before, even though of course all it does is mimic the real thing.
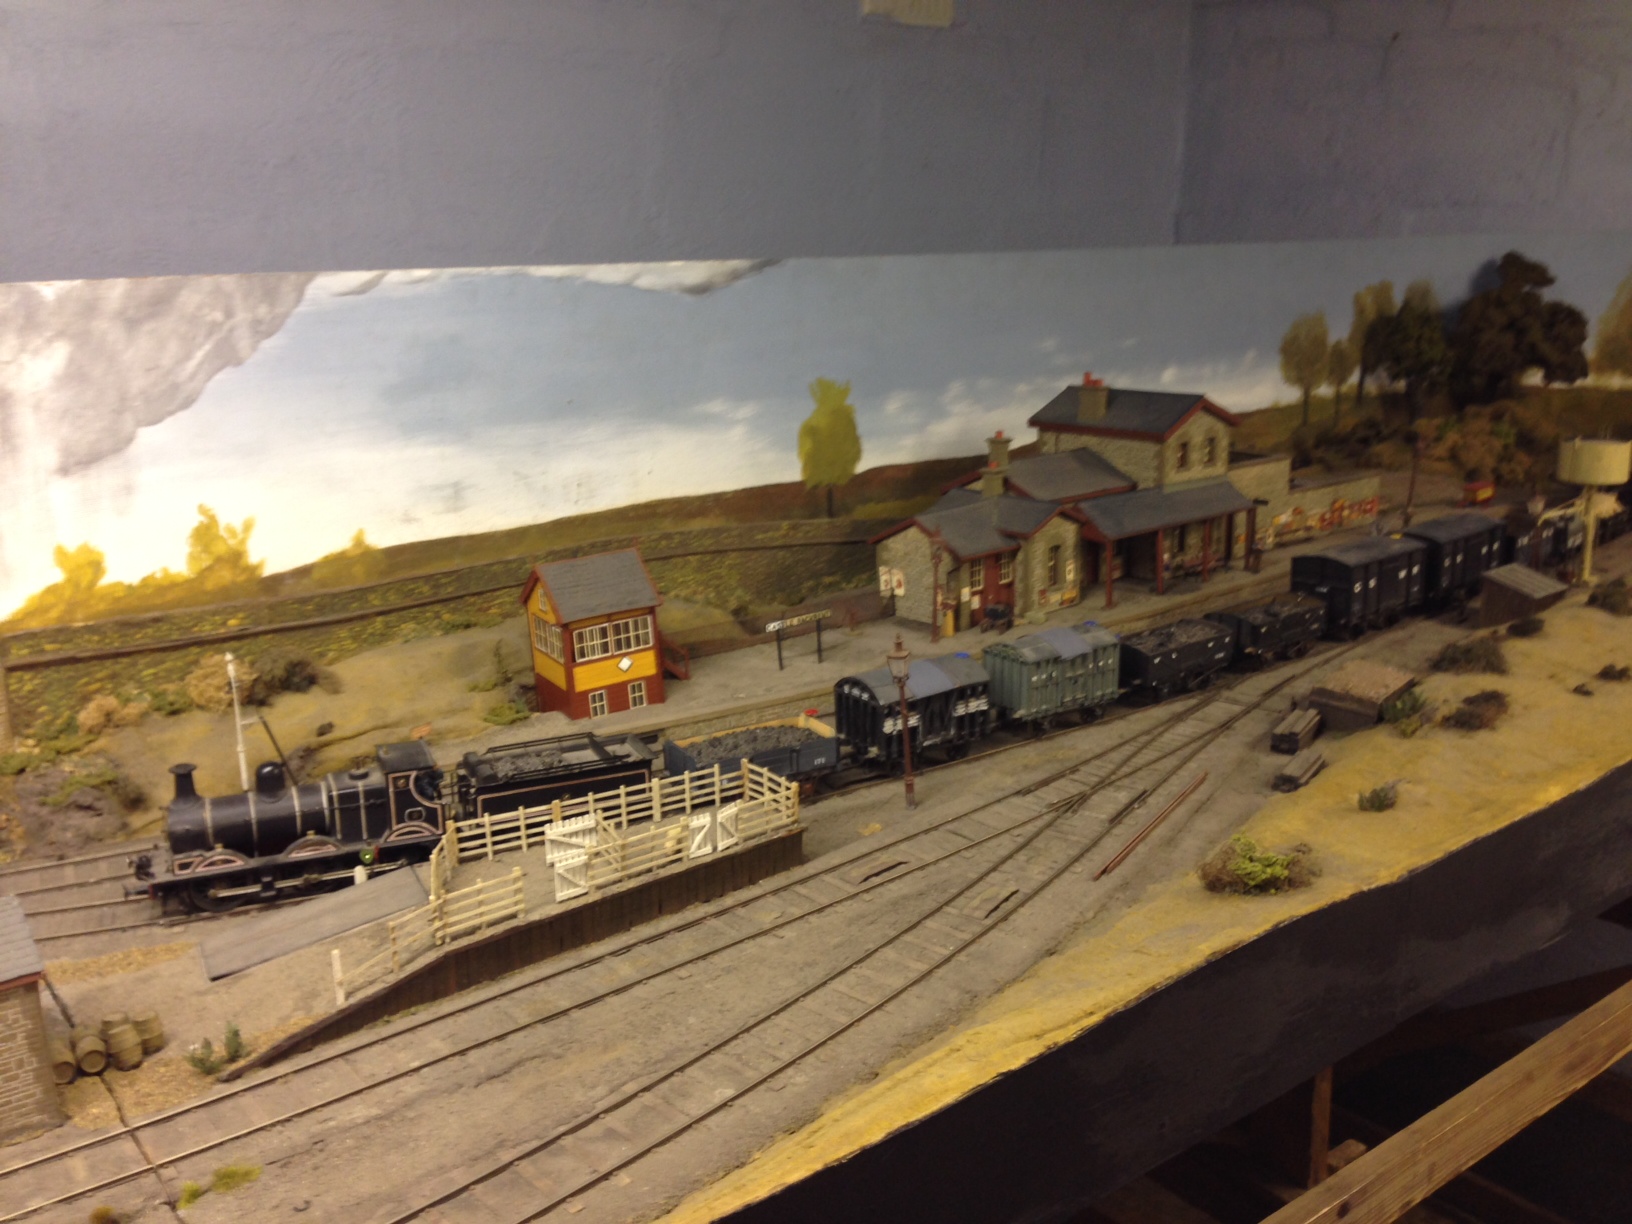
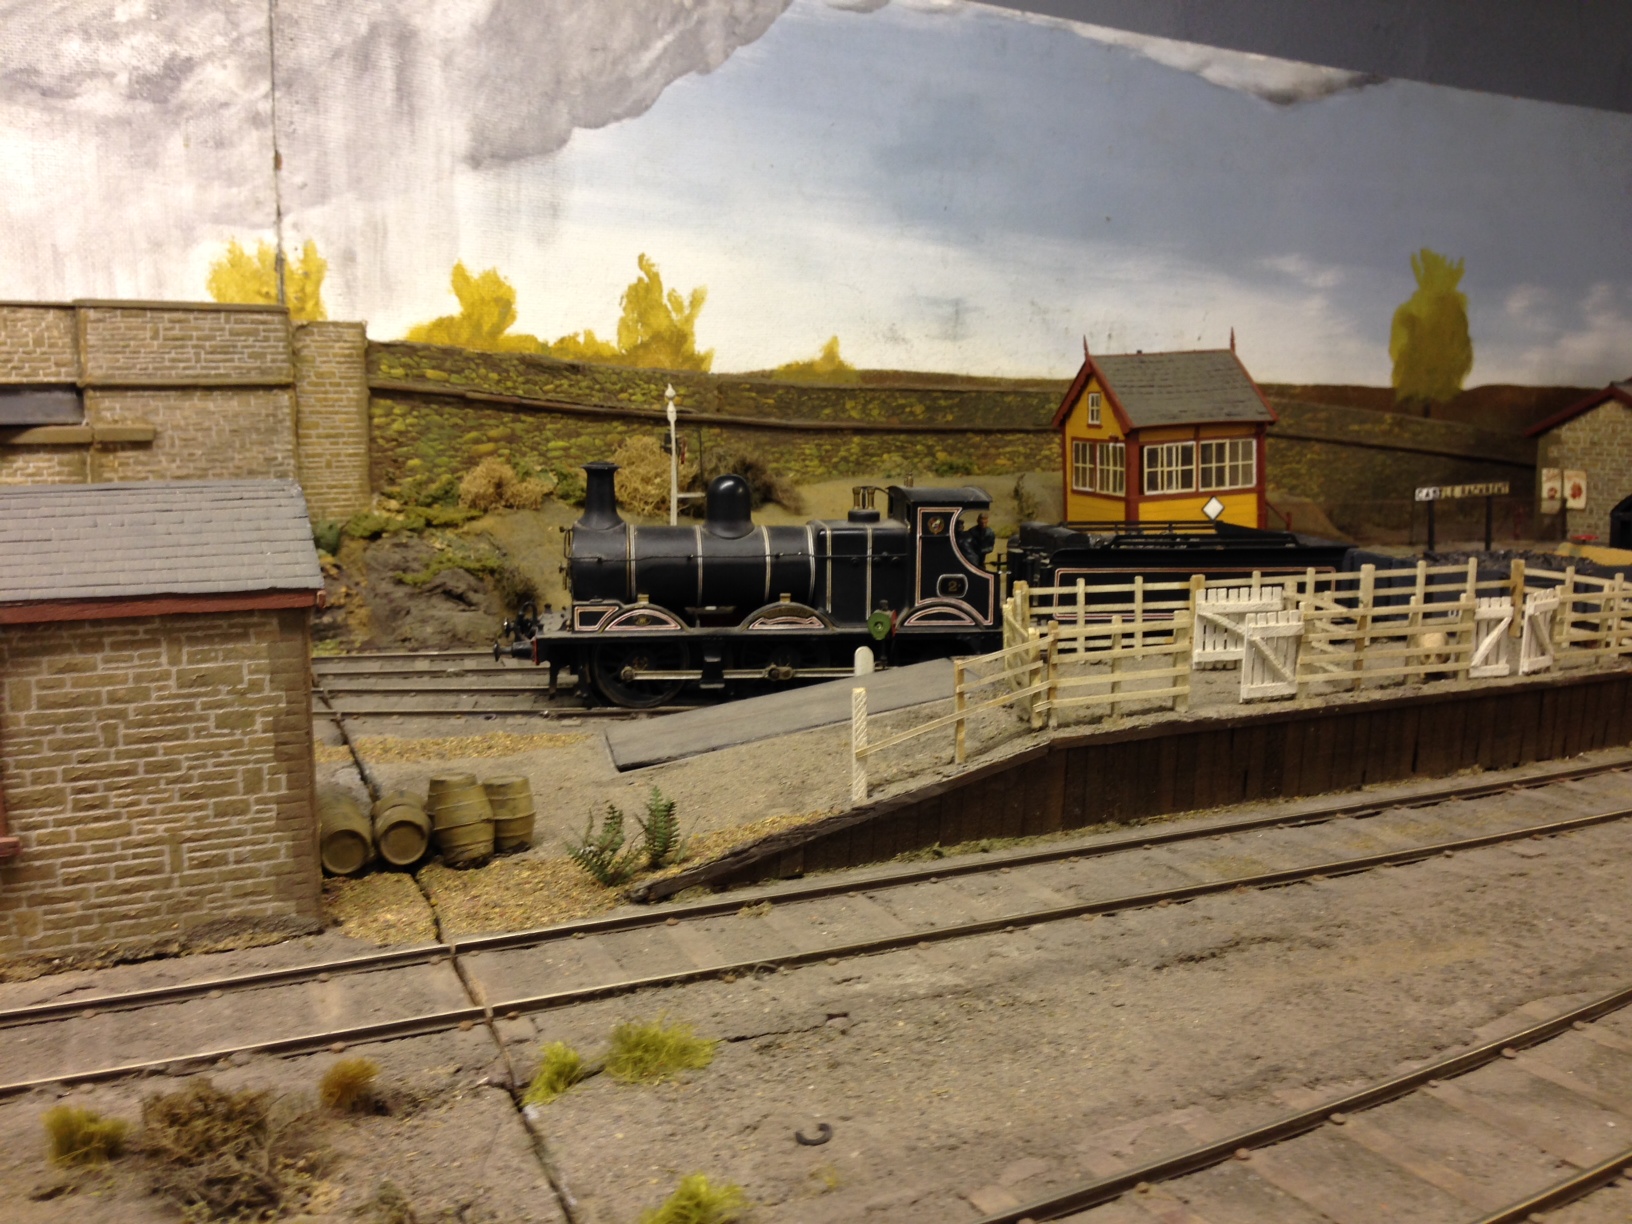
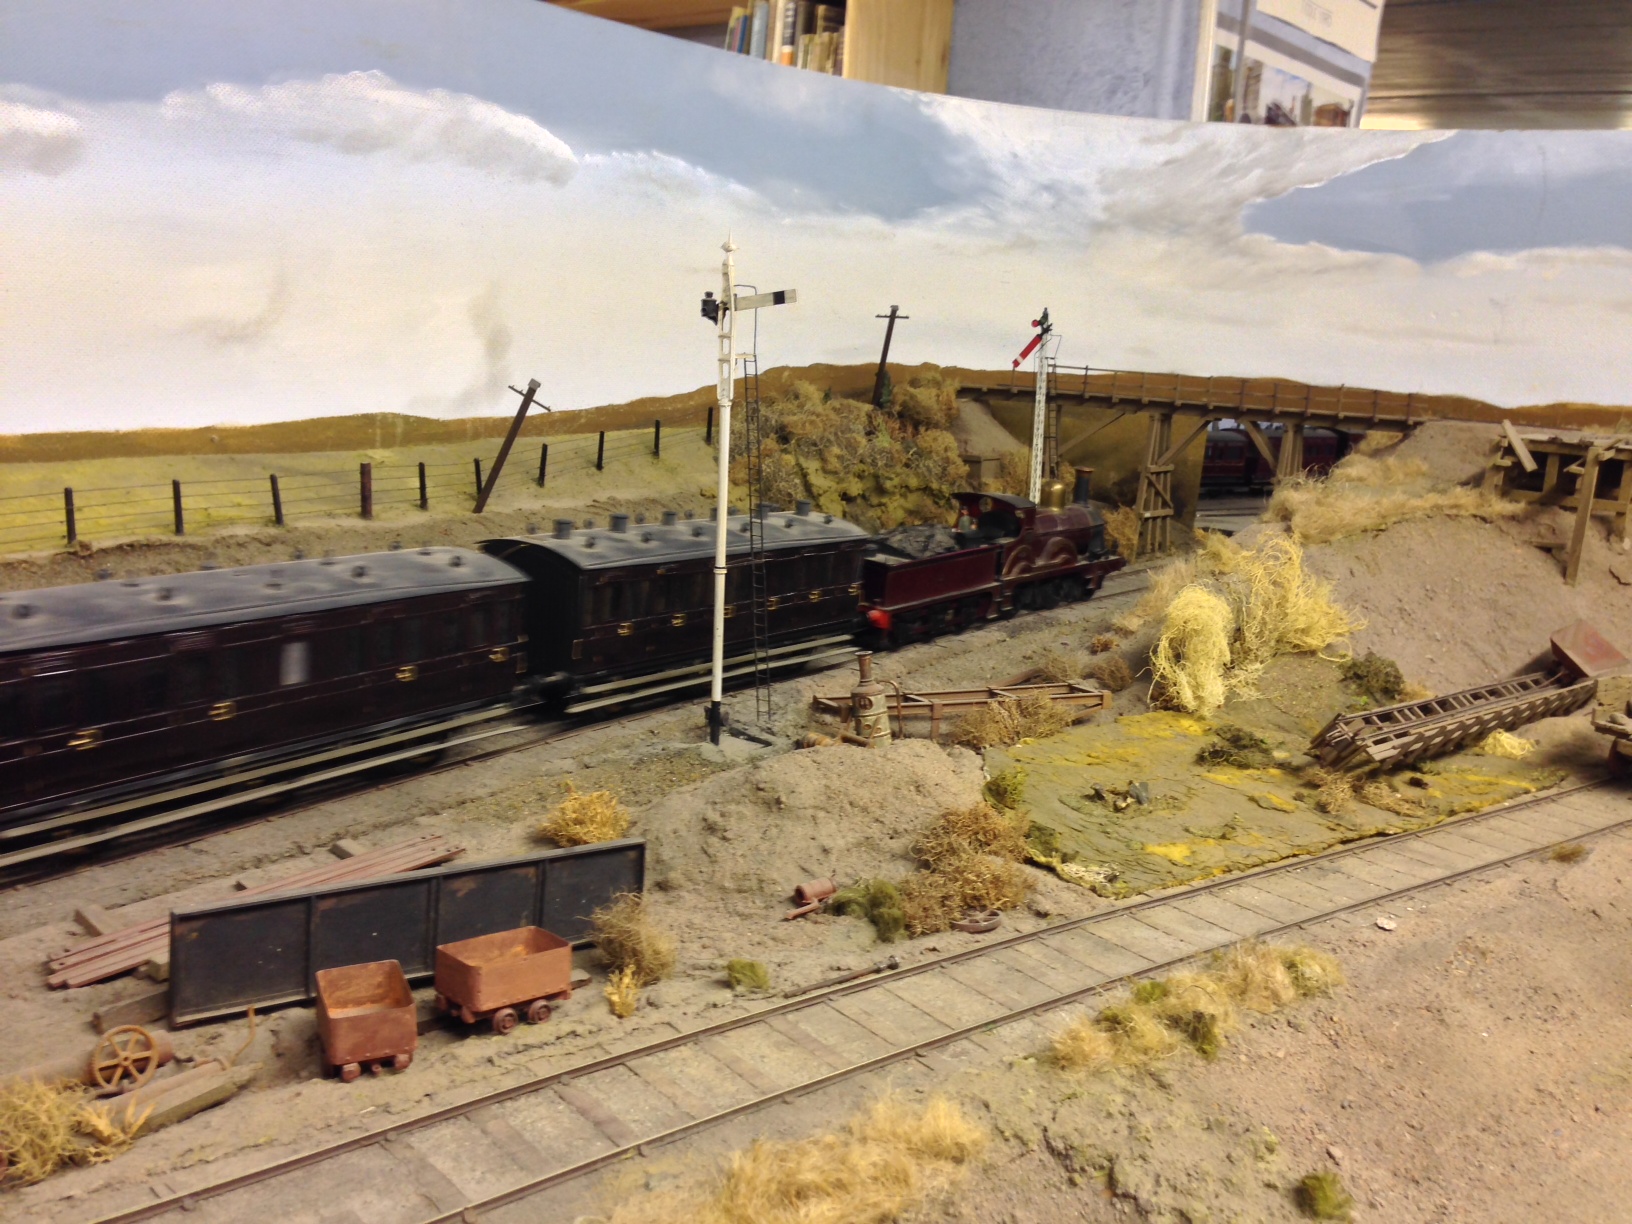
Here are a few photographs; starting with the terminus and original station on the line, Castle Rackrent:
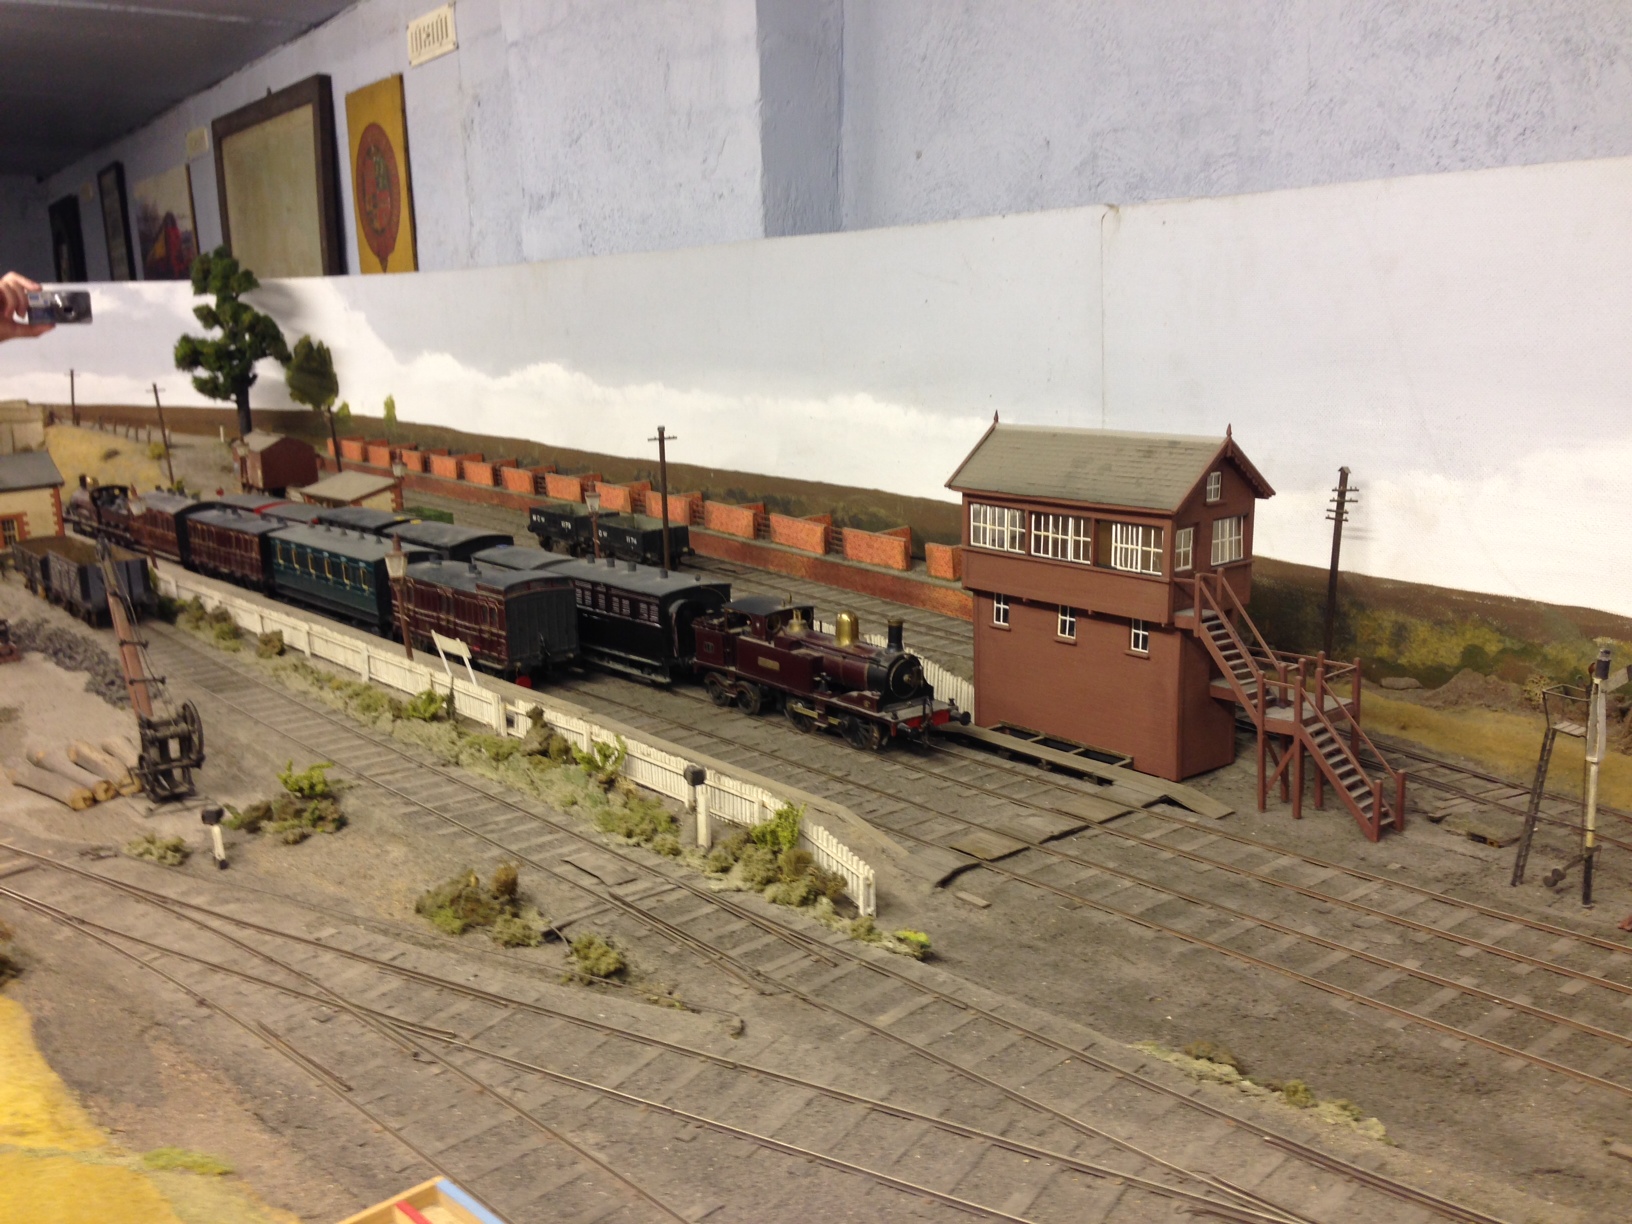
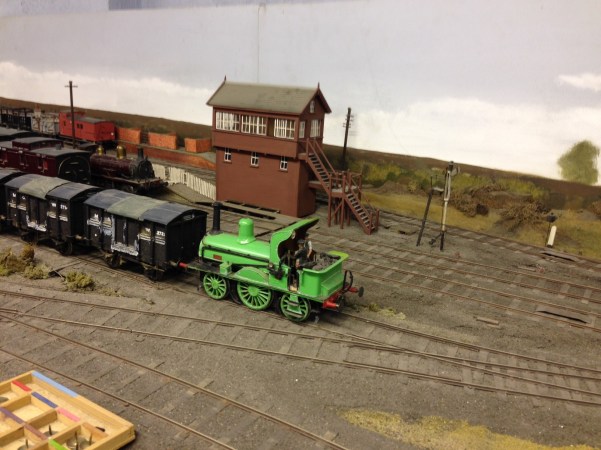
I spent my time (mostly successfully directed by Ian) at Moygraney, so here are rather more pictures of this station:
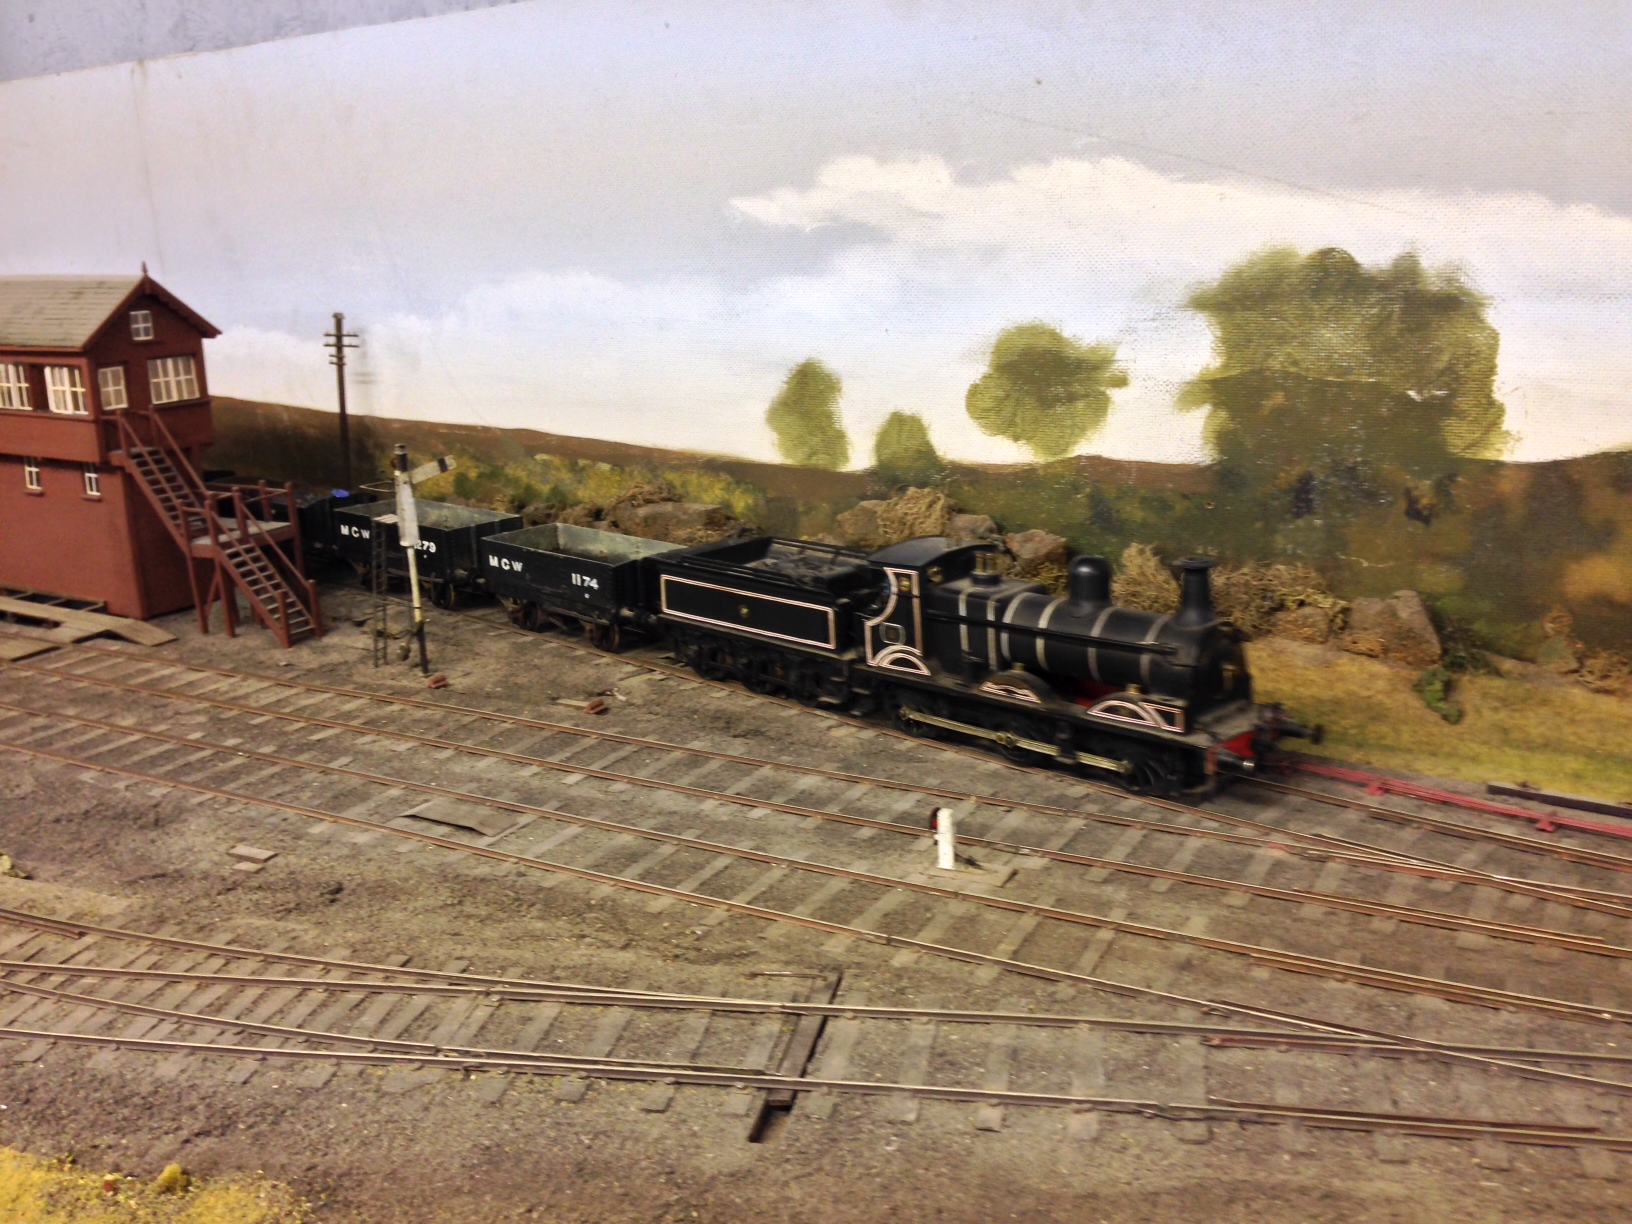
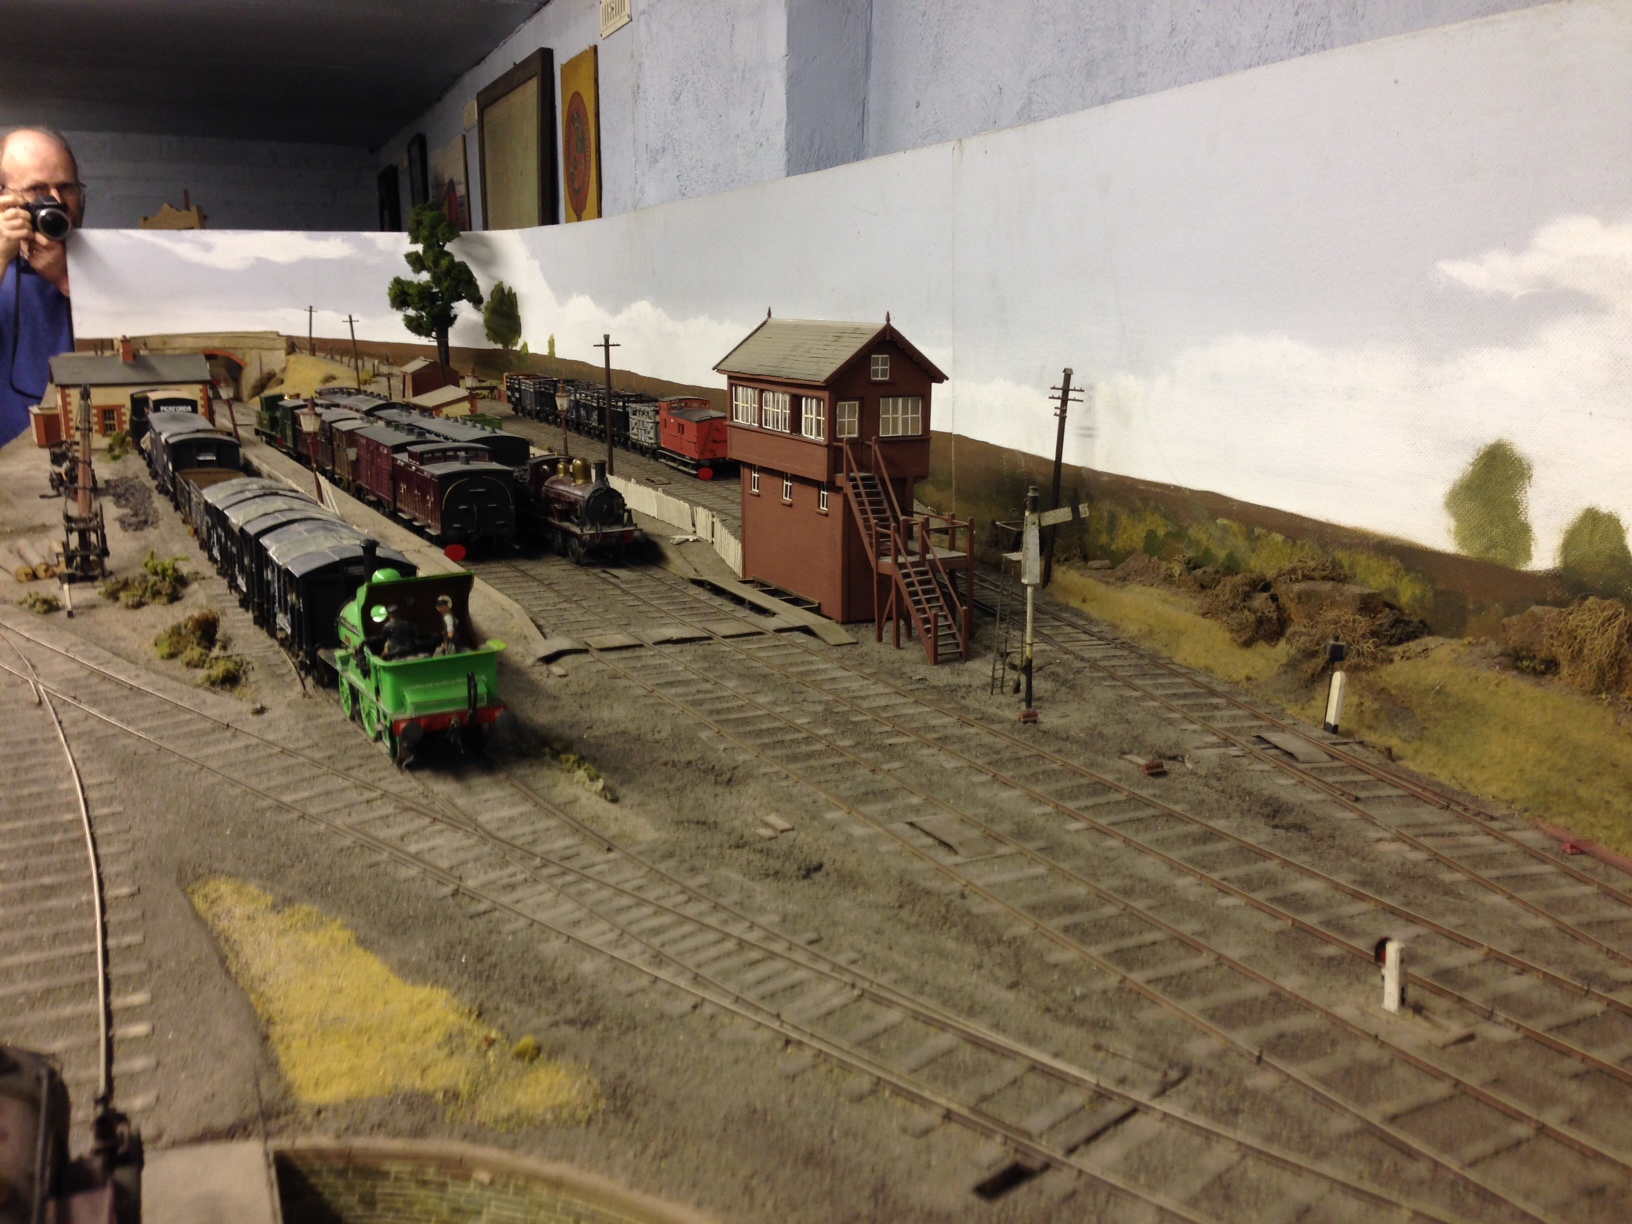
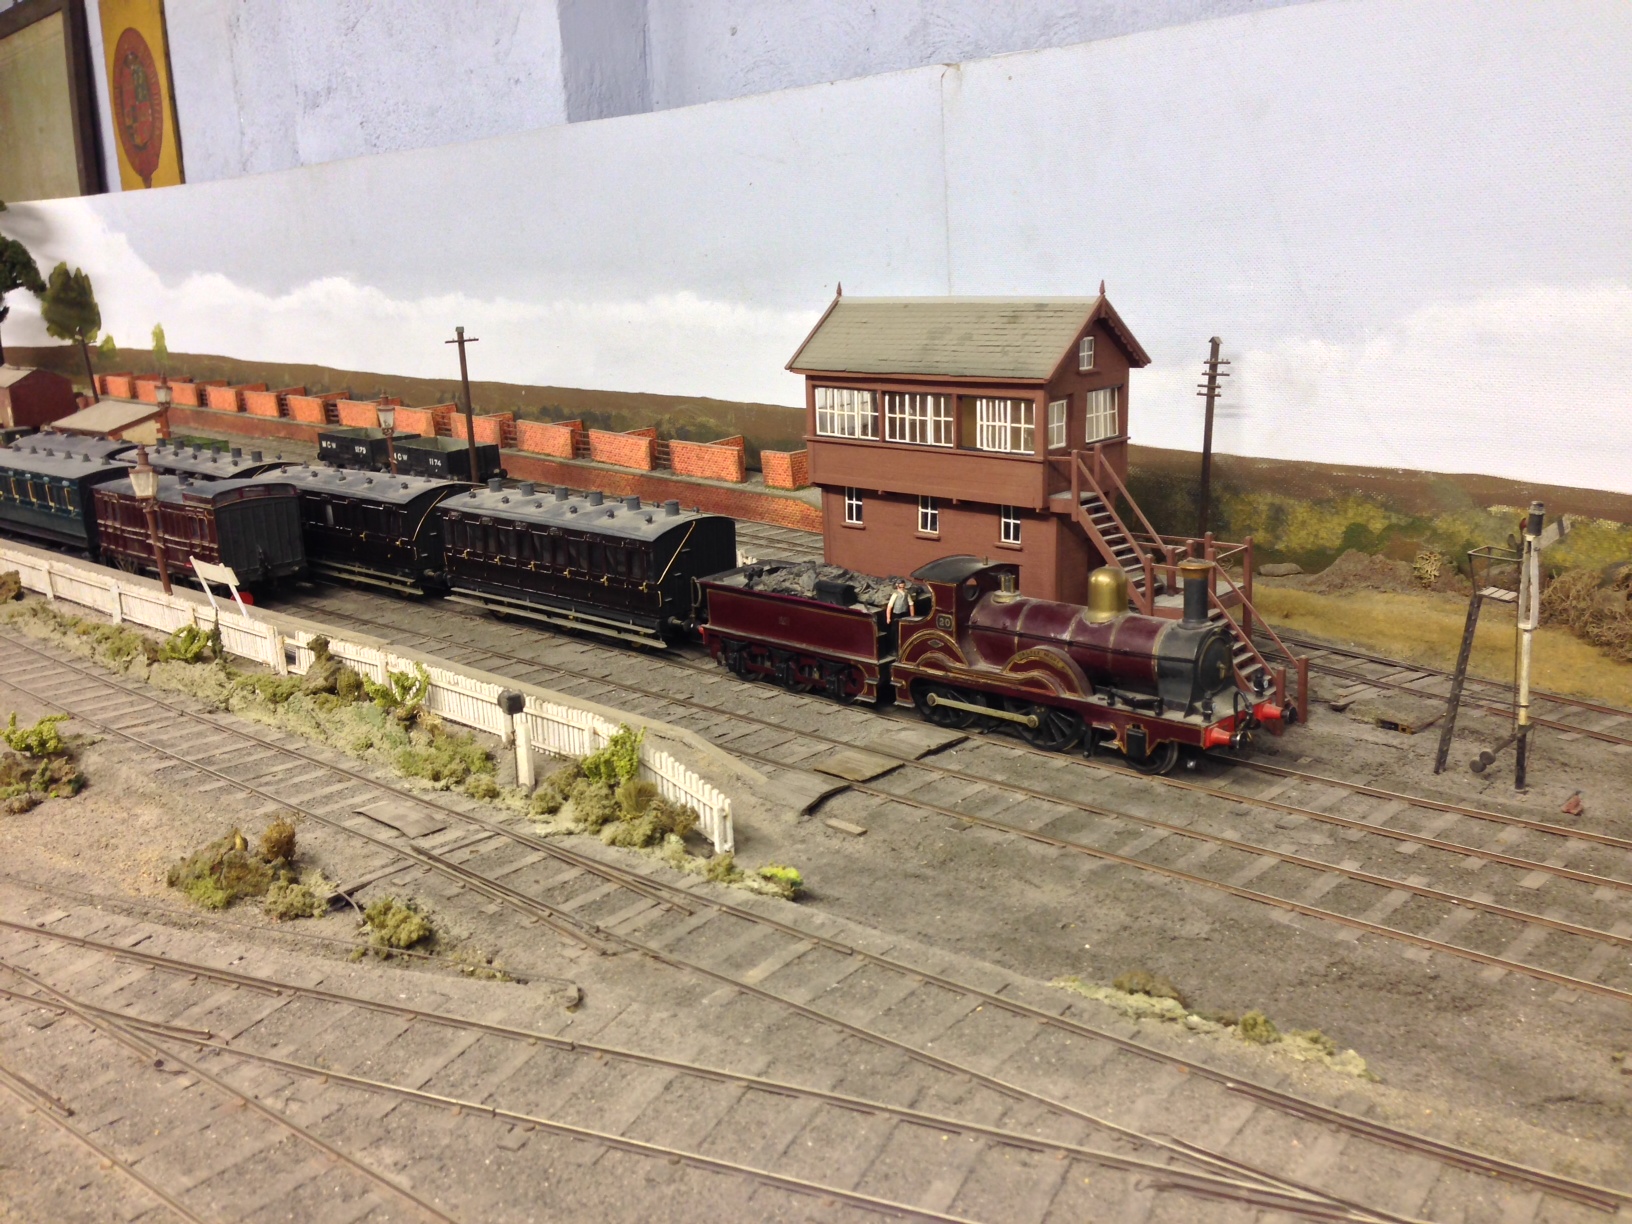
Immediately next to us was Mount Juliet Town):
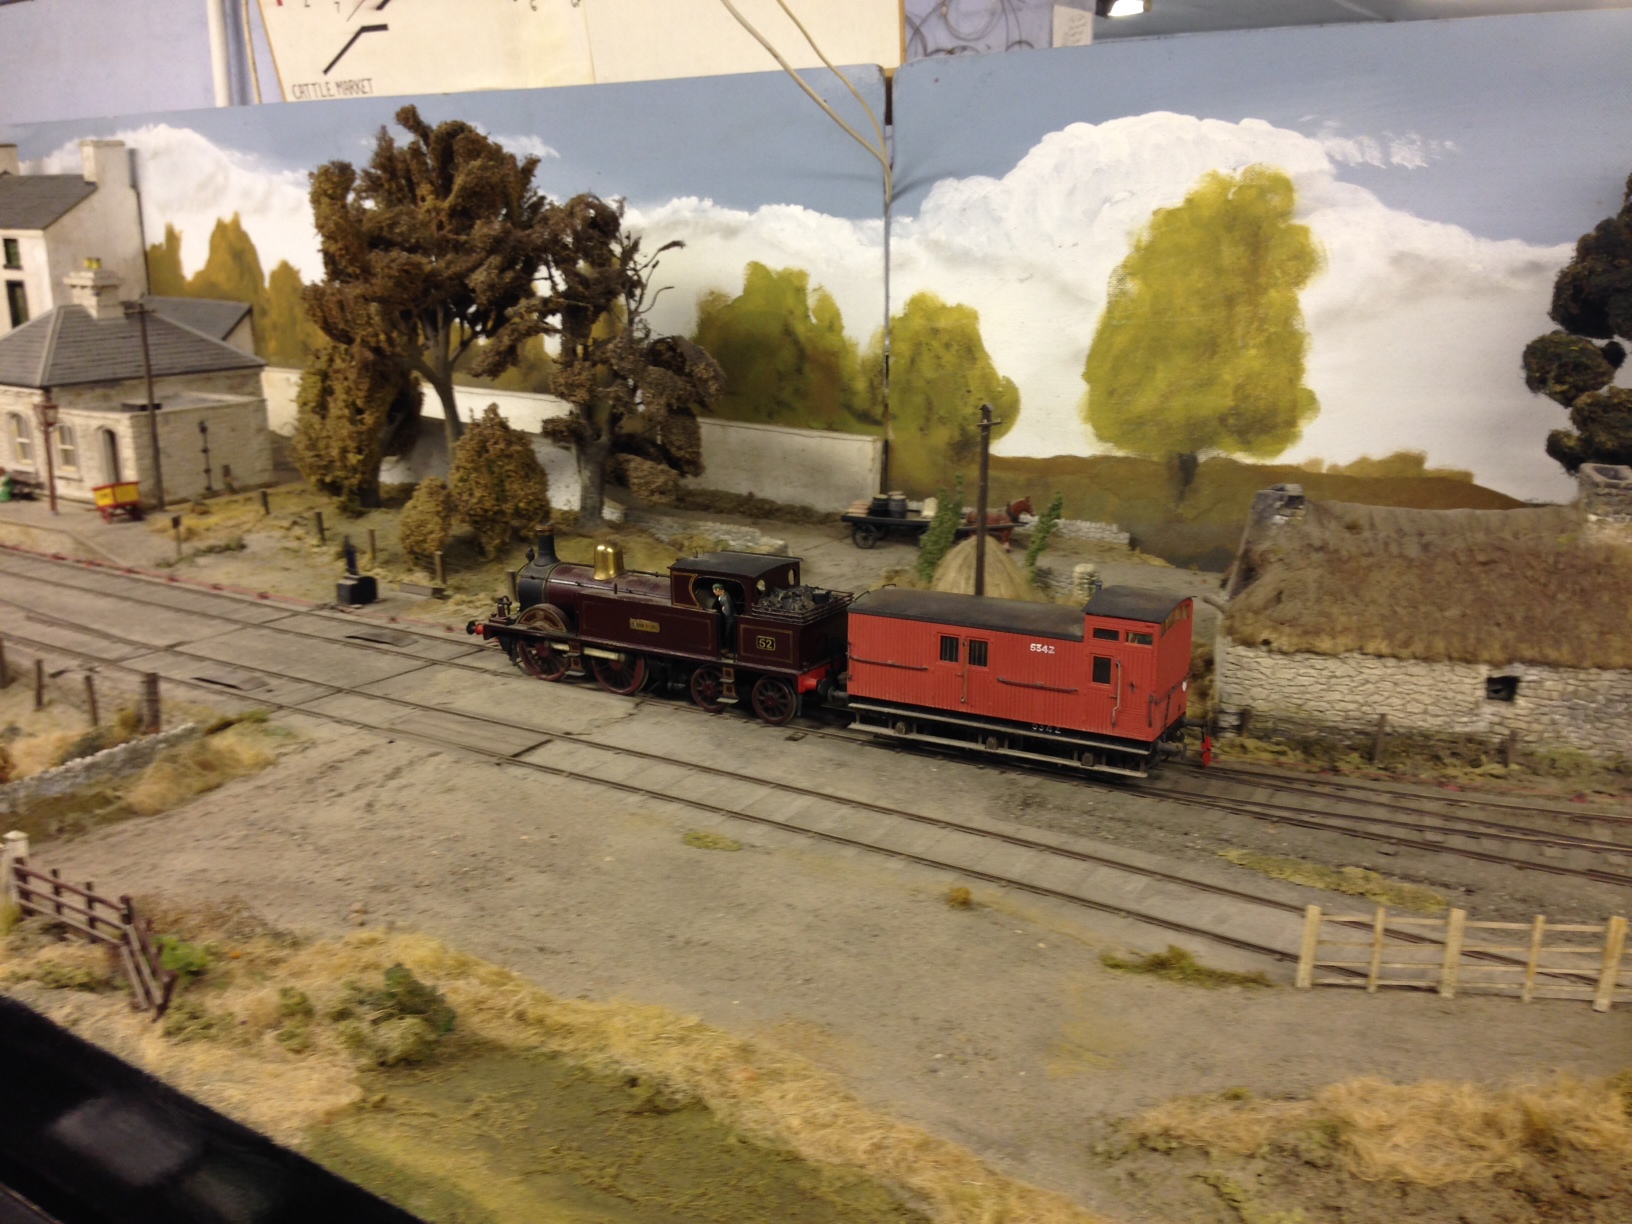
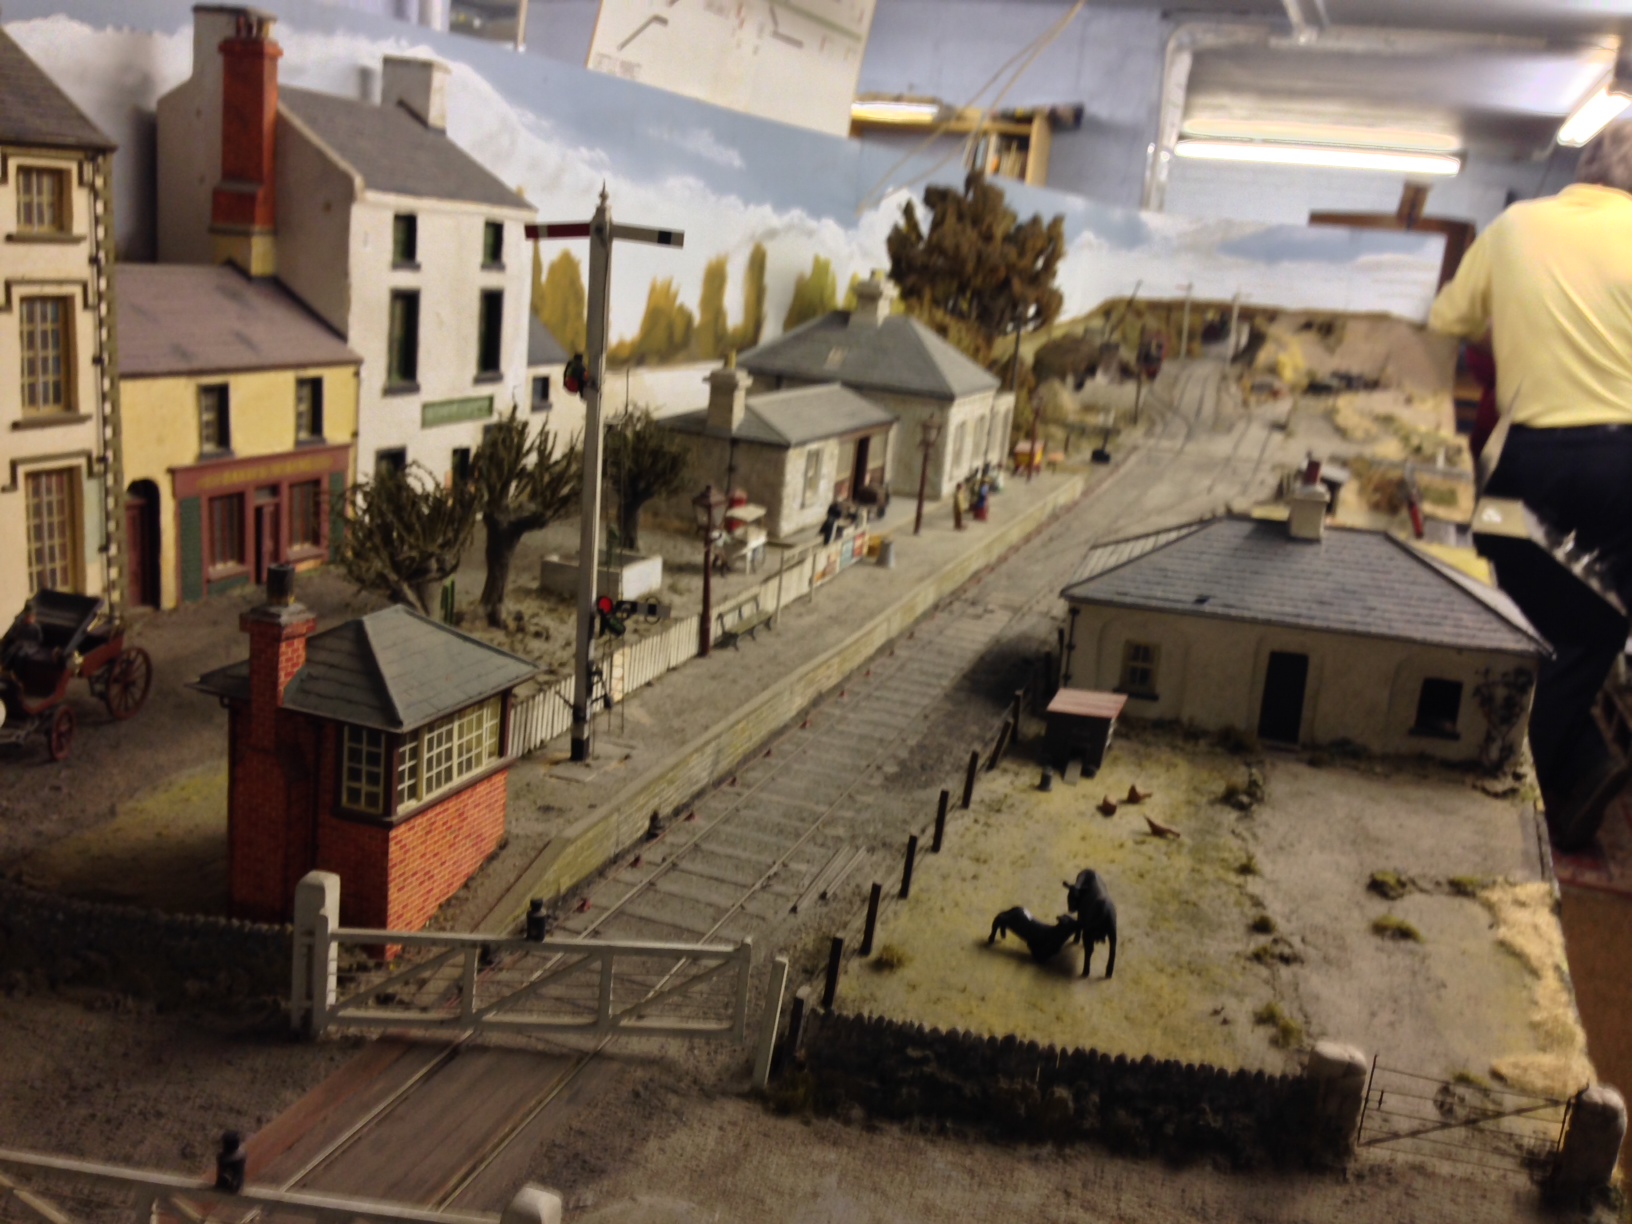
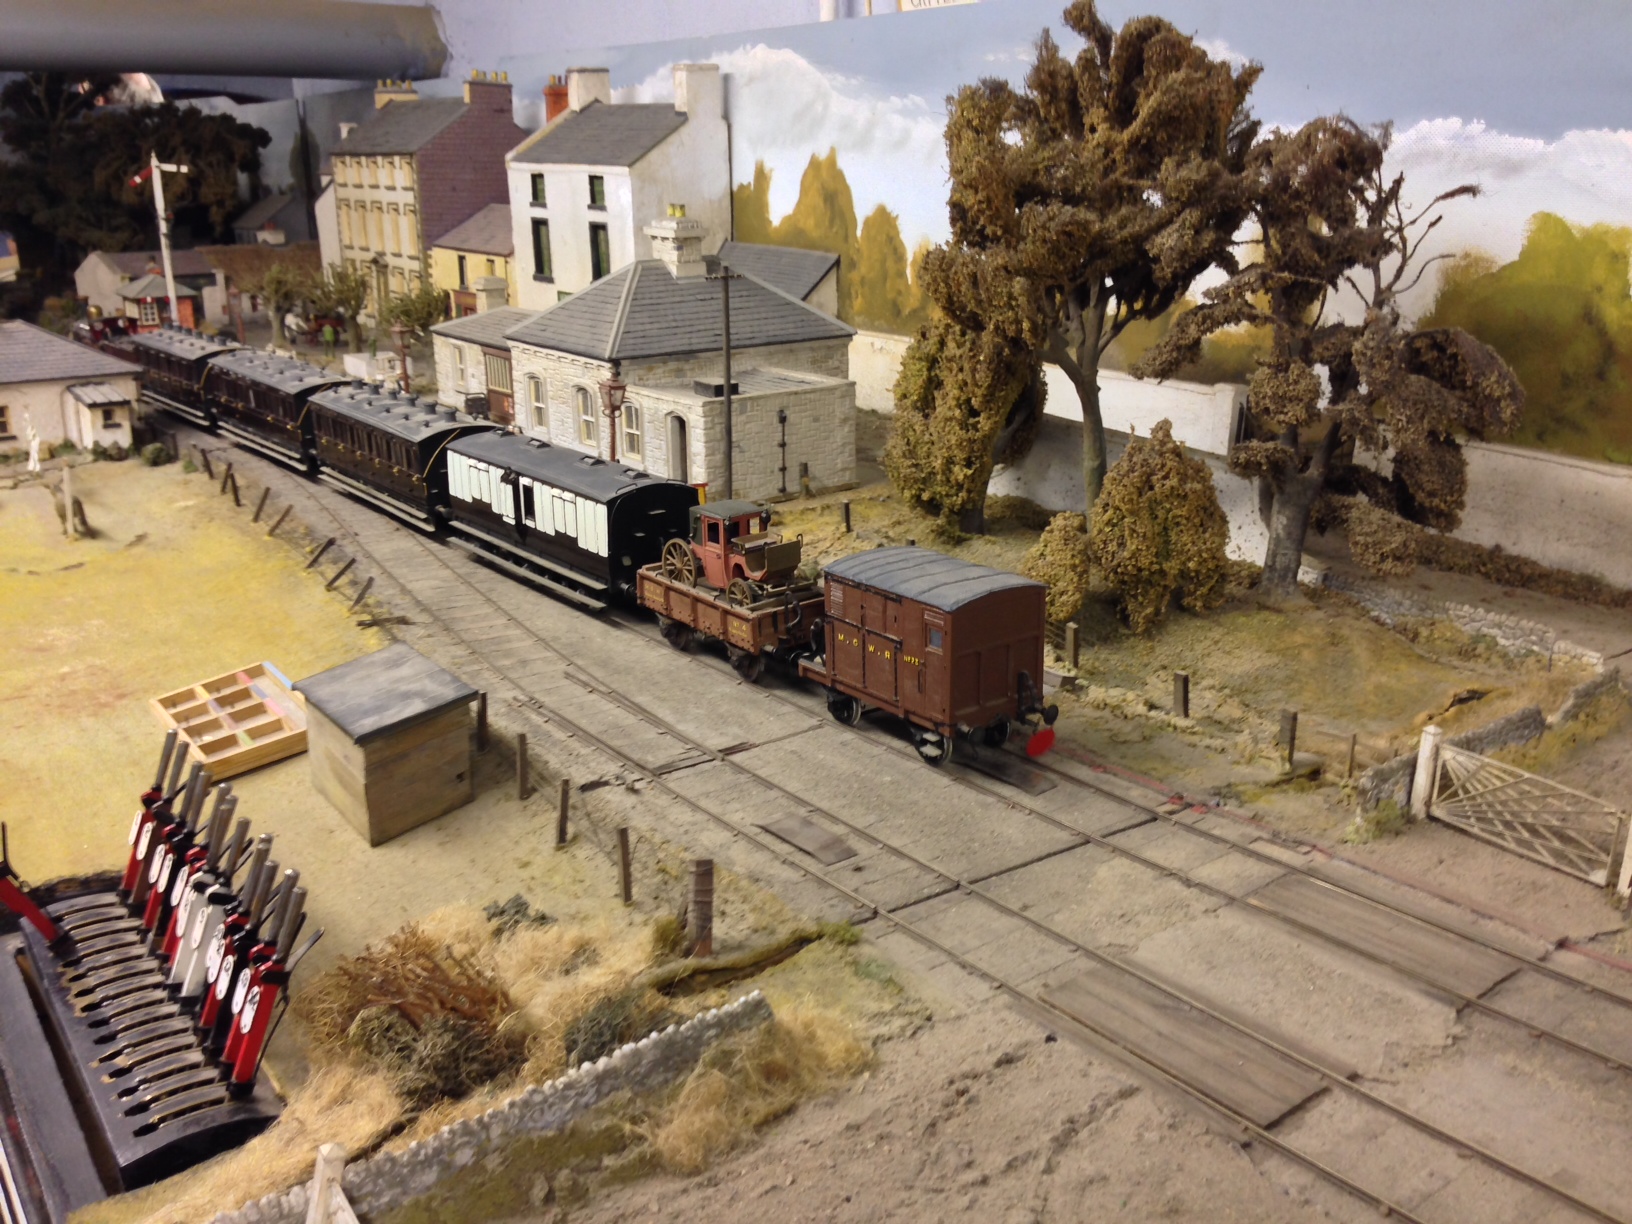
It is worth noting the red tag on the rear of the brake van in the final picture above. This is a form of tail light and one of the jobs of the signalman at each station is to check that the full train is there by checking that each train has a tail light. The eagle eyed might also note a few coloured discs on the top of the wagons – these are a form of wagon label; each colour describing the station that the wagon is to be detached at. It all adds to the the challenge of working the line.
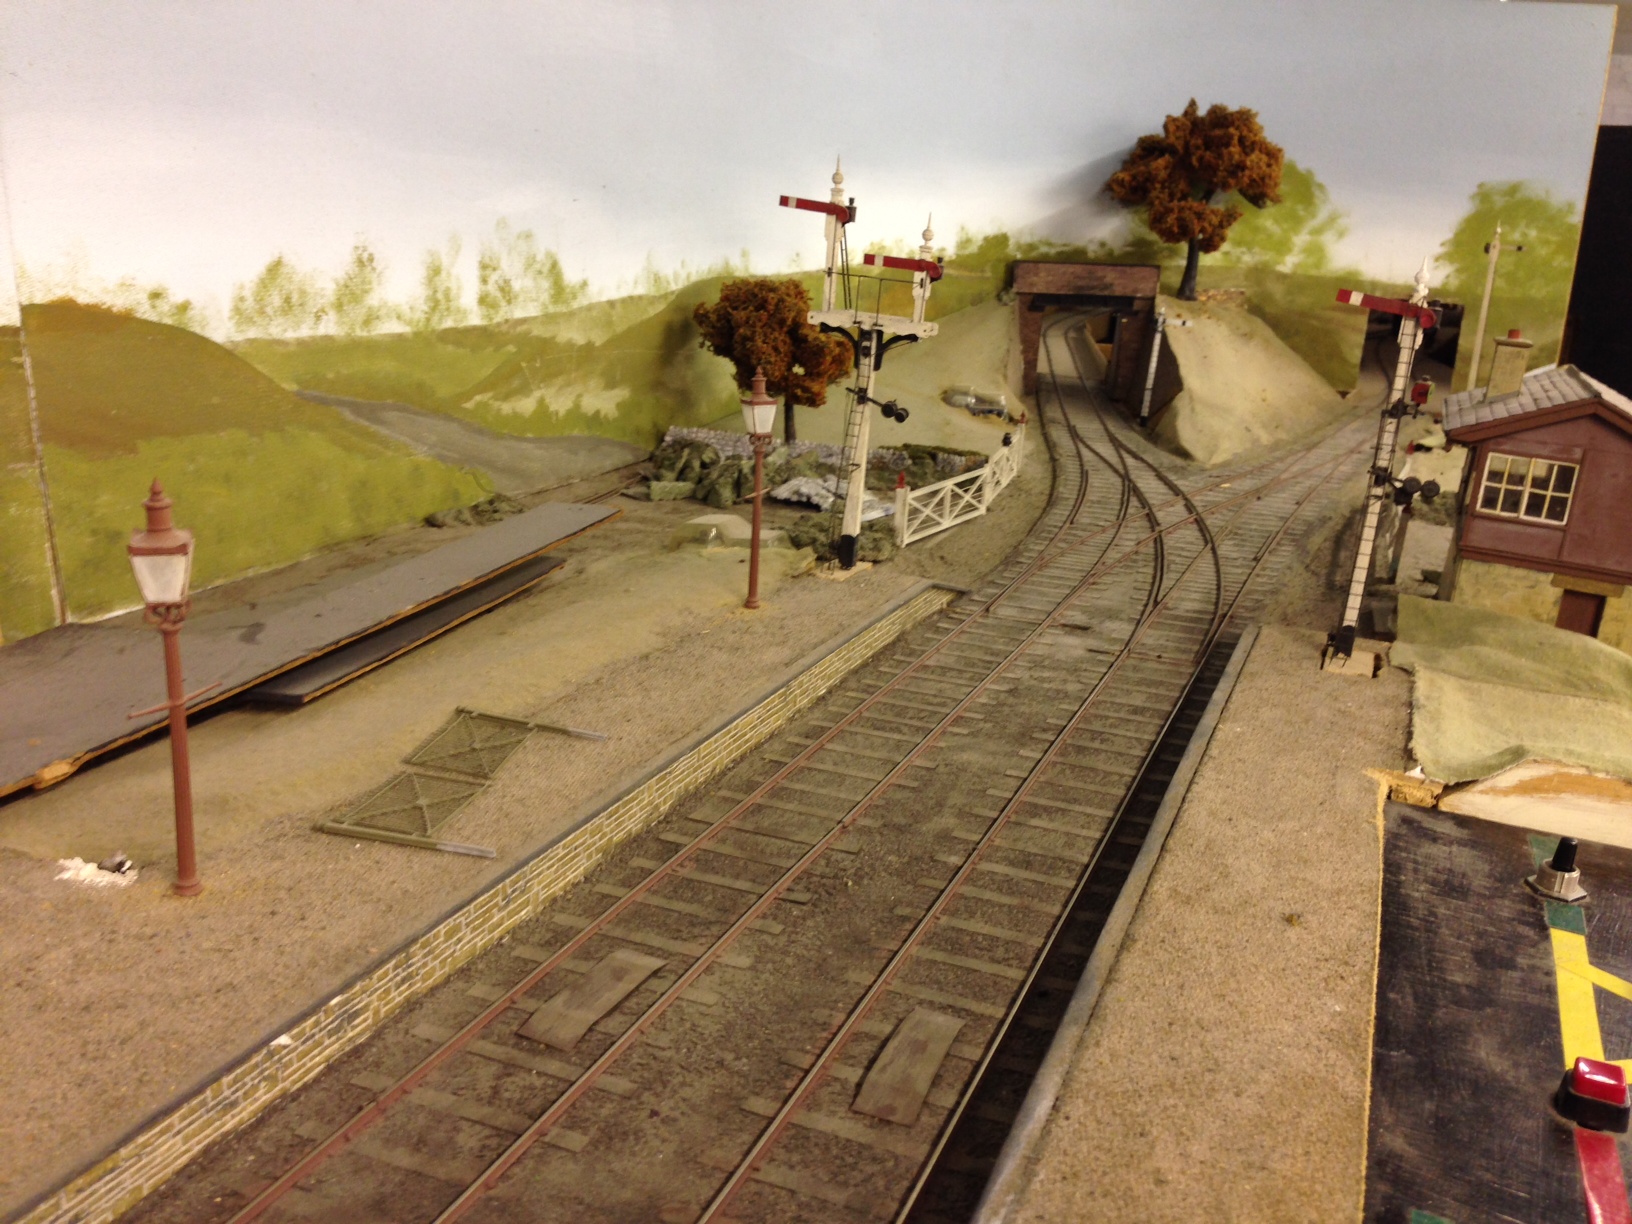
The final two stations I have pictures of are Salruck Junction and Lisgoole:
And the reason for the title of this post?
Fortunately, this was not the last train to Castle Rackrent; which will no doubt please the show manager of the Perth show (where the layout will appear in June 14) but it is the last to Castle Rackrent in its present form. Richard has in mind changing the arrangement of the layout and introducing another station. So it was still a historical evening.
More Baseboards and A Peek at Benfieldside
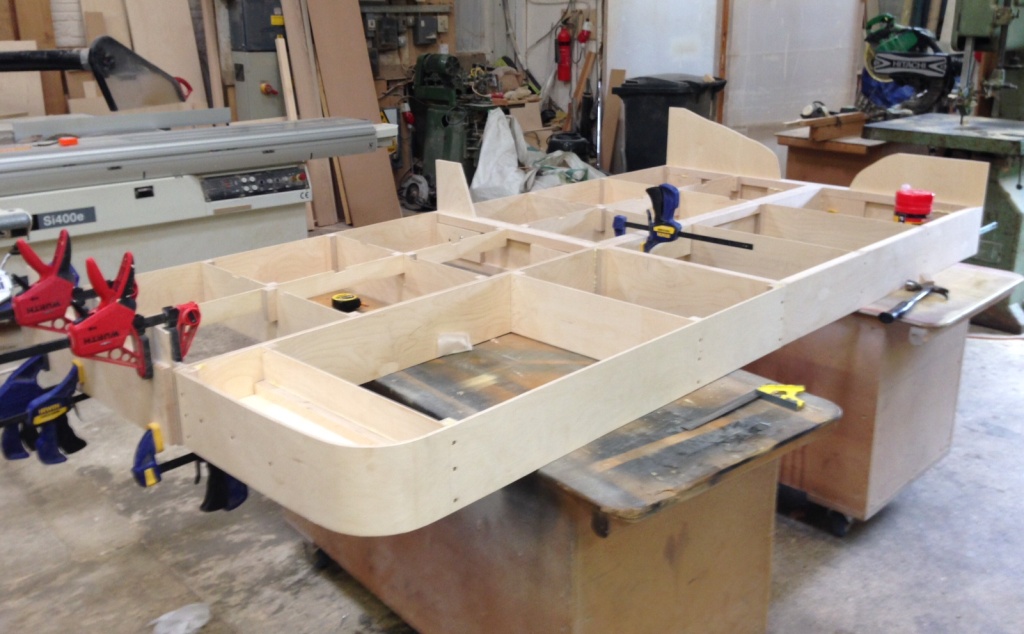
I managed to get most of another day done on the baseboards at Tim & Julian’s workshops. The bulk of the first four are now done; although the decks are still to be put on these. A slightly fuzzy picture to show the progress is below:
In addition to this, I had a look at their layout Benfieldside. As noted in past posts, they have recently acquired this from John James, who was the custodian of it for some years. Its original building was John Wright.
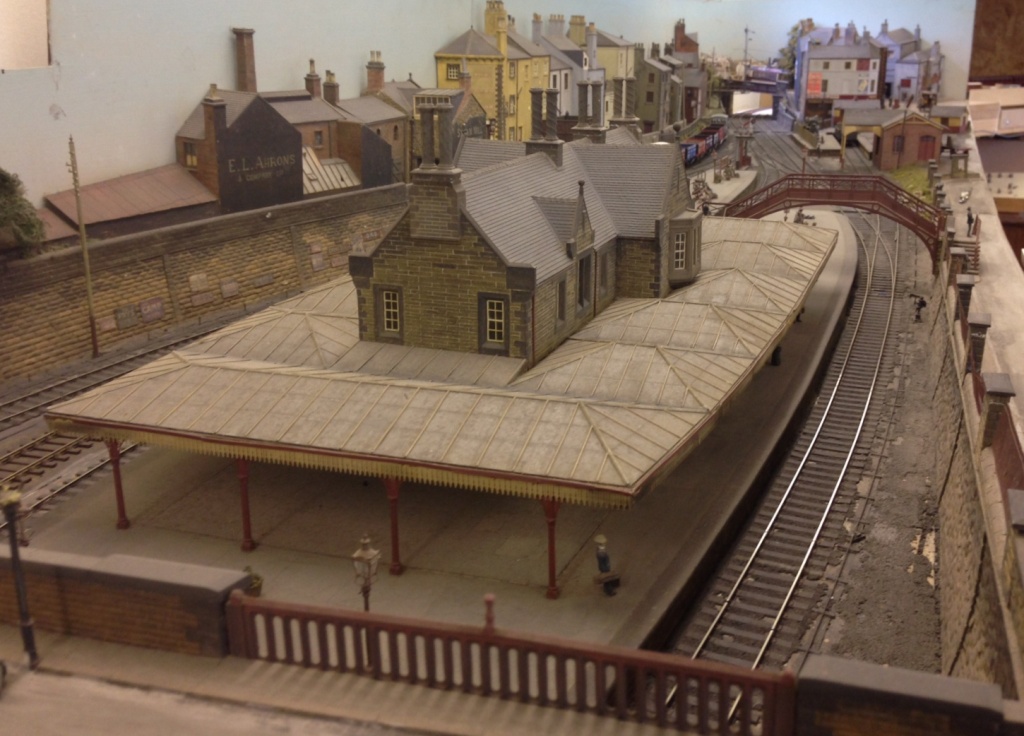
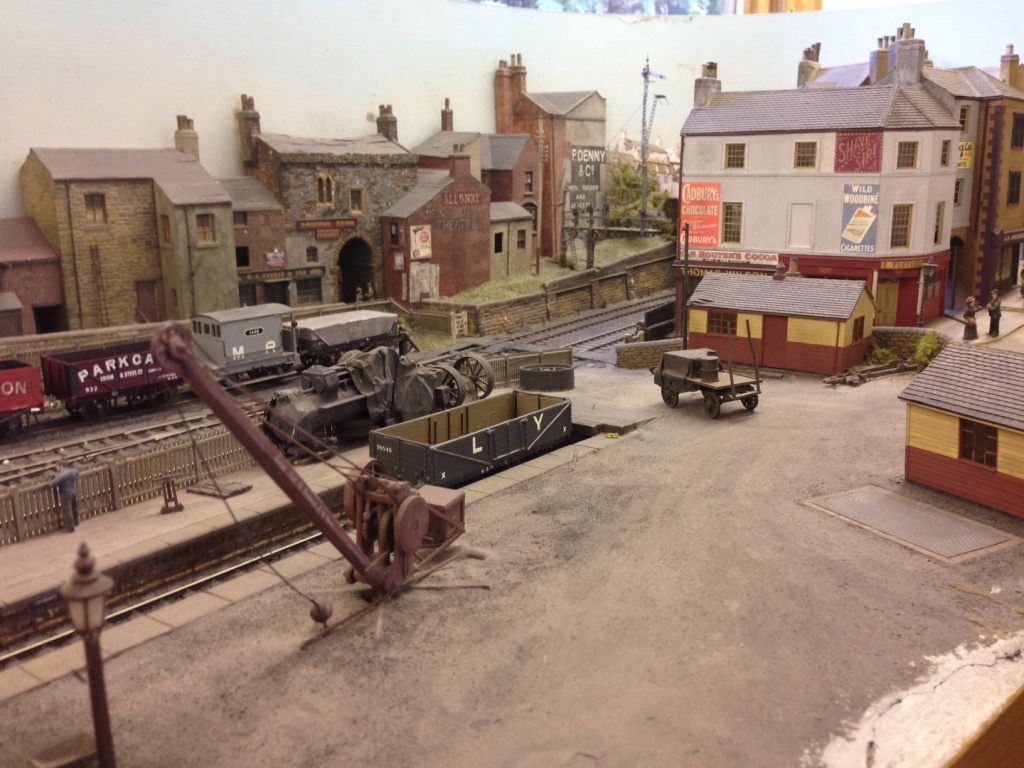
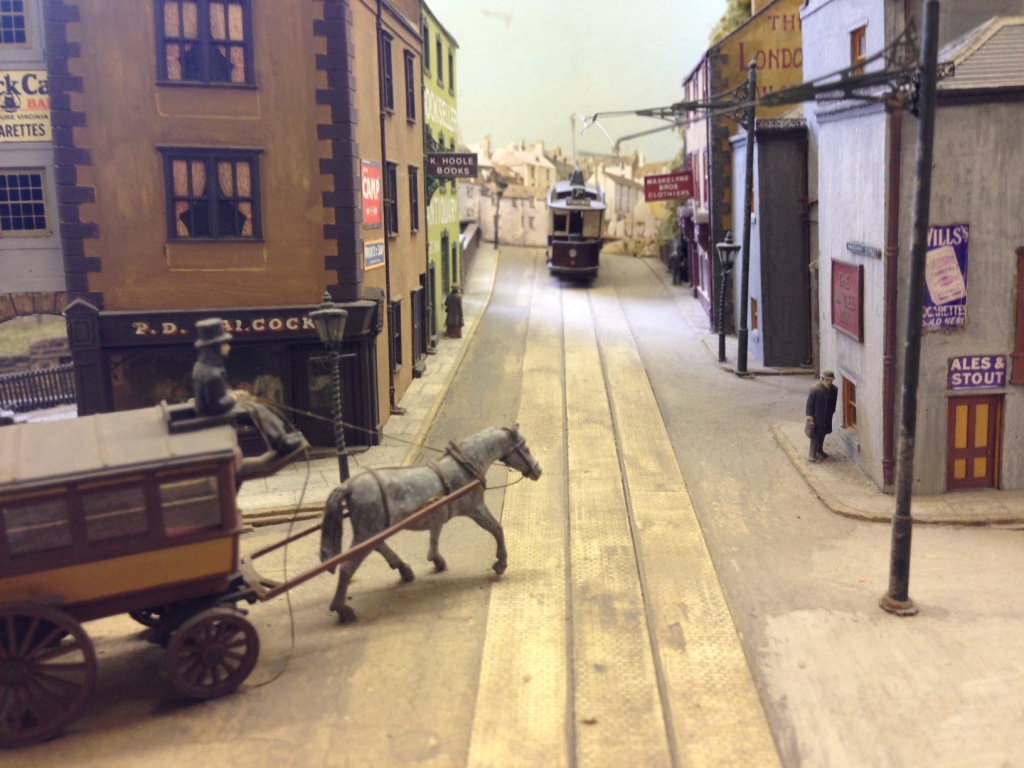
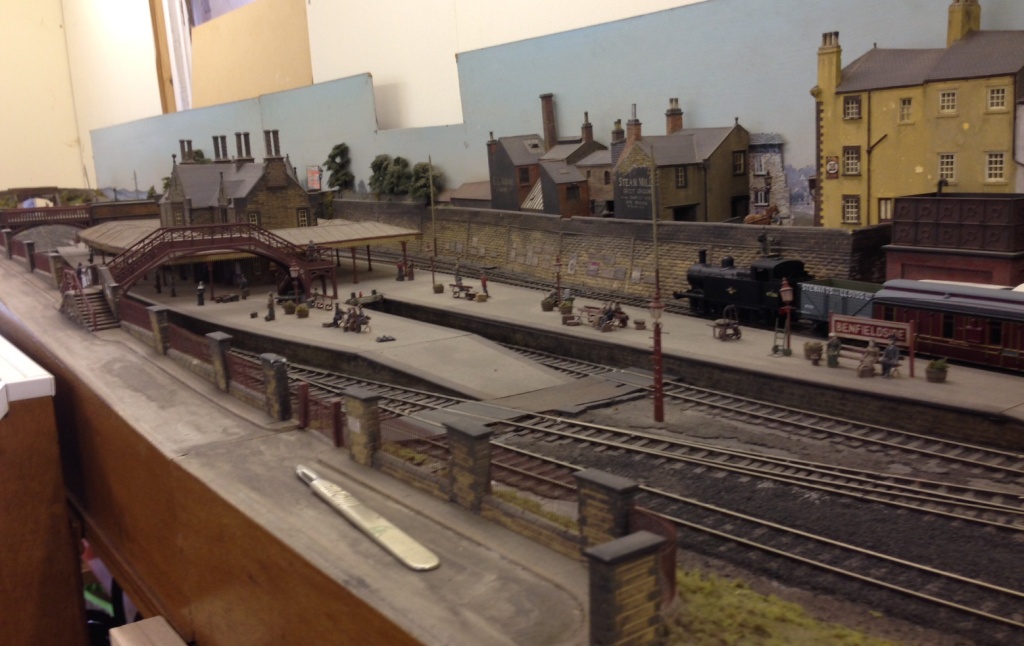
A great layout; I think anyway!
I have managed to restore the first two signals – well entirely rebuild one! I will post some pictures in the next few days with a bit of luck.
One good turn leads to another…………
I managed to get most of another day in Tim & Julian’s joinery workshop. With the assistance of Tim, we managed to get the three boards assembled with pattern maker’s dowels; along with the beginnings of the ground profiles.
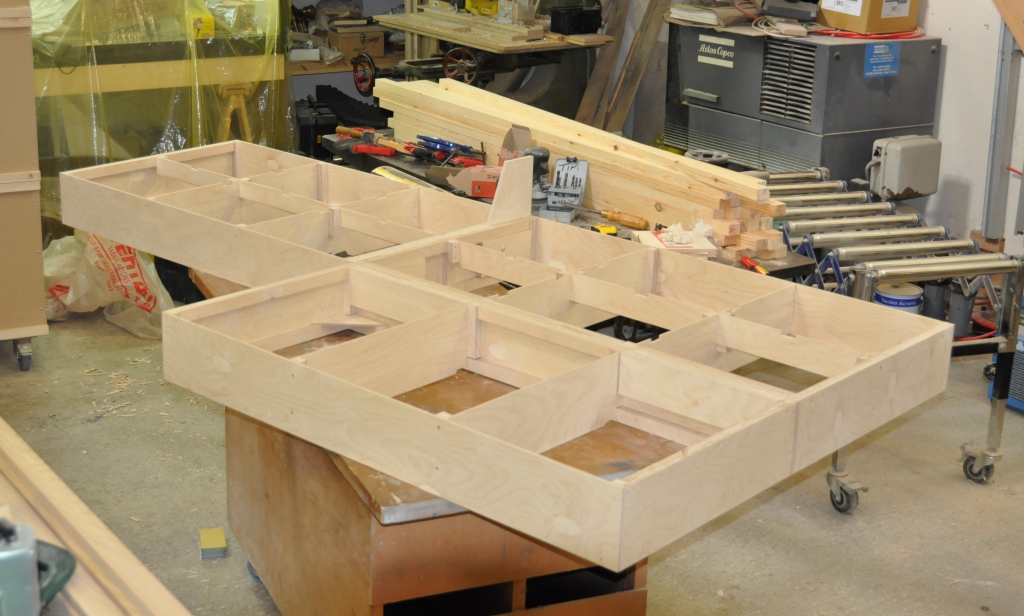
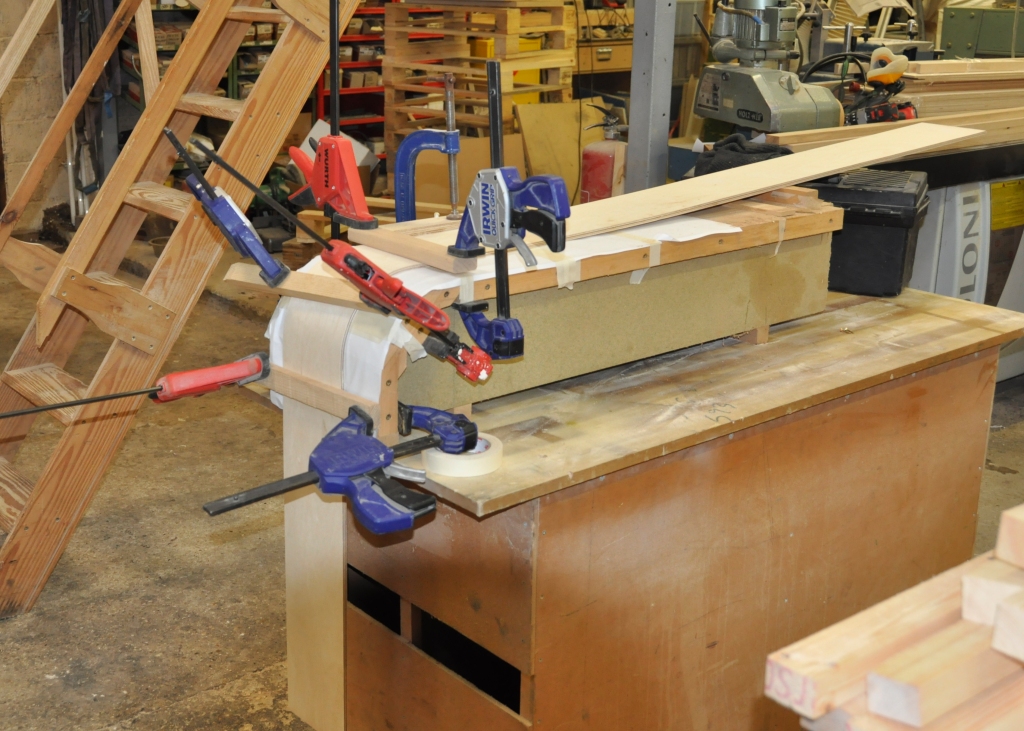
A start was also made on the last of the four boards that will form the main station area. I didn’t want an ordinary square board on the corner as the layout will be viewed both front on and from the end. Therefore, we have had to profile the corner piece around a mould.
But all this help does have a price……………………. Tim and Julian have recently acquired Benfieldside. This rather exquisite layout was built by Martin Wright and was subsequently owned by John James. If you want to see how good it is, find yourself MRJ 38 and you will see what I mean!
Over the years, the layout has suffered some damage so it is going to need to be restored. This is where the use of Tim and Julian’s joinery shop ceases to be free – there are a number of damaged signals and even more that are missing altogether. My brief is restore those that still exist and to set them up for servo operation. Here are the first three; all of which have different issues.
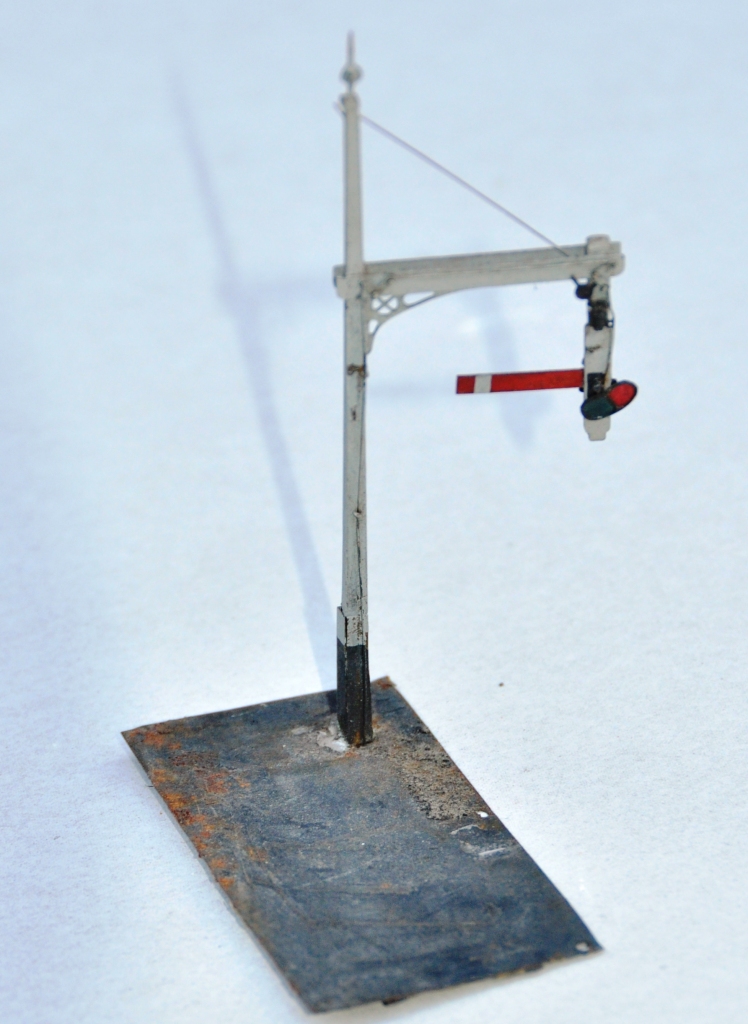
This one has a shattered post and is missing its access gantry/ladder. In addition, the signal arm has become detached and as the signal is slotted (ie the arm is within a slot in the post), this is going to be quite difficult to fix in situ.
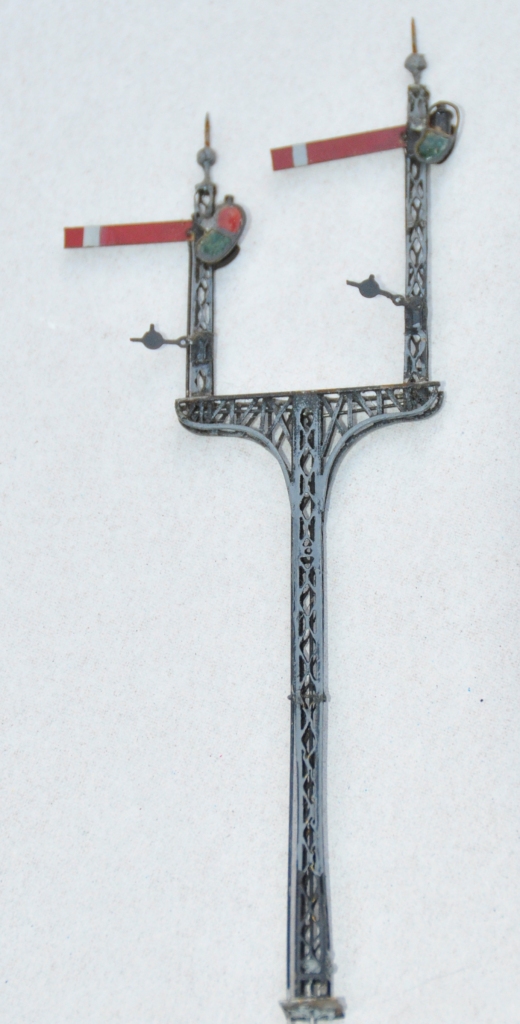
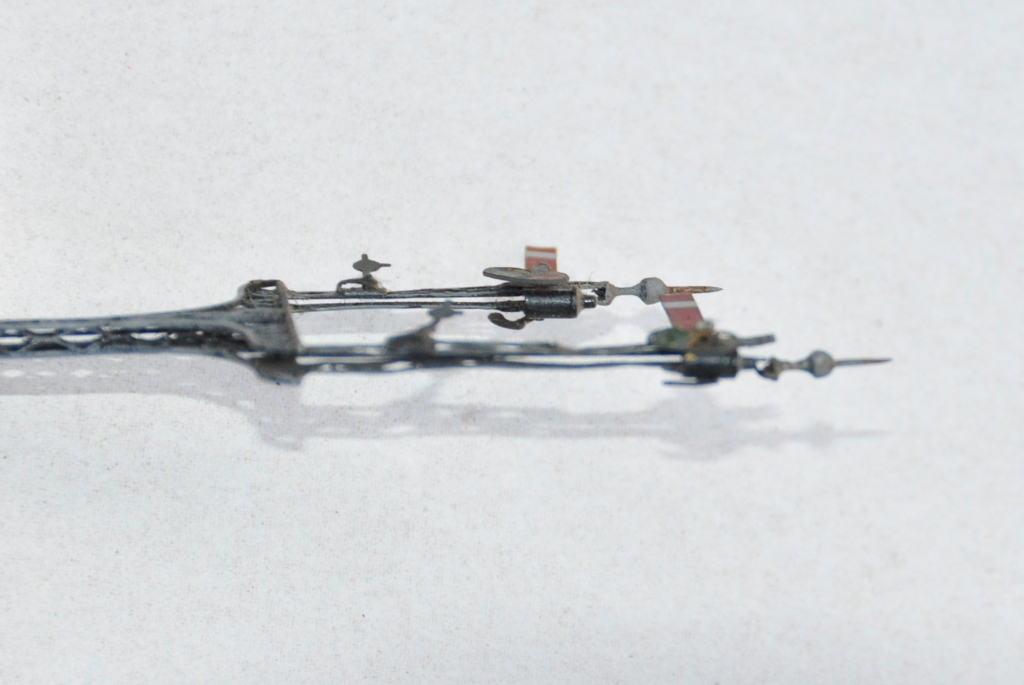
This one also suffers from problems associated with the slotting – when Martin made this he only used lattice work for the front and back in order to provide a slot for the arm. This however has made the signal very weak. In addition, the gantry and ladder are missing.
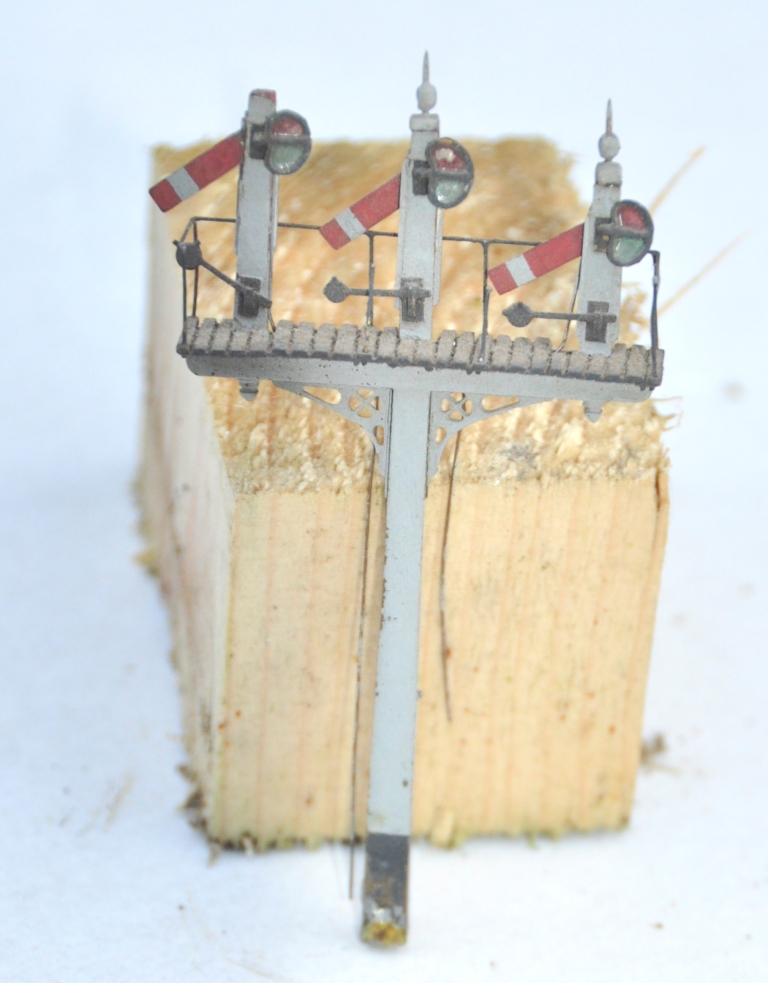
One of the arms us detached from its operating arm, its ladder and finial are also missing.
Fortunately, the North Eastern used Mackenzie & Holland as their signal suppliers as well as the Highland. Therefore, I will get to use my etches! Anyway, the signals have been stripped and restoration has started; a post next week will show how they are coming along.
Timber!
A fairly big day in Glenmutckin’s life today; the start on baseboards.
As I mentioned in the last post; a couple of my team who help on Portchullin made the mistake of both criticising my carpentry skills and then admitting that they ran a joinery business. I guess you can see that they thus talked their way into a task and we spent day one in doing these today.
I know that a bad workman blames their tools; but by god having all the proper kit makes things much faster and a great deal more accurate!! To say nothing of someone who knows rather more about joinery than I do!!
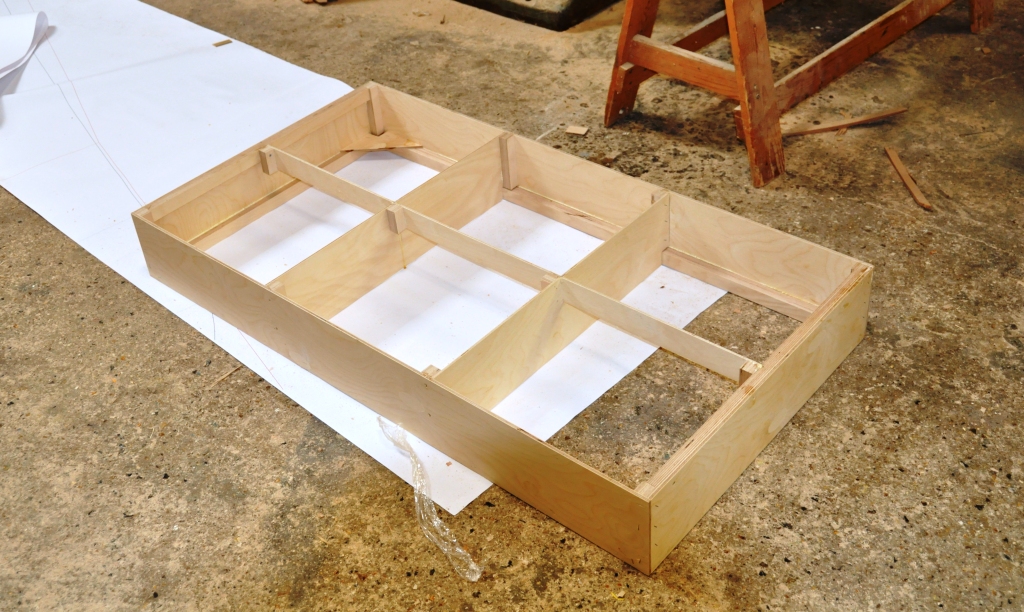
The intended design will be predominantly open design around a skin of ply. Initially a rectangular box is being made, as above. After we have made the first batch of these we will then laminate a further layer of ply around this to provide the material to support the raised scenery and also to house the rebates for the pattern makers dowels – when we have done it hopefully the pictures will make it more clear.
We got three of these boxes made today; here are two of them – what is particularly pleasing is that they are perfectly level across the joint (see the bit of timber laid across the joint). This is an area that I really did not get right on Portchullin and I note that lots of other modellers don’t either – right up to the famous person modelling Leamington Spa.
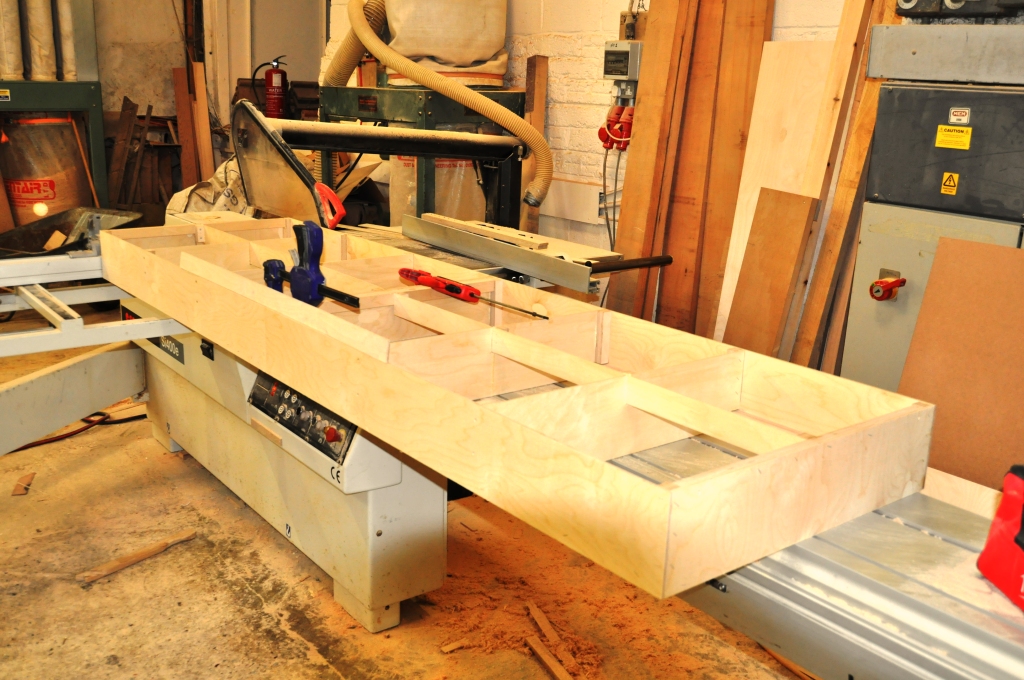
So thanks Tim and Julian – I am sure some signals can work their way back!
And a small plug for my hosts; if you are looking for a powered loft ladder; give them a try http://www.st-joinery.co.uk/electricloftladder.html?gclid=COfvoN-HyrwCFYWWtAodjCQAcw
Where did we get to…………?
When last I updated you on Glenmutchkin, we were making the legs. These have been reassembled and look like this:
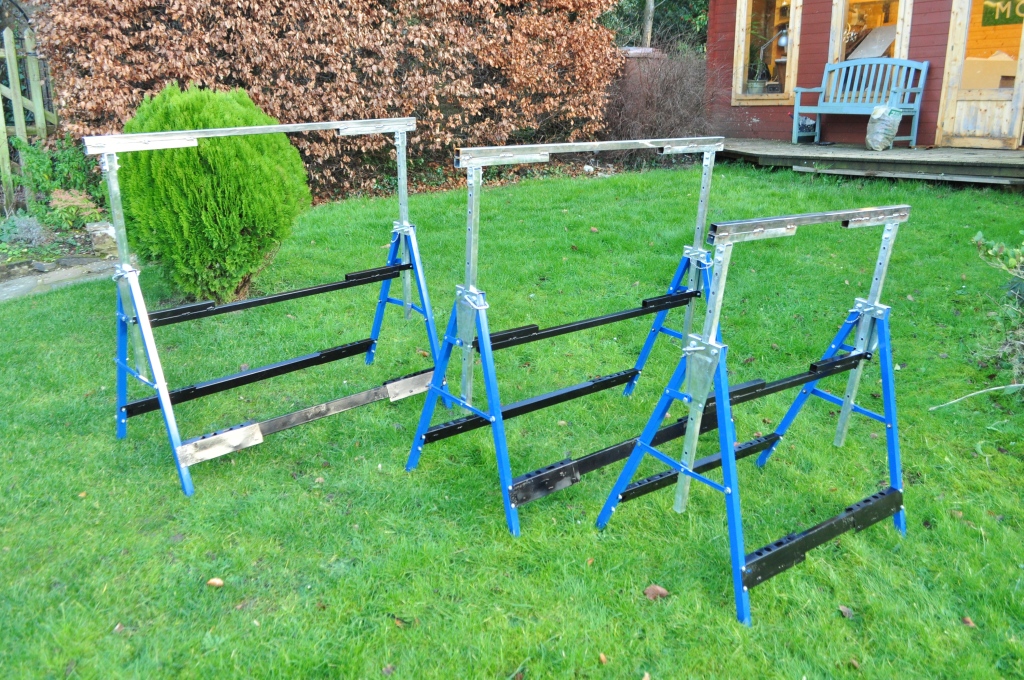
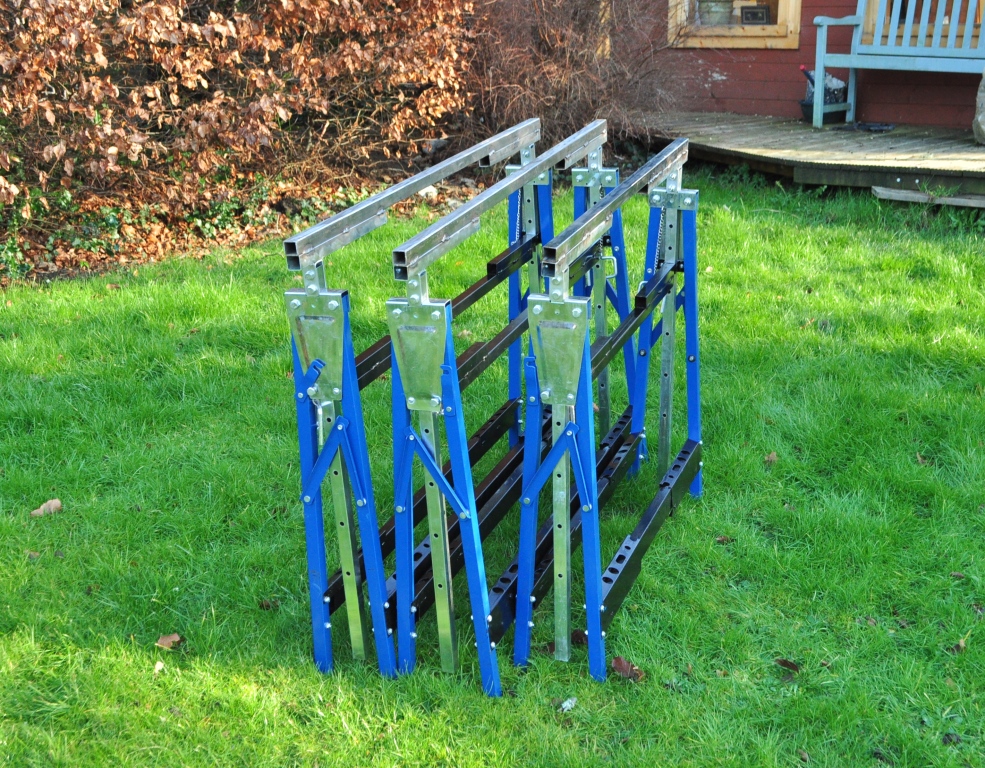
They are not yet finished as I wish to make a mount for the support girders; so it will soon be time to prevail on my brother again!! However, I have been tinkering with plans and have come up with the baseboard layout and a rather tidier rendition of the basic plan:
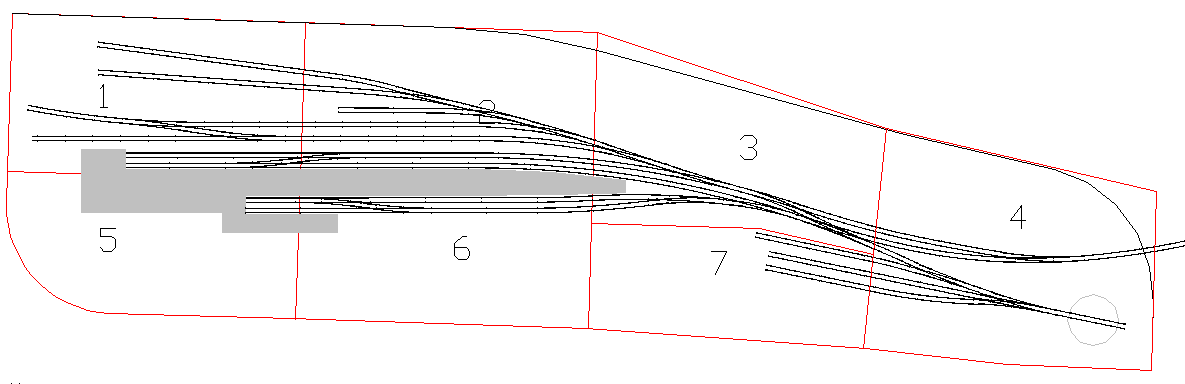
A little unusually, I am making the layout two boards deep as I am trying to get a lot of “depth of field” in the model. Portchullin works very well in this regard to the right side where there is a bank and you do not see the back of the layout but less so in the station building area or across the bridge. The depth of field is intended to try and overcome this but I will be having quite high hillsides behind again for much the same reason.
I am hoping that I have been able to book a bit of time in some friend’s joinery shop this week to make a start on the building of these. Five of the boards are relatively simple; the last two (nos 3 & 7) a lot less so. One of the chief areas that Portchullin lets itself down on is the quality of the baseboards – compensation/springing is a must on steam locos for example! My friends (Tim & Julian) pointed this out with some vigour and told me that they really knew being joiners…………well you can see where that led for the next layout!
Every favour has a price though; so I am down to build something in return for them!
More Computer Work……….this time a yard crane
In the summer, my 16 year old decided to rejoin the human race (having spent the previous three years on the planet “grunt”) sufficient that he and his mate decided that they might actually want a week away with a boring middle aged bloke. So after some discussion, we decided to go and get some “fest” in at Edinburgh, cycle the Dava way, bag a couple of munros and take in a distillery tour or two.
We stayed at Aviemore so I went on one of my photo recons and whilst I must have been past it several times before I found this rather nice yard hand crane.

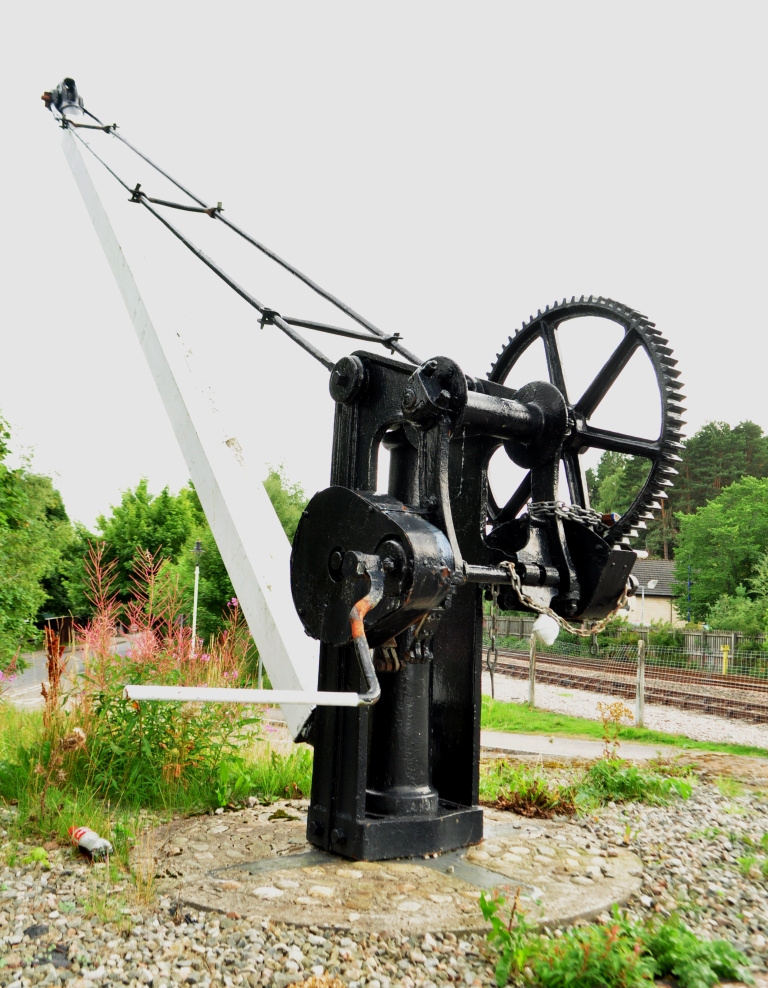
I thought it ouzed atmosphere and would make a lovely little model; so I have had a bash with it – again trying to use modern means to make it so that it could be replicated if need be. So other than what I think is a brake at the rear (which I forgot until I loaded the picture up above) I think it is done.
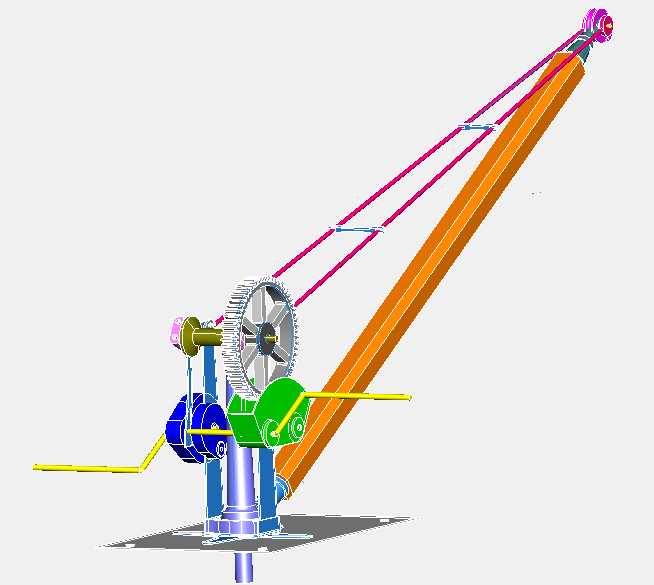


The base piece, sides and the cowl that goes over the base of the main wheel (the green bit) are intended to be etched; the rest will go down the route of 3 D printing again.
So it is time to spend some money with Shapeways and PPD again……….. I have also done some work on the other things that I had etched and printed before; hopefully they will have the little glitches sorted this time; a little present for myself for Christmas!
A Week on Tour – Part 2; Strange Happenings at Warley
The other section of my travels last week was with Portchullin to Warley.
It mostly behaved itself; although I did seem to cook a servo board on Sunday lunchtime; which did annoy me lots as until this time we had all of the signals working which was a first.
We ran diesels all weekend, although we could not resist getting the Small Bens out to stretch their legs. So two examples of chequebook modelling………. Ben Alligan at the front and my father’s Ben Clebrig at the back


And to complete the Highland outing, Paul Bannerman’s (hard sweat not chequebook) model of a Yankee tank was out too.

A week on tour – part 1; way out west
I have been on travels a bit this week, firstly work took me down to Bath so I took the opportunity of visiting the Bristol/Avon area group of the Scalefour Society. They meet weekly (I think) and tend to rotate around different venues – in this case they were at Paul Townsend’s for a visit to his layout Highbridge for a bit of a running session.
There seemed to be a preponderance of things called diesel hydraulics; not too sure what they are:

But there was some more sophisticated trains there:

Highbridge is a good layout, based on the station of that name. This was where the S&D cross the GW main line from Bristol to Exeter which it did on the level as the two lines passed under a bridge. It resulted in some rather complicated trackwork which is very model-able; even if there is some of the wrong type of green………

It is a well modelled layout as this shows:

If perhaps a bit spoilt on the night by my mo. Being done for prostrate cancer charity; so if you are feeling like this is a good cause then make a donation here

Thanks to Gordon Ashton and Tim Venton for the photos.
Chequebook Modelling – a Wee Ben
I don’t know whether this is a serious admission or not, but I have been doing some chequebook modelling – and my crime is rather more serious than the latest Hornby offering………………
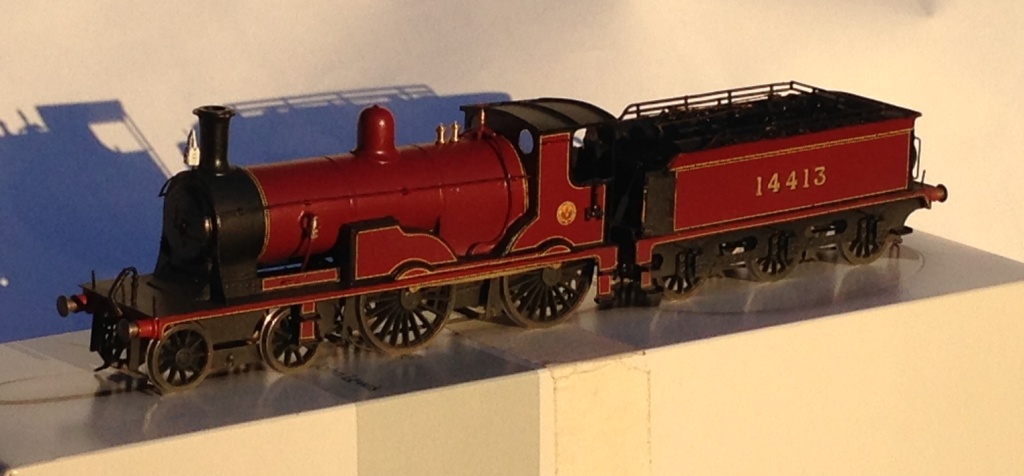
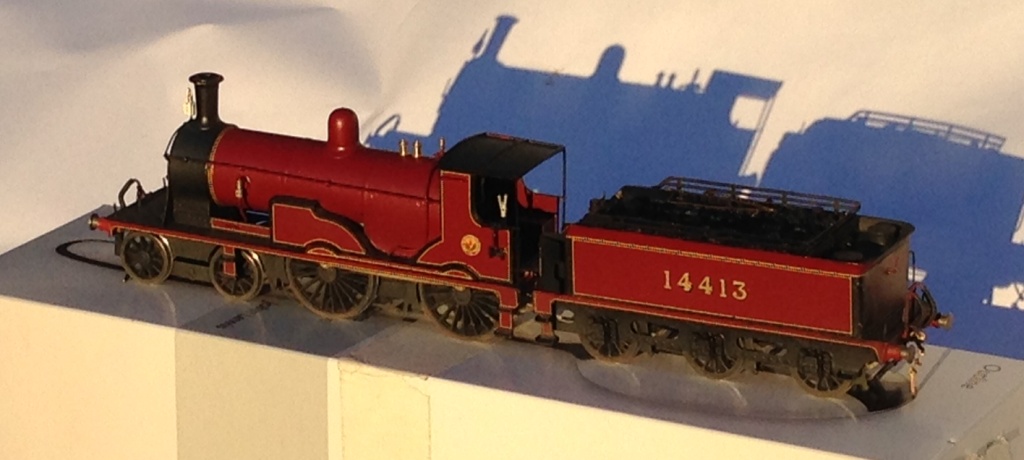
………and it cost rather more than an offering from Margate too!
I commissioned John James to build this about two years ago (that is how long a pro builder’s waiting list is if they are any good) and this was delivered a couple of weeks ago. 14413; Ben Alligan – constructed as she was in the mid 1920’s so in the fully lined crimson lake and jolly fine she looks to I am sure you will agree.
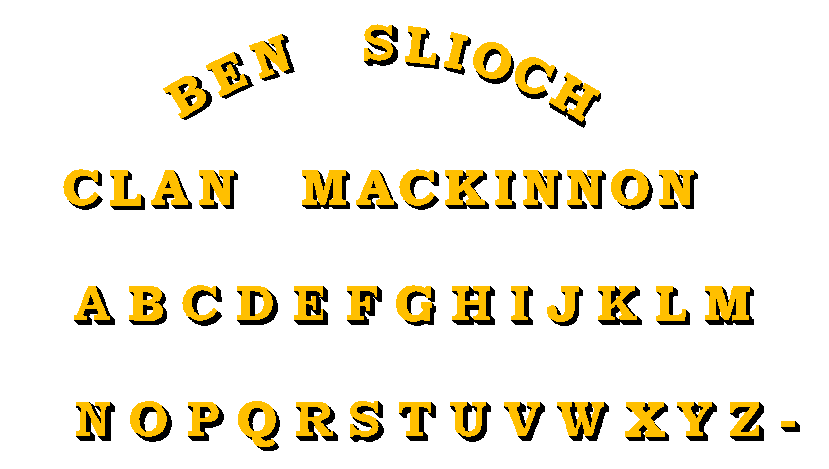
But, there is a problem with her…………………..she has names. The LMS perpetuated nearly all of the Highland’s names that were still applied to the locos at the grouping (I can think of only one exception – Lochgorm) and continued to paint them on the splashers. We hunted around for a sensible letting and did not manage to find any where the font had the right serifs and slightly unusual massing of the down stroke of the leters, so John omitted the names of this and another that he built for my father (Ben Clebrig if that is of interest to you). That has meant that I have been fighting with CAD again and I think I have got close enough for my purposes (in 4mm, these are less than 2mm high!).
So once I have sorted out the right radius for the name (I think the Ben Slioch below is on a slightly too shallow an arc); then I will have a go at printing my own transfers. I have the appropriate paper, so lets see how we do!
One of the fun things with the Bens is choosing names for mountains that I really enjoyed climbing; Ben Alligan was probably around my 30th Munro and is a fabulous climb. If you do it, you have to do the full circuit and finish on the Horns of Alligan – a bit of a mild scramble, not as airy as Aonach Eagach (which I have done) or the Cuillin (which I have not!); but still a jolly fine climb. Oh and on a clear day you can see clearly to the outer Hebrides – fabulous in the blue sky.
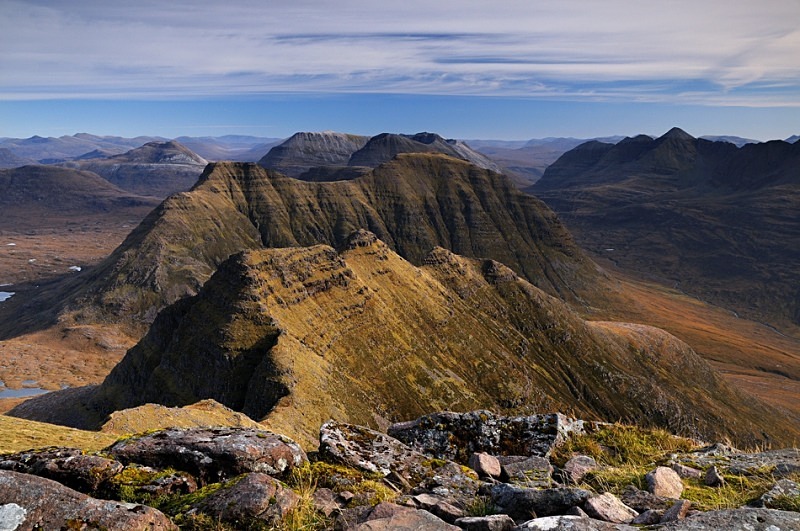
The Horns of Alligan looking east.
Cutting and Shutting
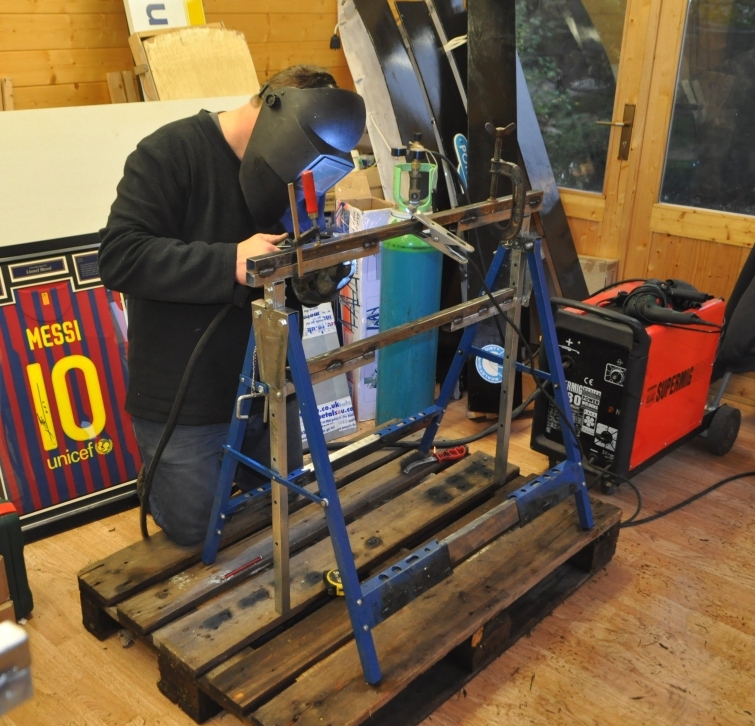
I wished to use builder’s trestles for the supports for Glenmutchkin as they fold down, are very sturdy and durable (and are fairly cheap). But, I also wished to go for a fairly full depth on the layout and they only come in the one depth (about 26 inches). This meant I needed to cut and shut them, to make them into a stretch trestle.
Fortunately, my father in law was over at the weekend, and he has had 40 years in the motor trade so could tell us a thing or two about how to cut and shut (sorry Bernard!). So, coupled with my brother and his welder, we have managed to cut and shut the first three trestles (the others do not need the same treatment).
Here is my brother James hard at work on the smaller of the three.
I need to sort out a better means of storing Portchullin’s lighting pelmets. One of the lessons I have learnt from Portchullin is that it has too many odd shapes and insufficient thought on how it should be stored/transported.

