Blog Archives

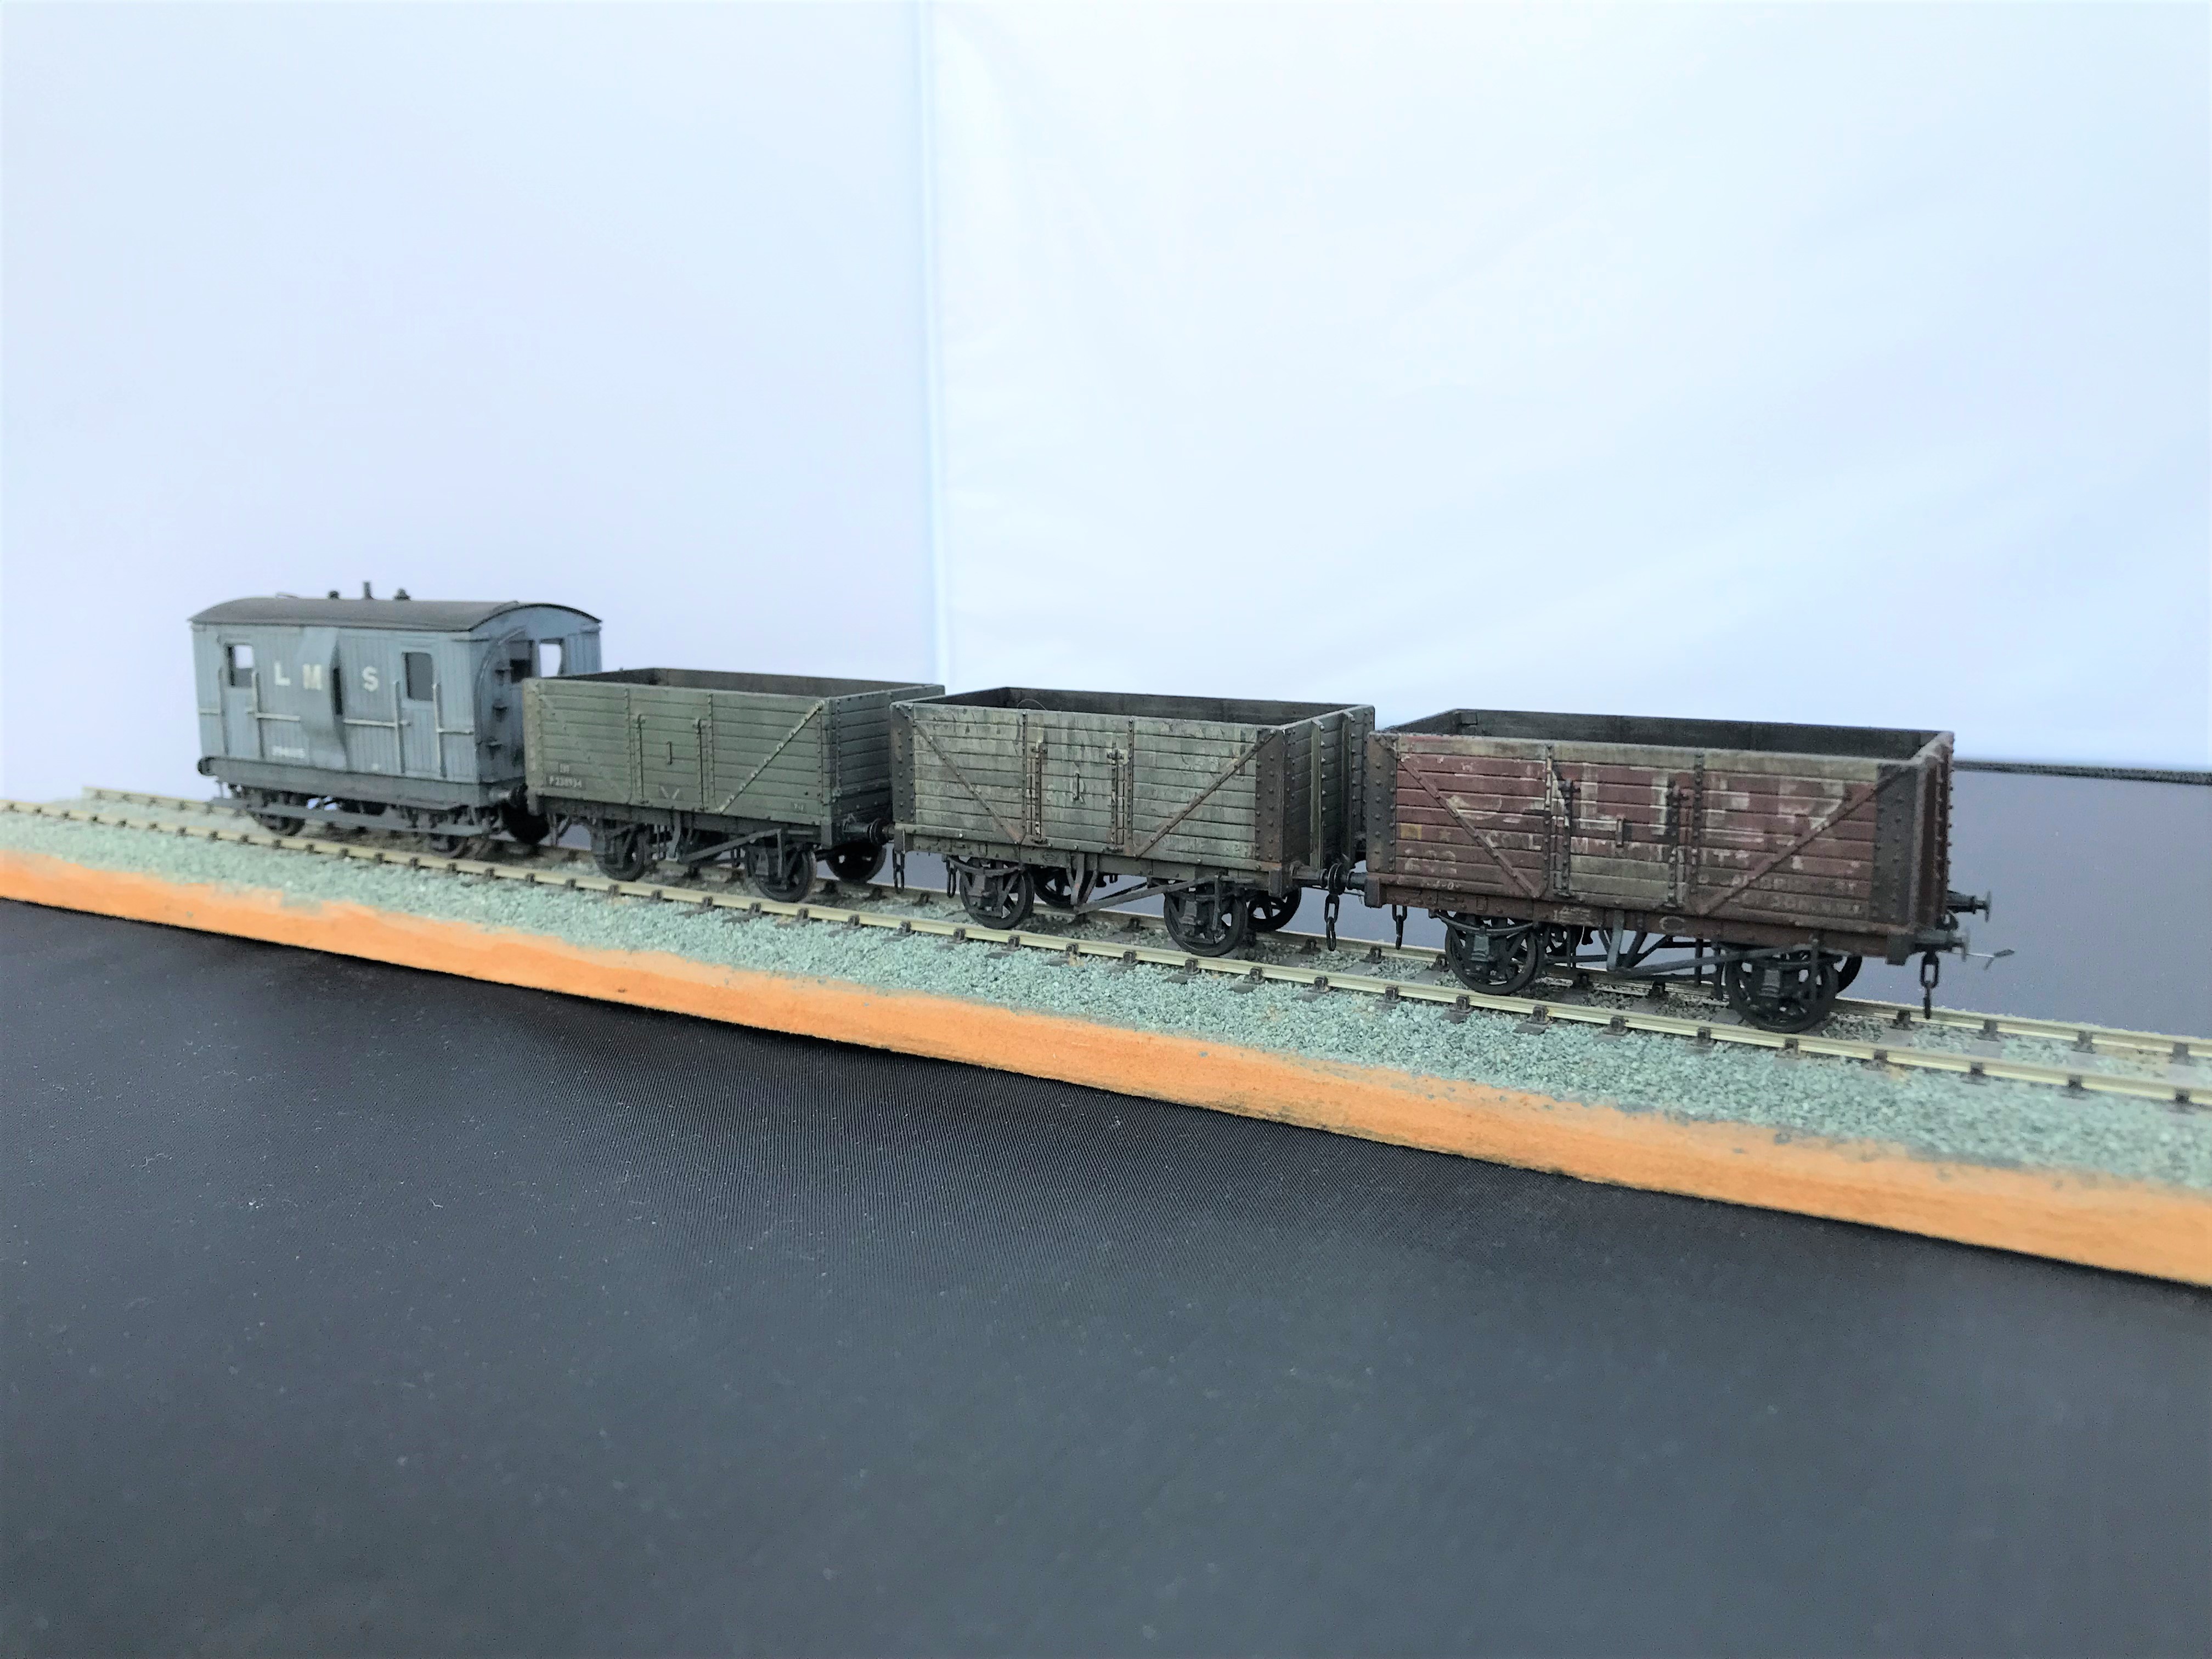
More Filthy Wagons
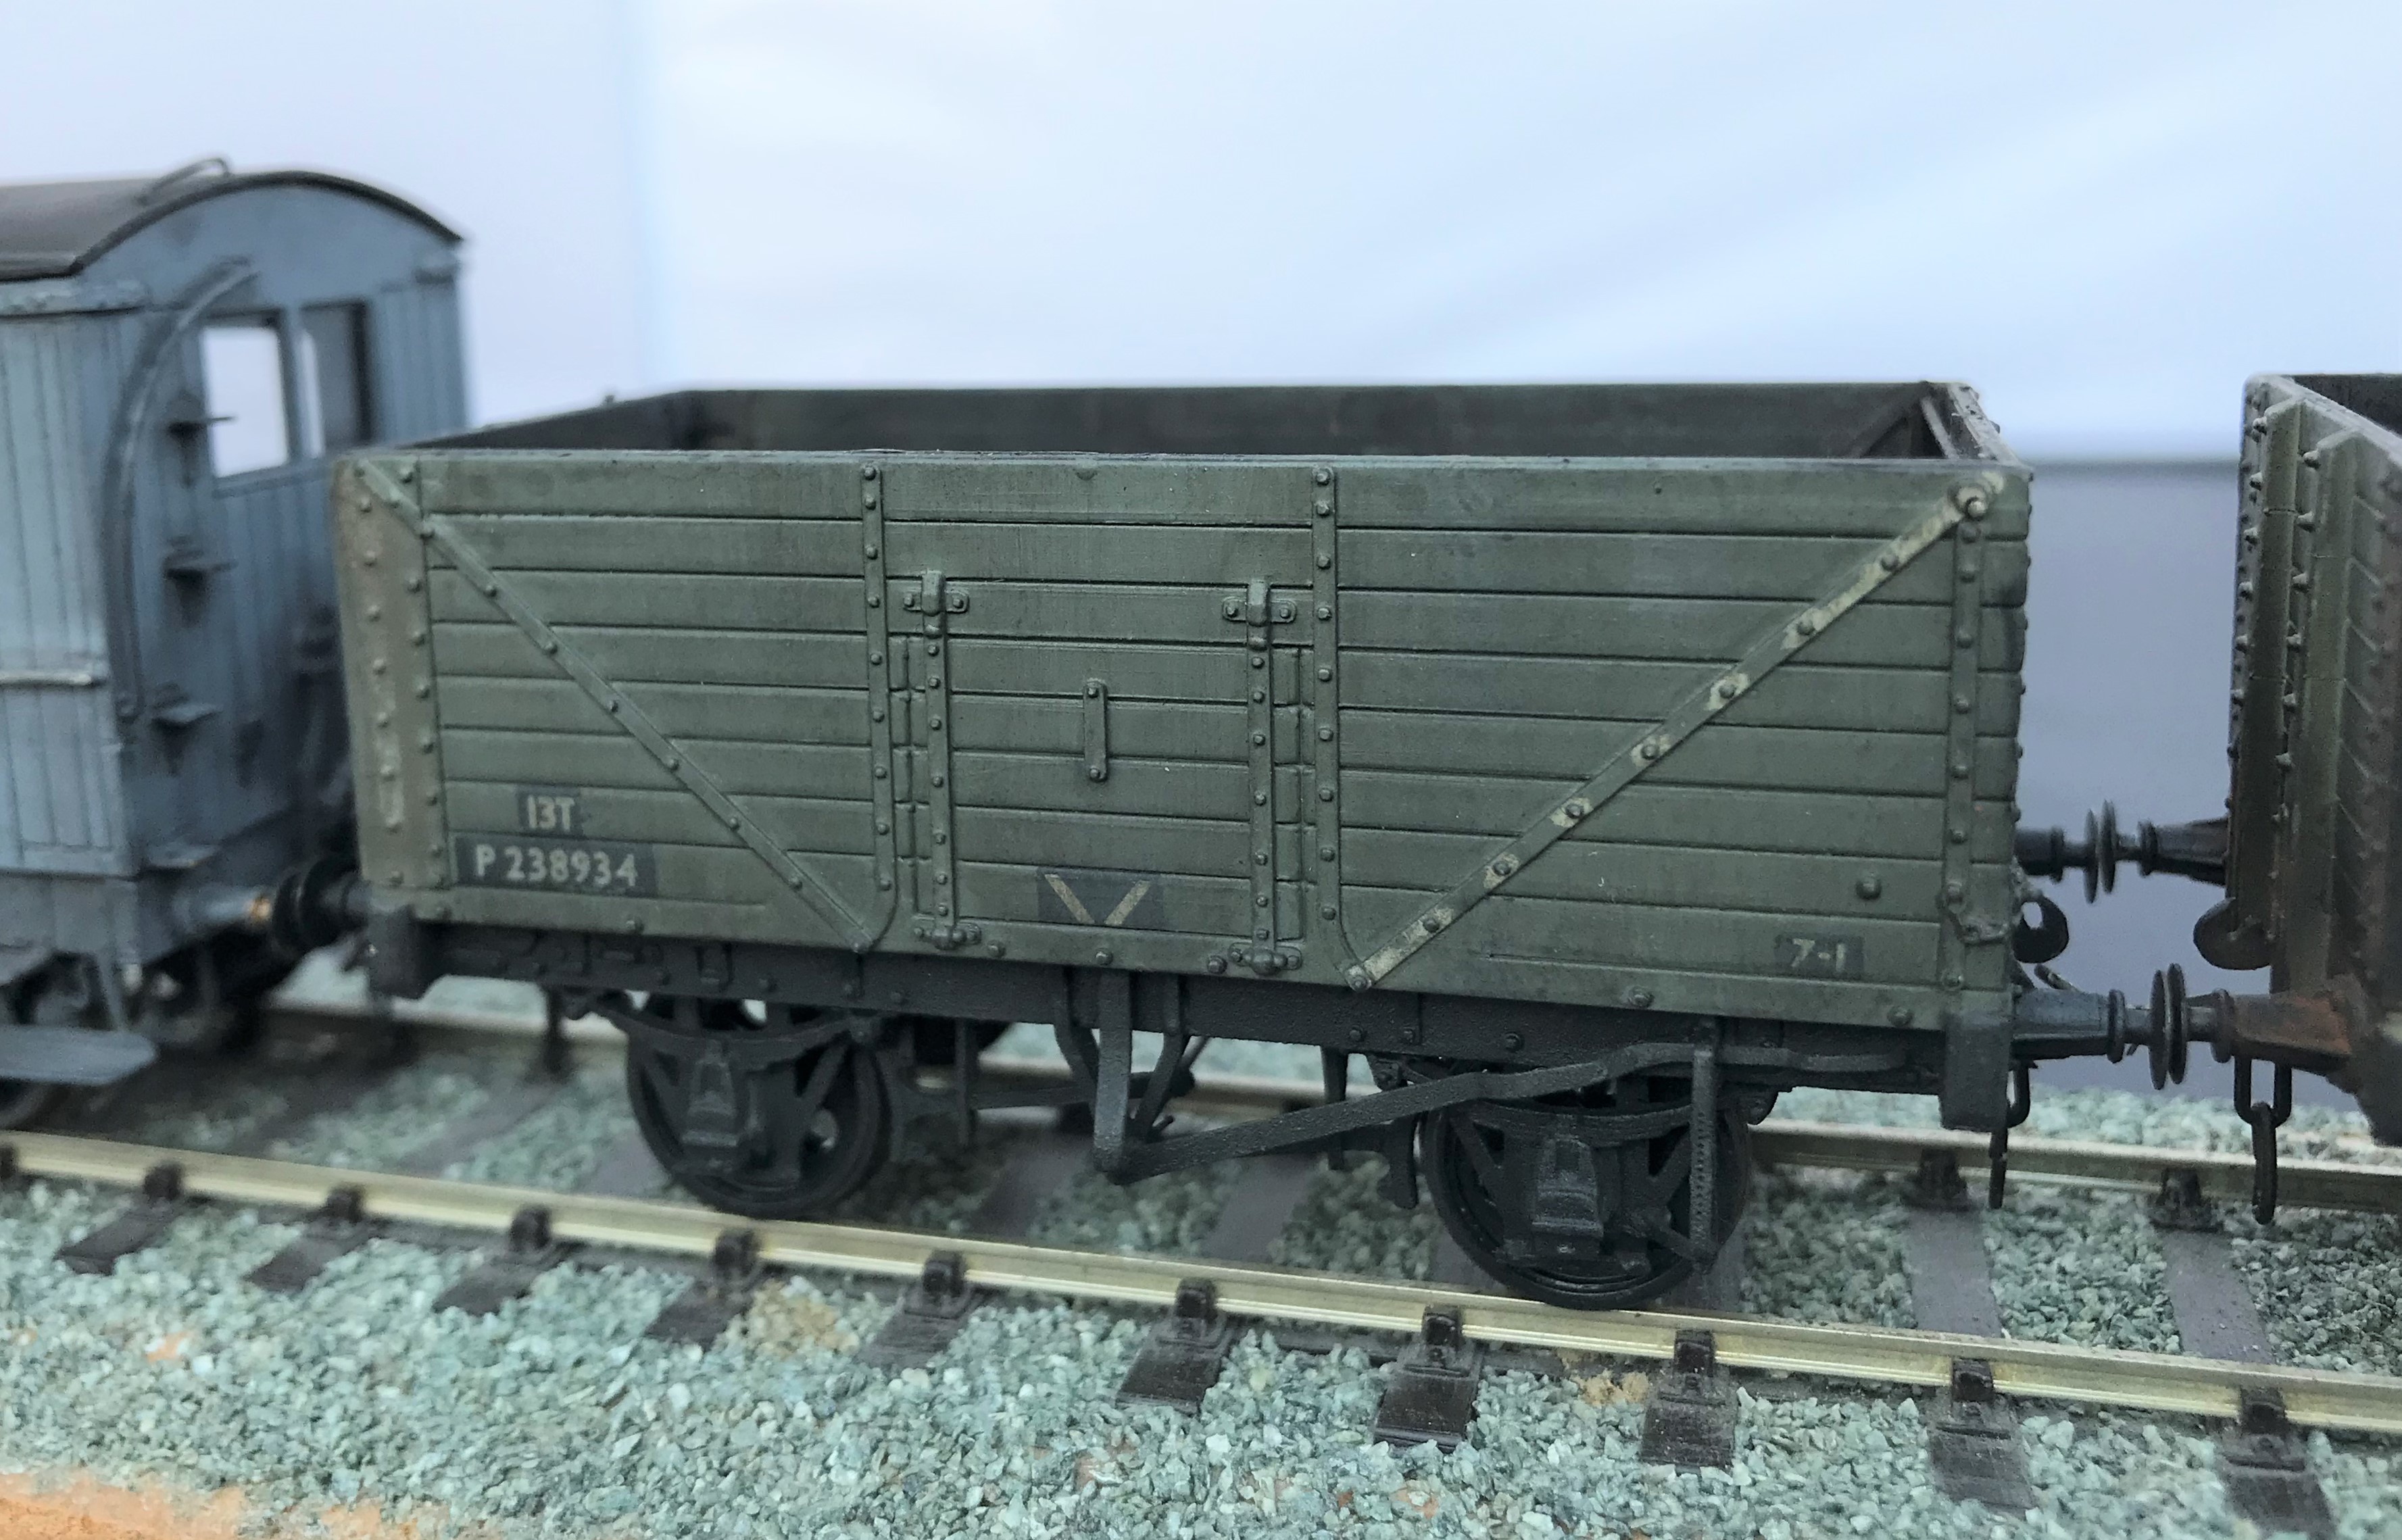
Weathering is not something that I find comes easily to me, especially where it needs to be subtle. However, what the OTCM lads have taught me is that unsubtle weathering is easier and a lot more fun! So I have been unsubtle and making a few POs filthy; I wanted to leave the impression that they have seen few decades of hard work and I am really pleased with the results.
All of these have origins in Bachman RTR minerals but with replacement chassis from Colin Welsh’s range (available via the Scalefour Stores – members only I think, so why not sign up!) and some replacement axleboxes from Rumney Models.
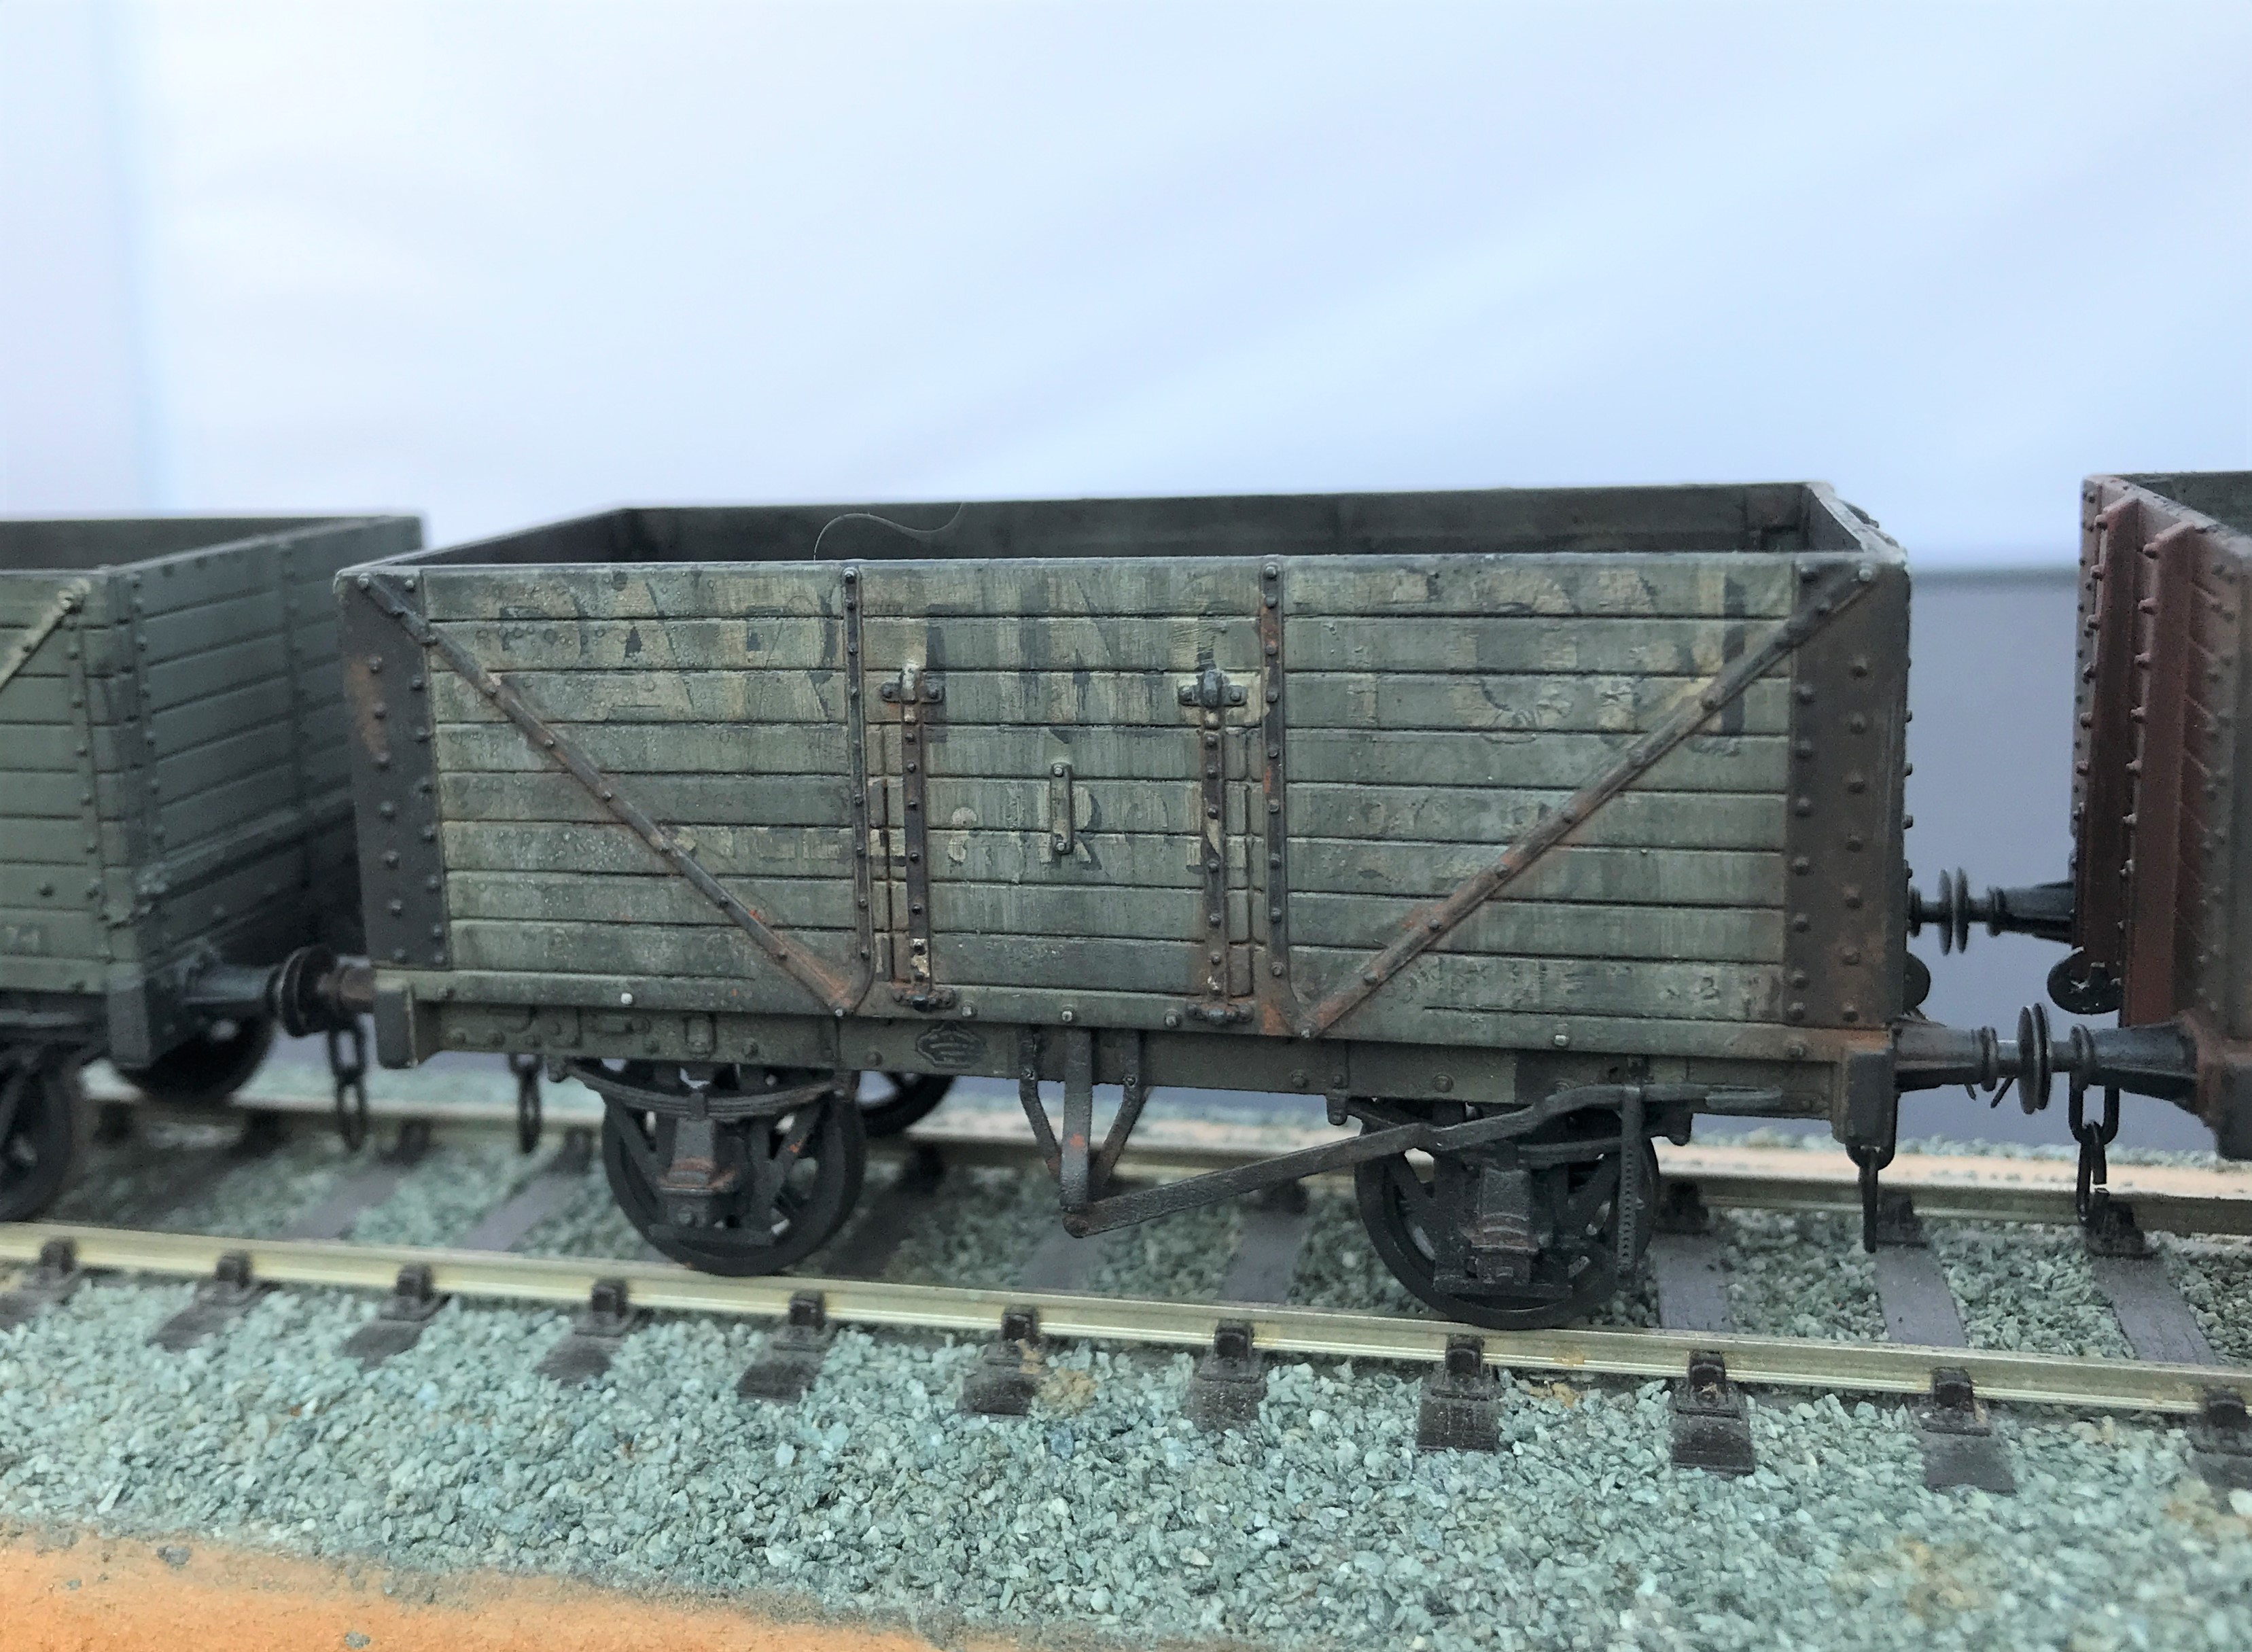
I started with the fibreglass brush to thin down the lettering to give it the feel that it is close to wasted away. Then I sought to represent plank replacements by painting out a few of these with a grey and then added a little texture with dry brushing with track colour (although ultimately the weathering was so heavy this subtly was not worth the effort). The same was undertaken to the insides of the wagon.
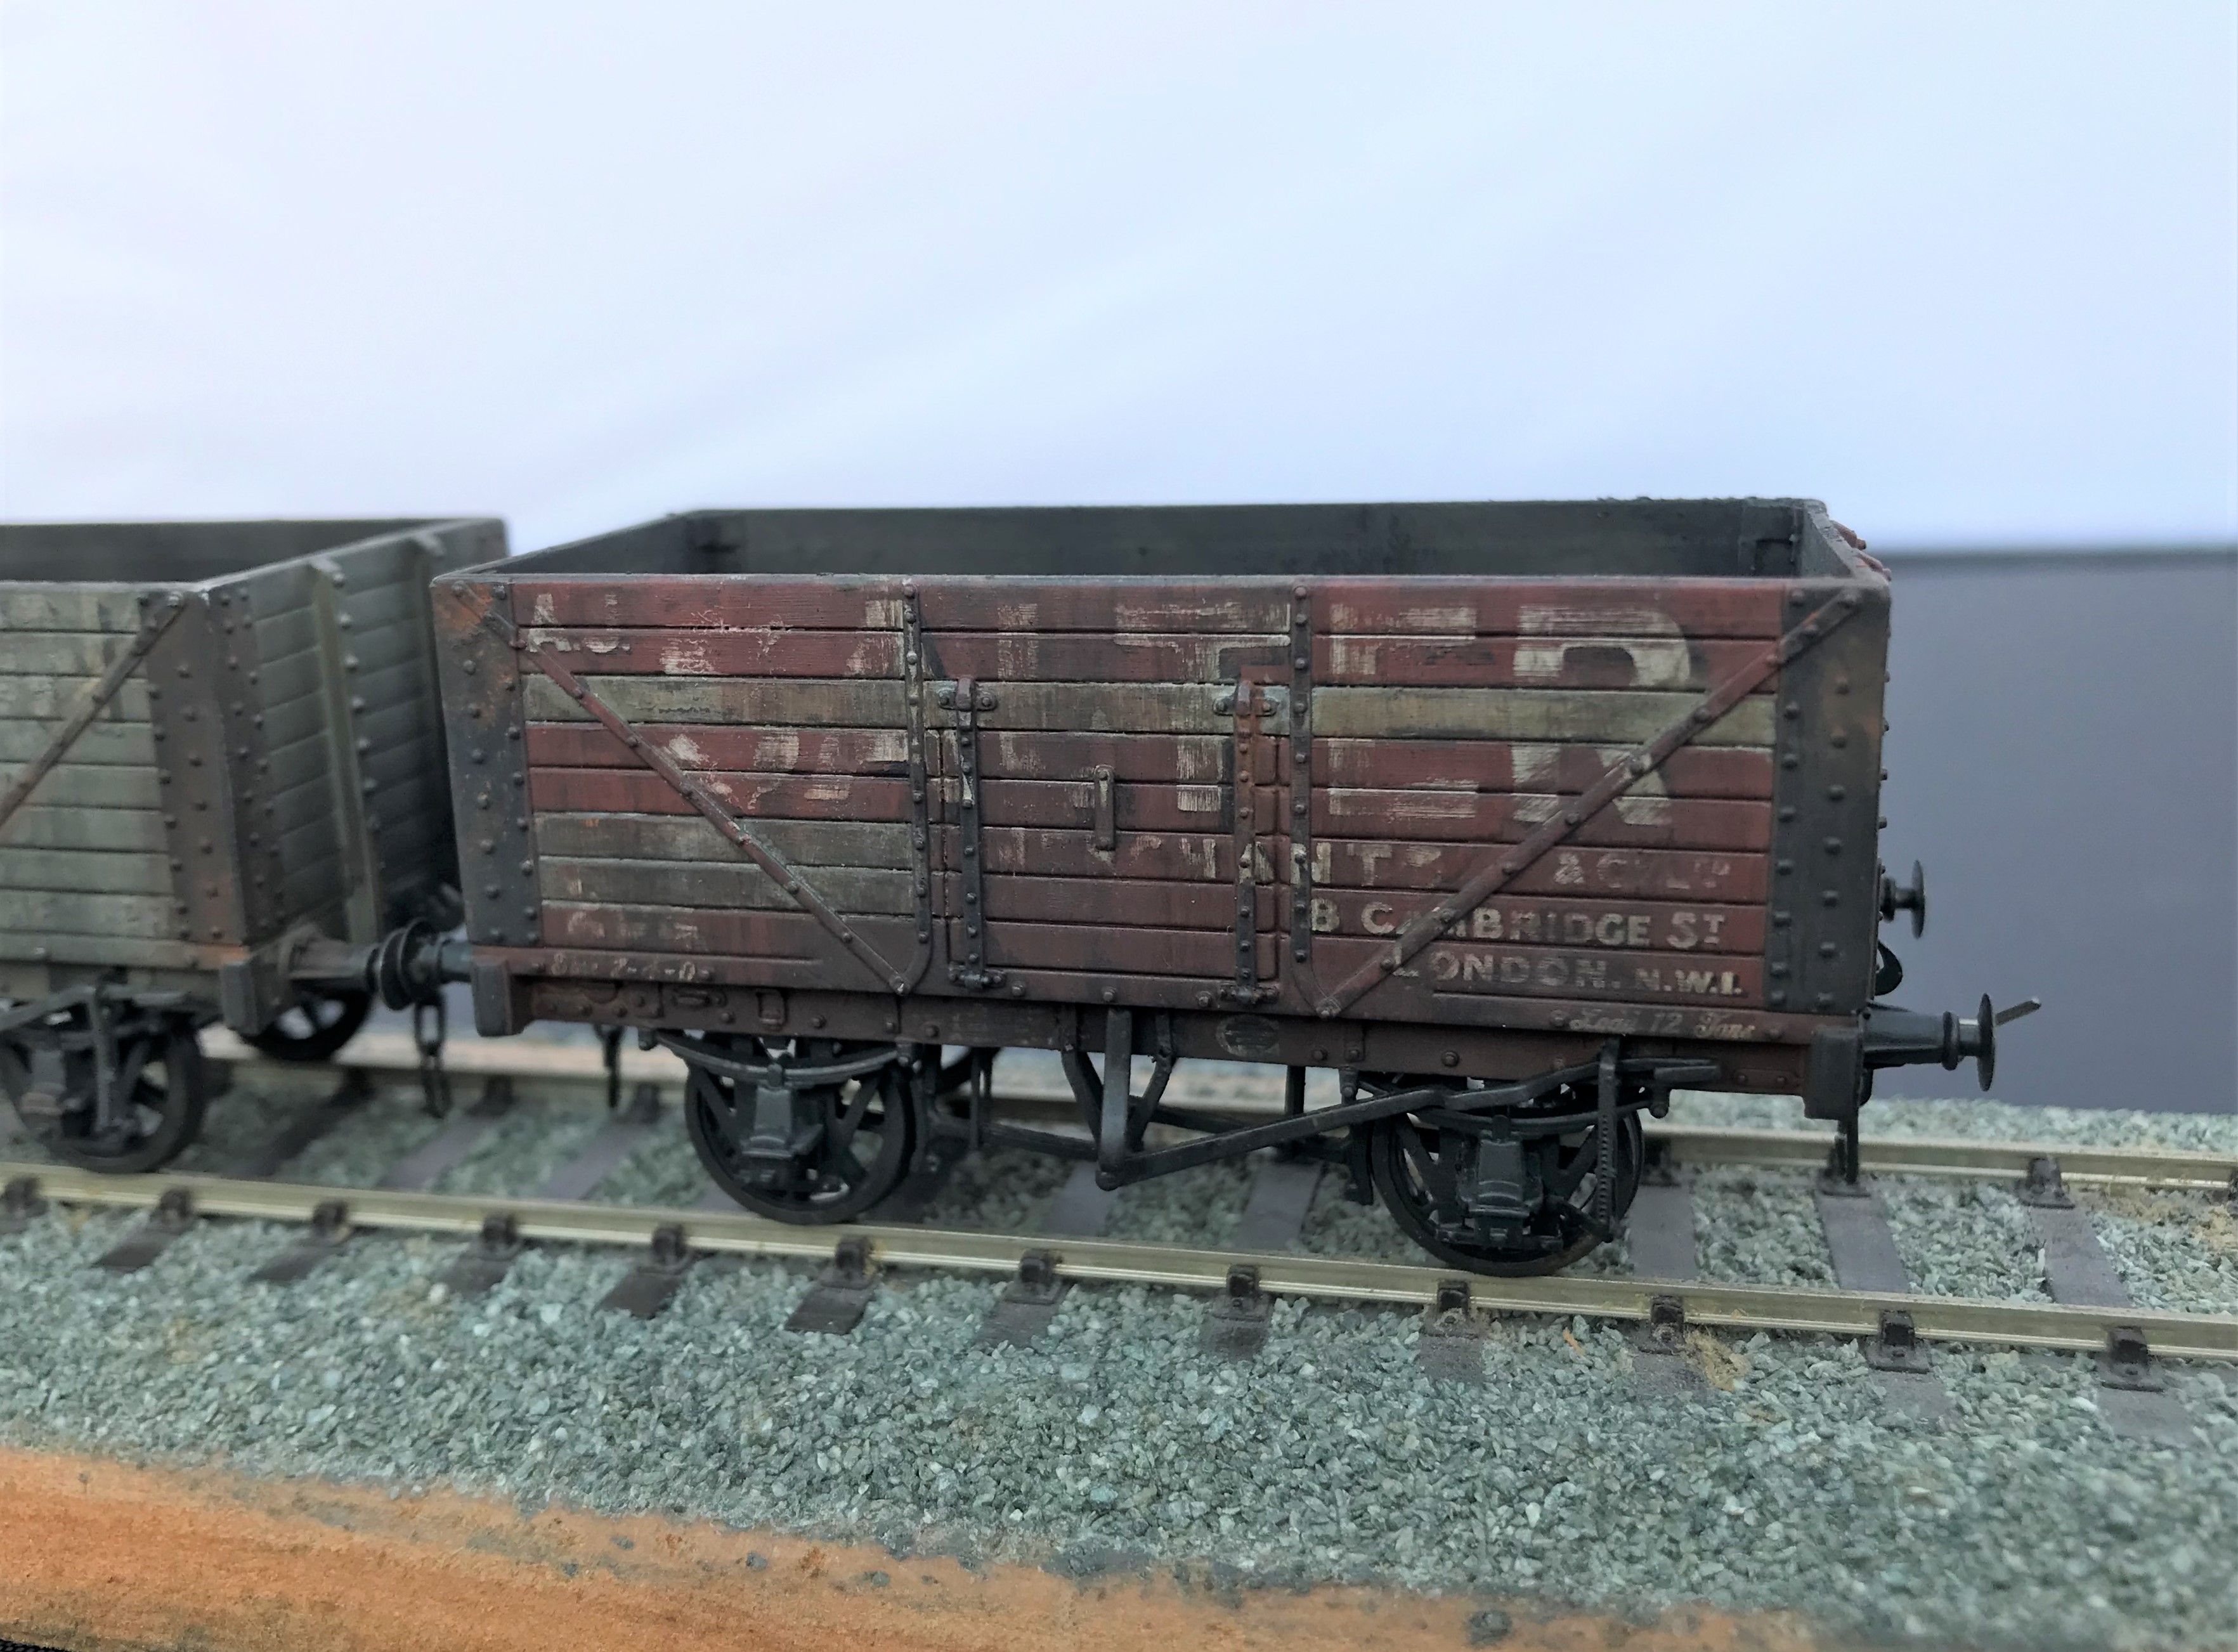
The weathering was completed by a mix of enamel paints; based on black and leather. I started with a lighter colour mix of 2:1 leather/black but then darkened this as I felt that a coal mineral would be a much darker mucky colour so reversed the proportions.
I did these over multiple coats under a very bright light, as otherwise you don’t really know whether you have put much paint on when it is deliberately so thin. The streaking is achieved by using a relatively large flat and stiff brush dipped in thinners. Don’t apply this straight into the model, rub it on the back of your hand to remove the bulk of the thinners and get it down to “slightly moist” before applying it to the model. Make sure it is drawn down vertically, to mimic the movements of water running down the wagon sides.
The final stage was then to use weathering powders, rust on the metalwork (mostly on the Partington grey wagon) and black soot. Very small amounts are put on the brush and then speckled on the model with the lightest of pressure because if you blob it straight on it tends to be rather heavy in the points of contact, so it gets a bit blotchy as a result. However, if this is the effect that is required – for example on the top of the buffers for me – then blob away! The powder is then spread across the model with the brush, the more pressure tends to deepen the colour but throughout the powders matt and draw together the underlying colours.
The coal effect in the interior was completed in a similar manner, but with a lot more powder is used and laid on the base a small amount coal dust secured on a matt varnish to leave the impression of a not quite well swept floor from the previous load.

Something Fishy…….
Fish was an important traffic to the Highland Railway and as a result fish trucks were one of their most numerous classes of wagons. Given that Glenmutchkin is conceived to be on the coast, fish traffic will also be an important feature on the model too. There is to be a line to an off-scene harbour, so that I can justify a significant traffic. I already have a shortish train of fish vehicles, mostly open trucks, but I definitely need more
Back in April, I reviewed the Mousa Models LNWR covered van, which I was generally impressed with. Buoyed with this I spent portions of the last couple of weekends making a pair of the same manufacturer’s HR Drummond Fish Trucks. The kit is arranged for the variant that had a centre drop door, but there was an alternative variant with full length drop sides and at least some acquired morton brakes during their life. Thus, there are a few modifications that can be made if you wish.
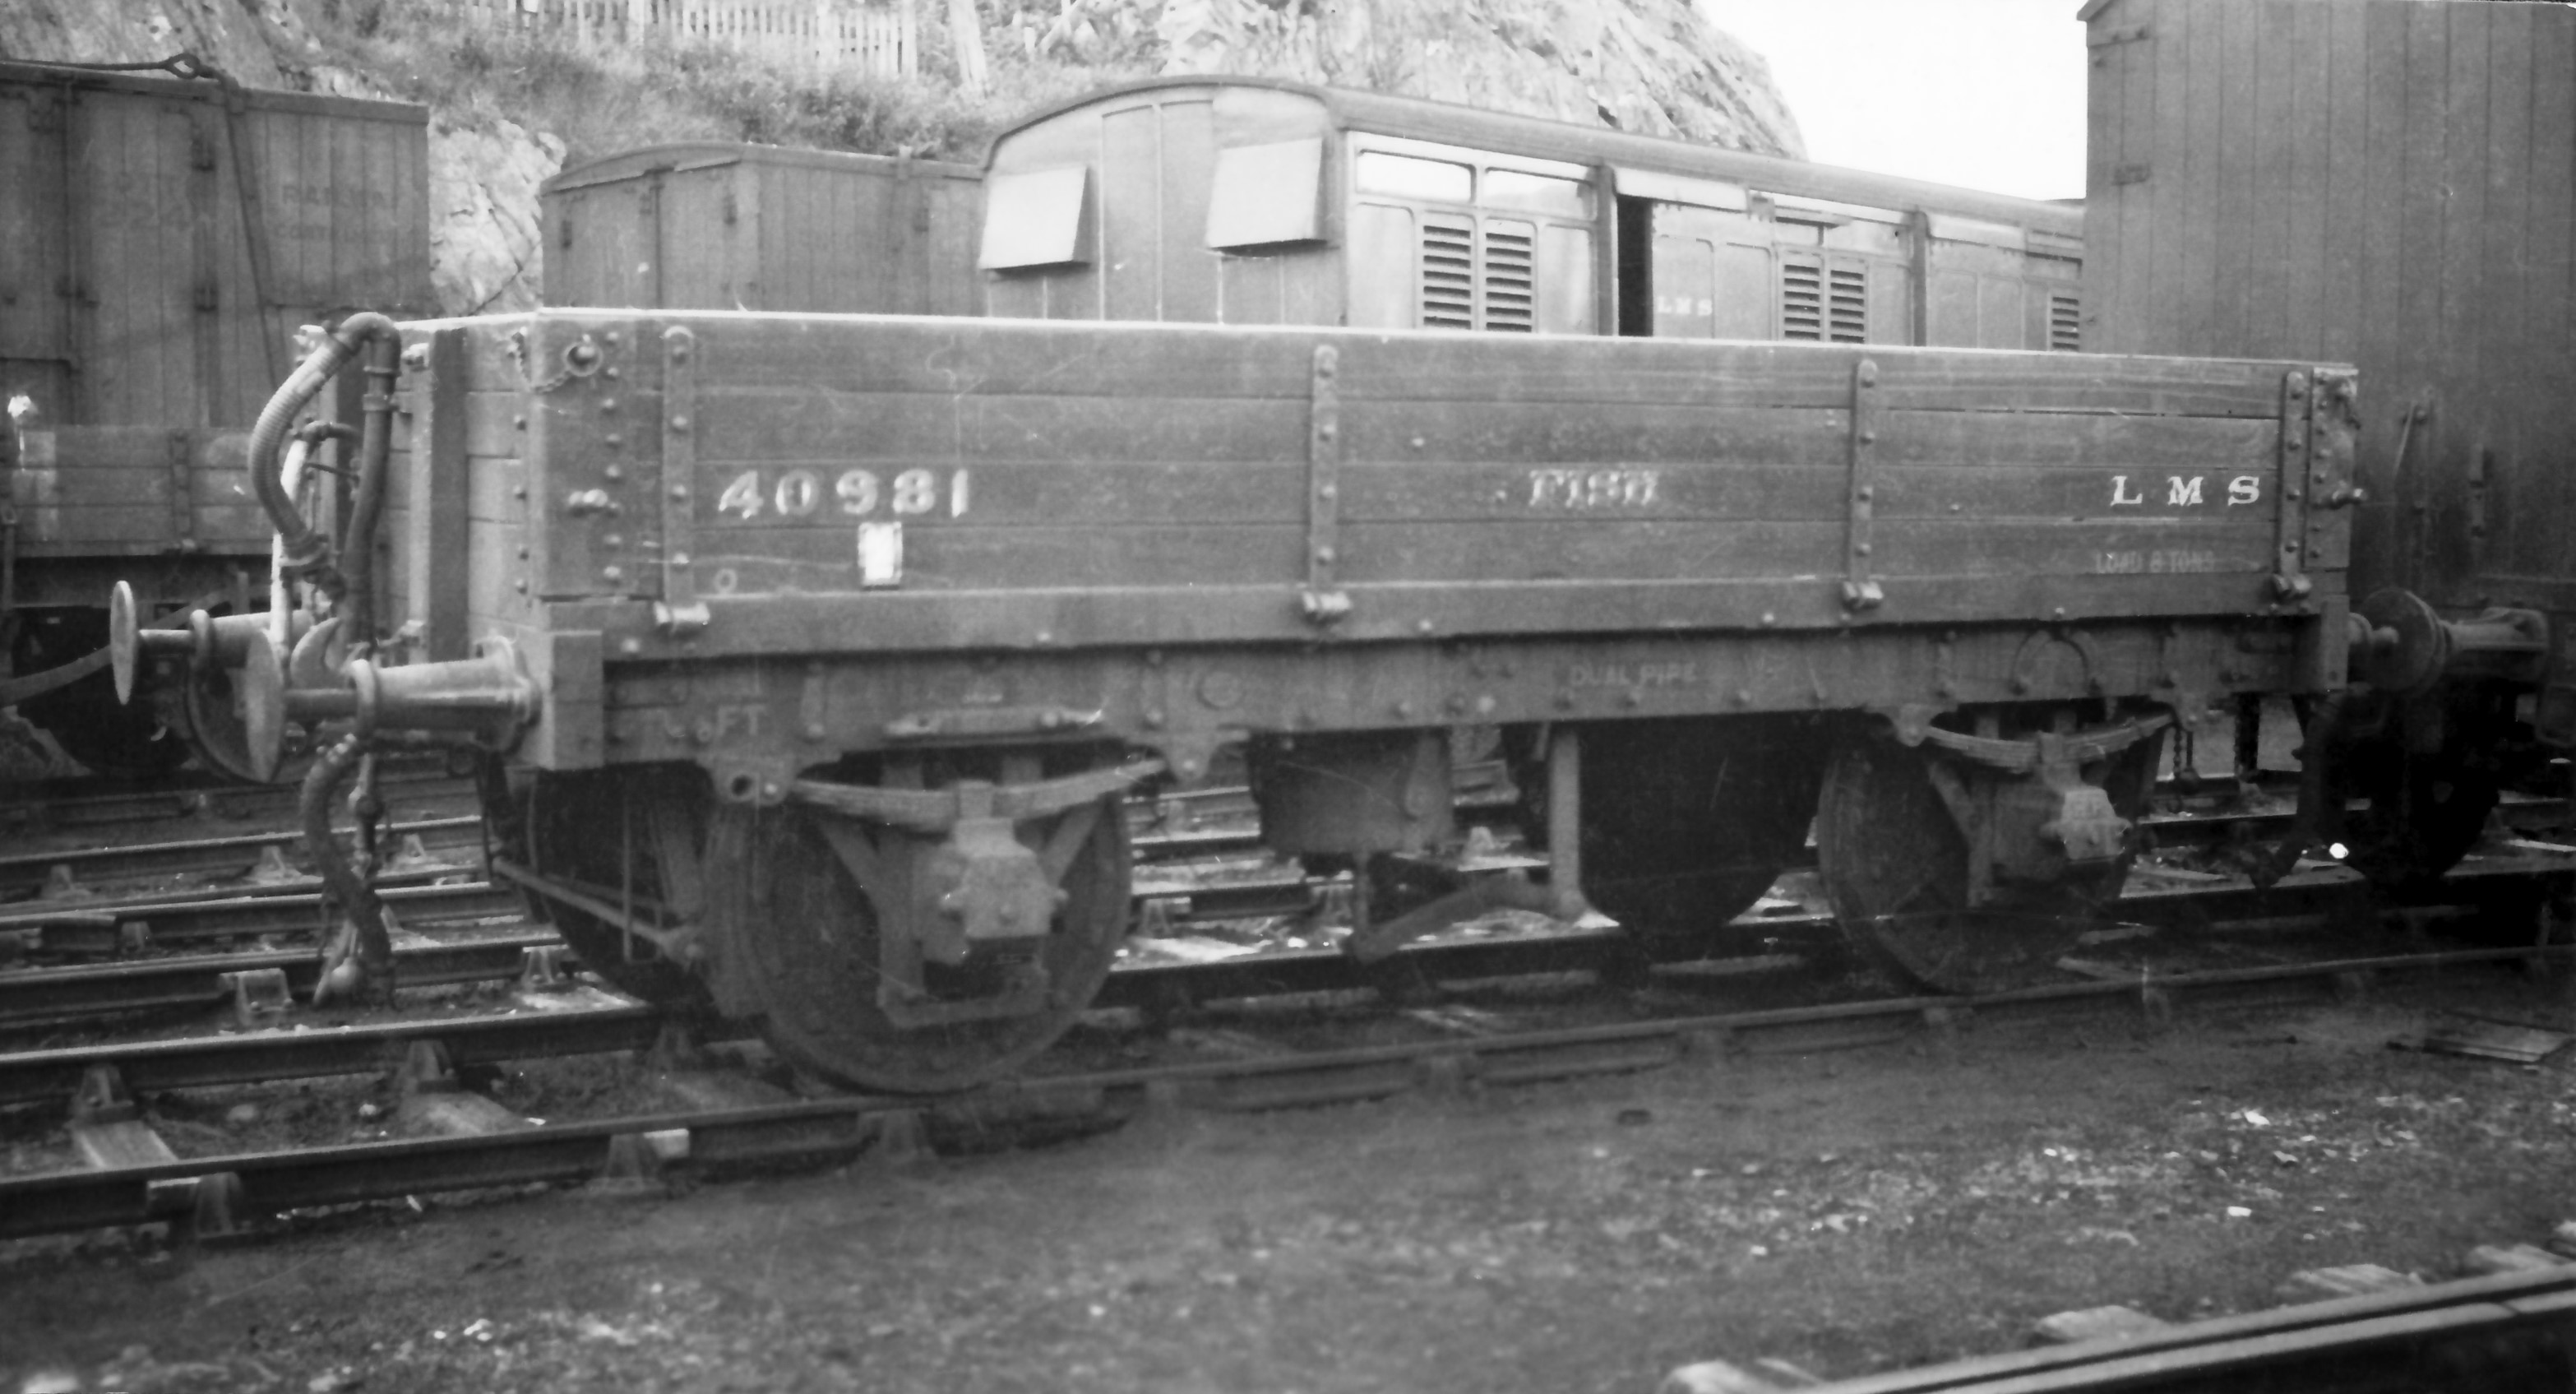
The above is a full drop side version of the fish truck at (I think) Kyle (AB McLeod, HRS Collection).
Having built a few Mousa Models kits and however regretful it is, I was not surprised to find there were no instructions included in the kit. This is a pain as there is enough going on with the model to justify some guidance and anyone who does not have my father’s book will struggle. Unfortunately, I did not take any mid way through photographs before I realised that some notes on its construction would be of assistance, but hopefully these notes and the pictures of the completed model will be helpful.
A first issue I discovered was that the resin casting was a touch distorted. The ends in particular bowed into the well of the wagon and the whole wagon had a slight twist to it. This is a common problem with resin kits but with care can easily be corrected. Put the body casting in hot water – as hot as you can tolerate with hands (so less than boiling – 40C is about right) and it softens sufficient to allow these to be corrected.
Although the resolution quality of the LNWR van was good, the quality of the prints that formed the masters for these resin castings was not nearly good enough. Significant portions of them looked as if they were sand castings and did not look real. The body sides were better and were capable of being improved to an acceptable standard with some work with wet and dry sand paper. The solebars were worse, possibly because they received less effort to tidy them up prior to being used as a master. I managed to tidy it up a bit more in the areas that were more free of rivet heads, but above the W irons this was not possible and will have to be masked with some weathering.
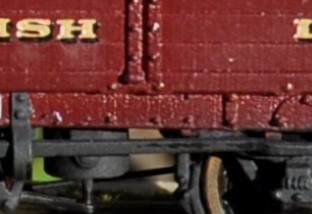
The roughness of the print is apparent to the solebar
The kit is conceived with sprung W-irons to Mousa Models normal design – details of the assembly of which can be found in my previous blog post. However, these need to be carefully lined up to the bolts on the outside of the solebars as the locating slots to the underside are oversized and allow too much slop. It is also necessary to use the Brassmasters axle spacing jig to ensure that the axles are parallel and correctly spaced.
As I noted previously, Mousa Models seem to wish to use resin parts for as much of their recent kits as possible. There were only a few parts where this was a problem on the LNWR van but the problem is rather worse on these fish trucks due to the additional elements of detail that they contain. Had some of the components been produced as etched parts, they would have been a lot more durable without compromising fidelity. I replaced the brake levers, coupling hooks, vacuum brake plunger and brake tie bars with etched components or wire but if I were doing any more of these, I would also swap the brake blocks/hangers because I have managed to damage two of these. Masokits do some that are suitable, although there may be others too that I do not know of.
Page 147 of the carriages and wagons book shows a drawing of how the Drummond patent brake levers operated. In this, it can be seen that there was a long lever running to the right hand end from the fulcrum of the “scotch brake”. This then met a smaller lever that operated in a cam arrangement on the long lever but also connected through a rod to the other side of the wagon. On this side, there was another short lever (so appeared on the left hand end on this side). In the kit, the brake lever is rather crude due to the need to beef it up so that it is durable but even then it is very vulnerable. Furthermore, there is a second long lever, which is not correct at all. Instead, I made up a rod from brass and utilised an etch from the Highland Railway Society.
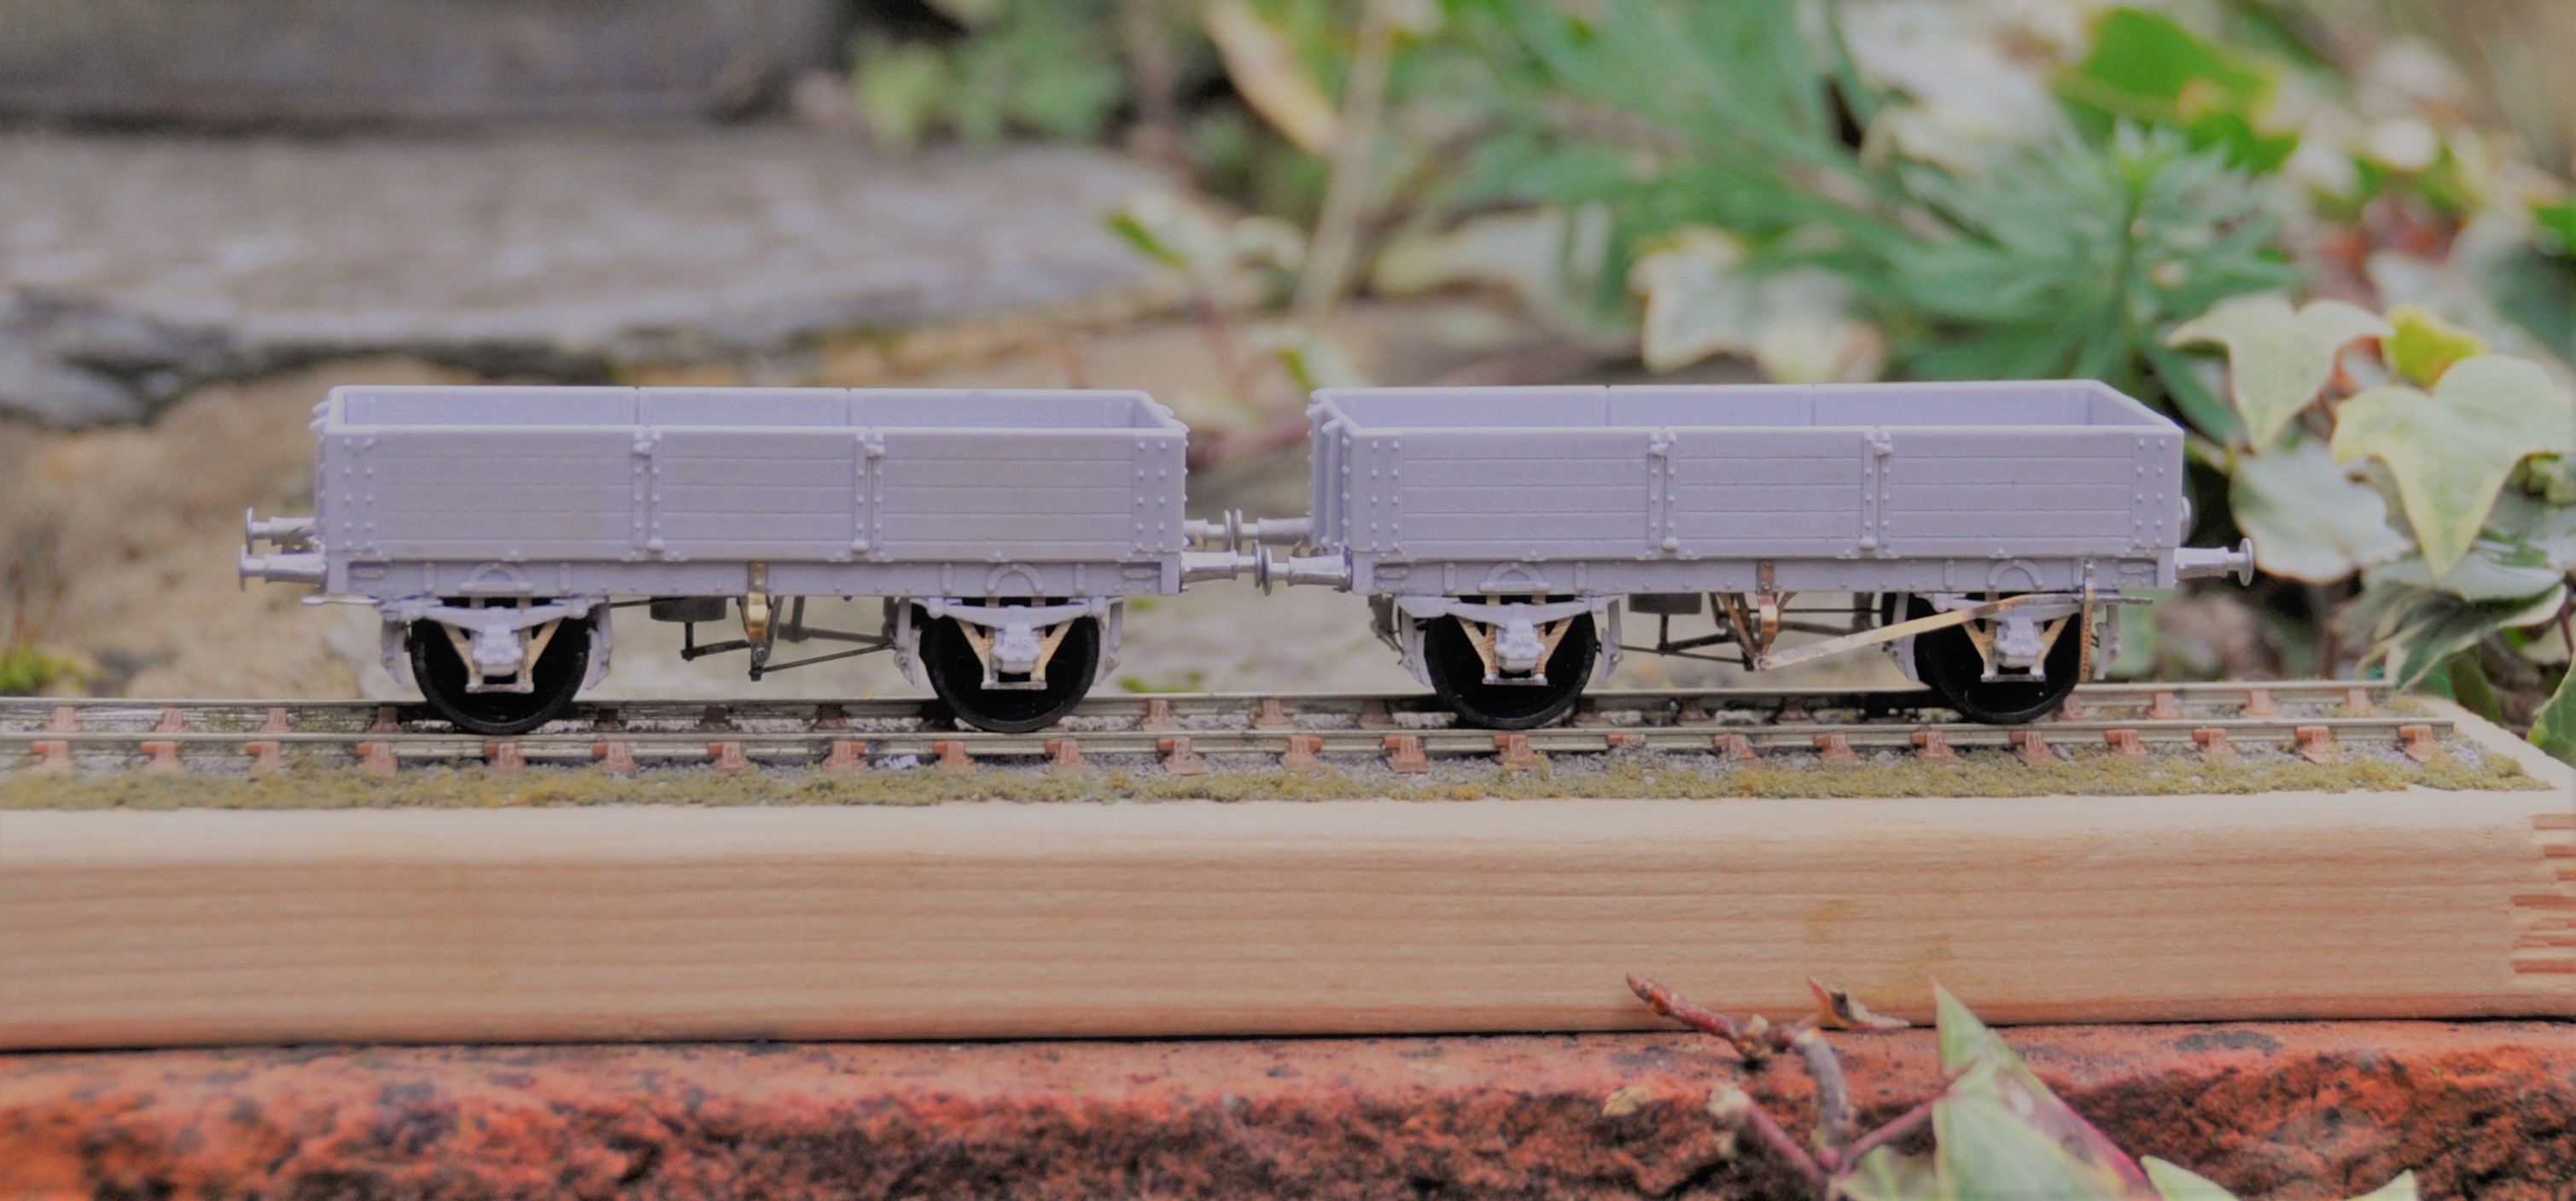
The principal side to the wagons, showing the missing brake lever now provided by way of a Highland Railway Society etching.
The patent braking system was, however, found to be unsafe because one side could be operated without the user on the other realising it (it cost someone some fingers, I believe) and the Board of Trade banned them for new construction. Therefore, many wagons had their braking arrangements changed, either by the use of full length levers and a ratchet or even a full change to morton brakes. I converted one of my wagons to the former by the use of some etched levers from 51L and an extra V hanger from the scrapbox.
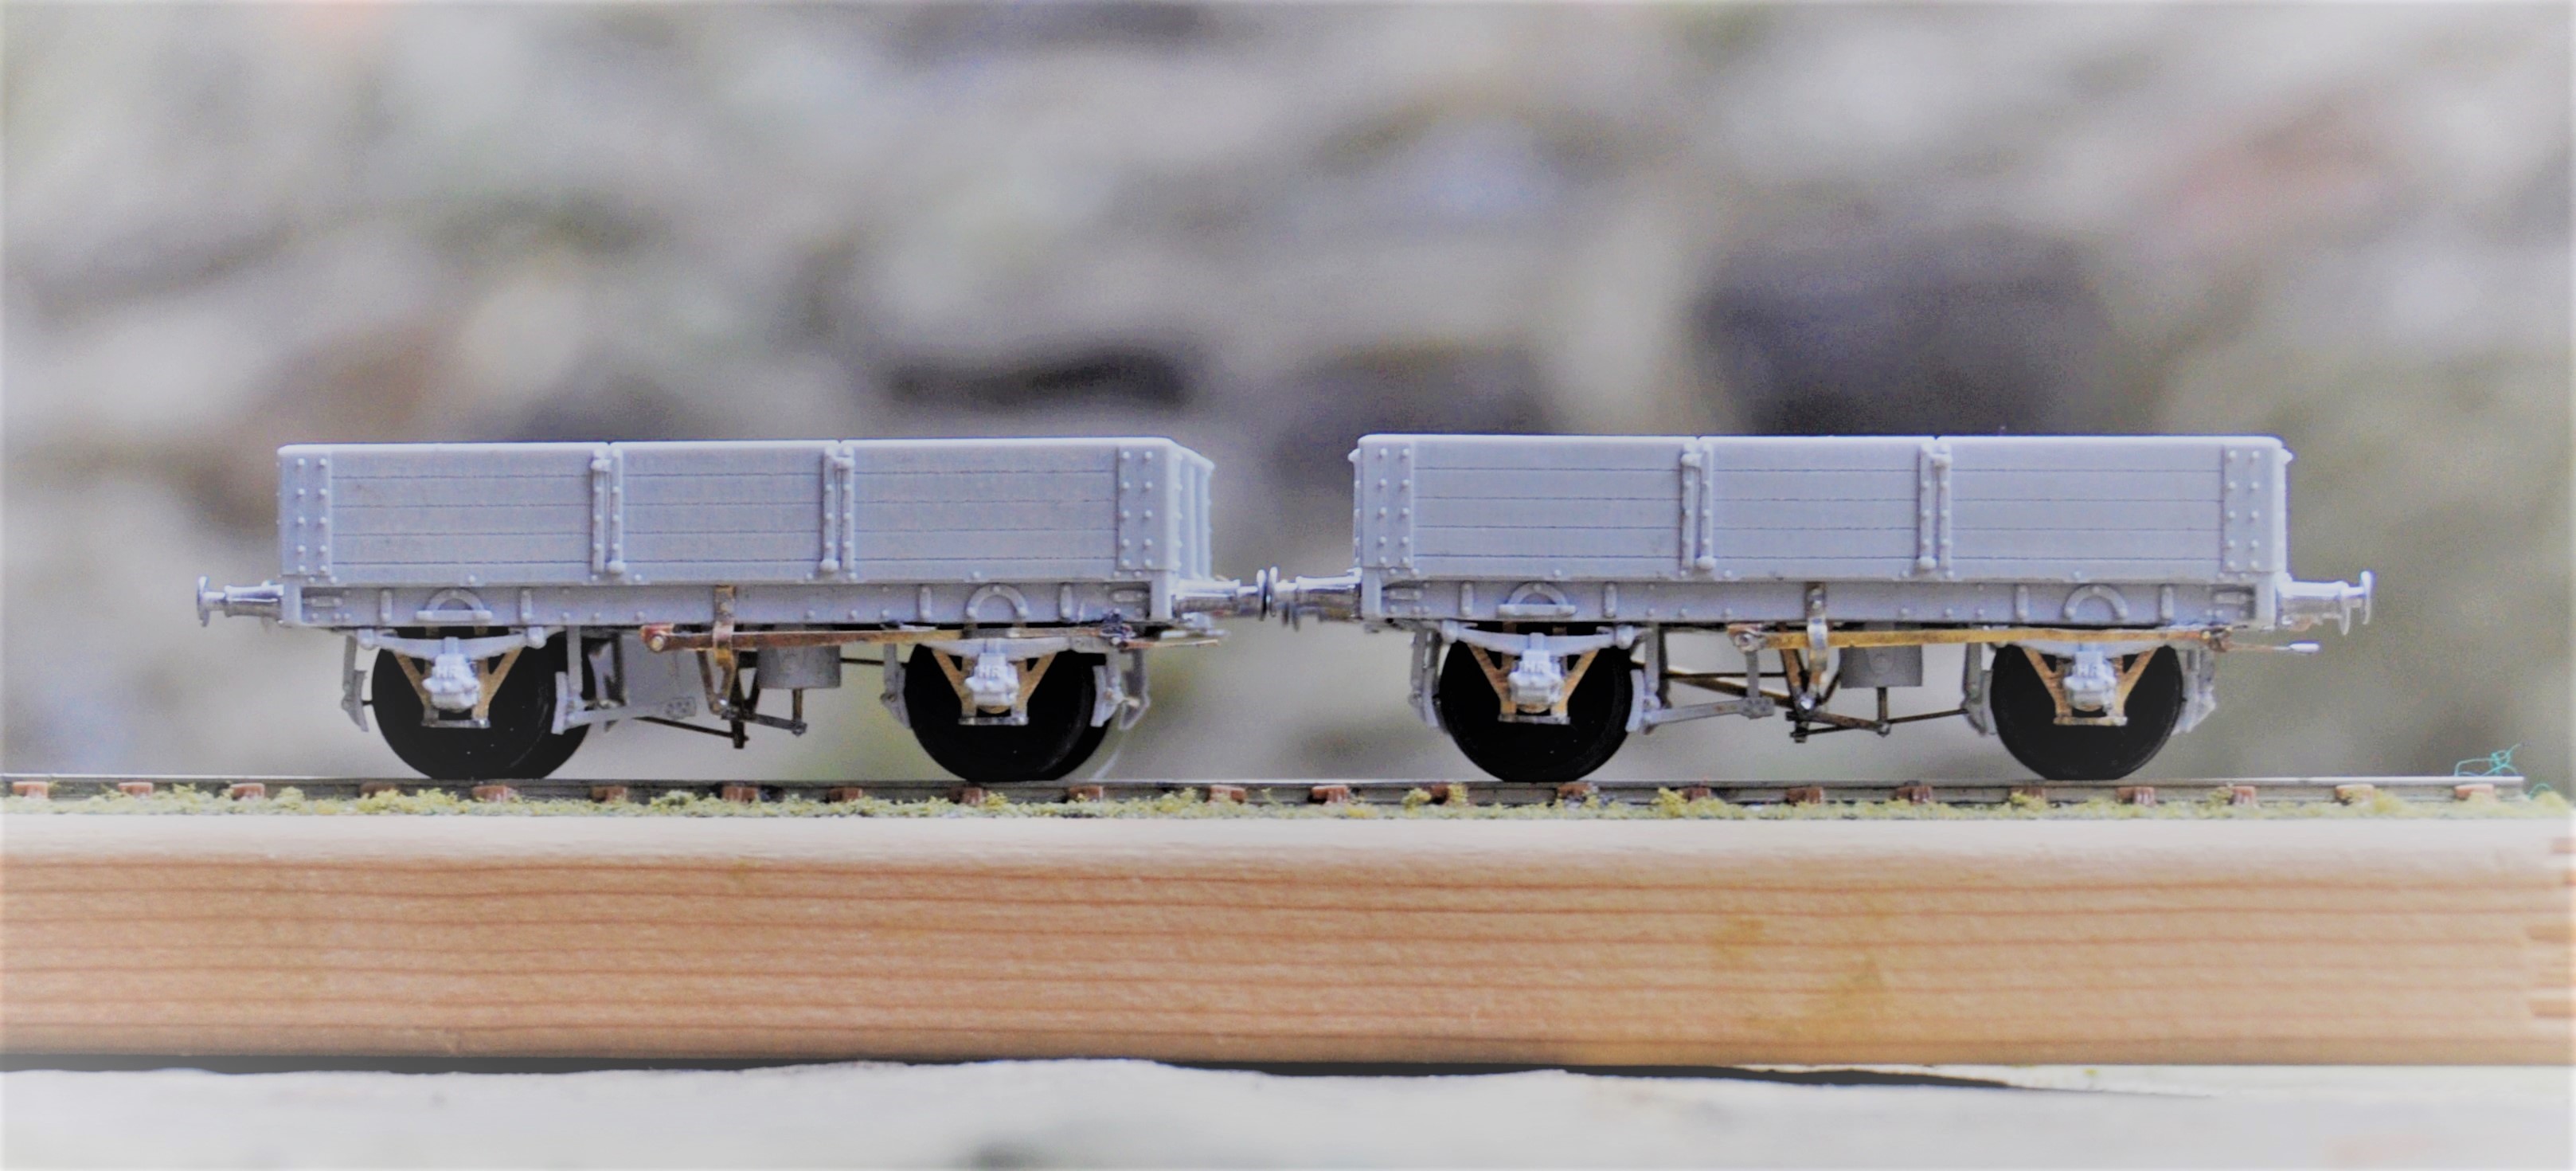
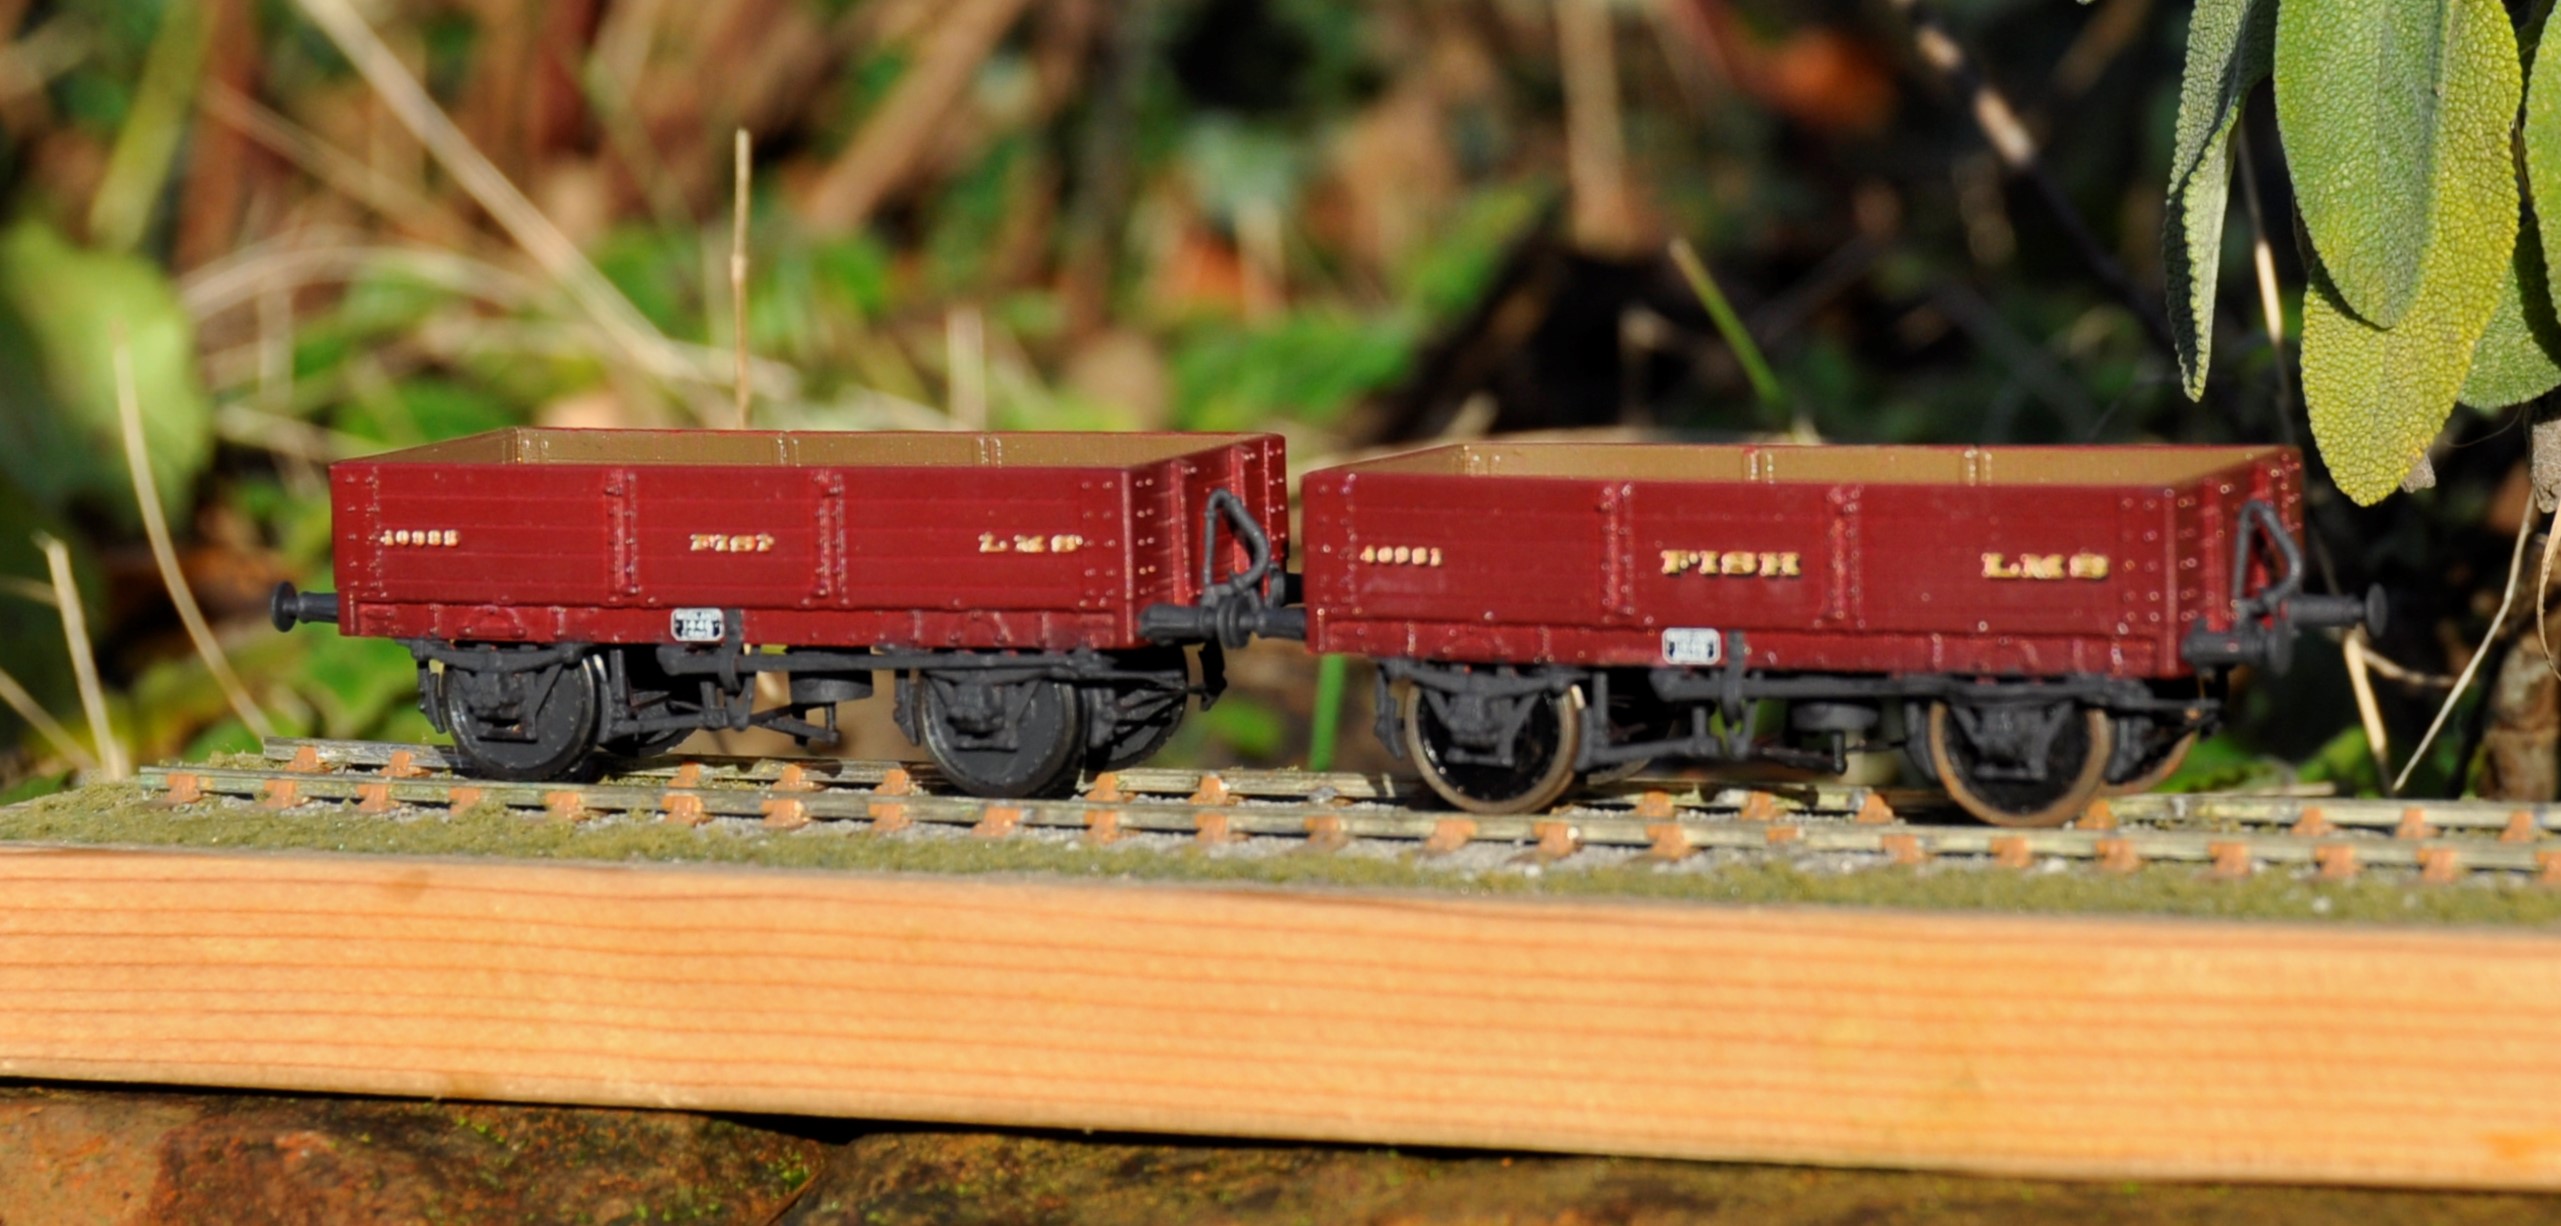
And now the subsidiary side to the wagons, showing the Drummond Patent Brake lever to the left hand vehicle and a replacement long lever on the right hand vehicle.
I also took the view that the buffers were too delicate to survive in use and therefore swapped them for Drummond buffers available from the Highland Railway Society. I also found it necessary to cram the whole of the underside of the chassis with lead, to get the wagon’s weight to a level that would operate the wagon’s springs.
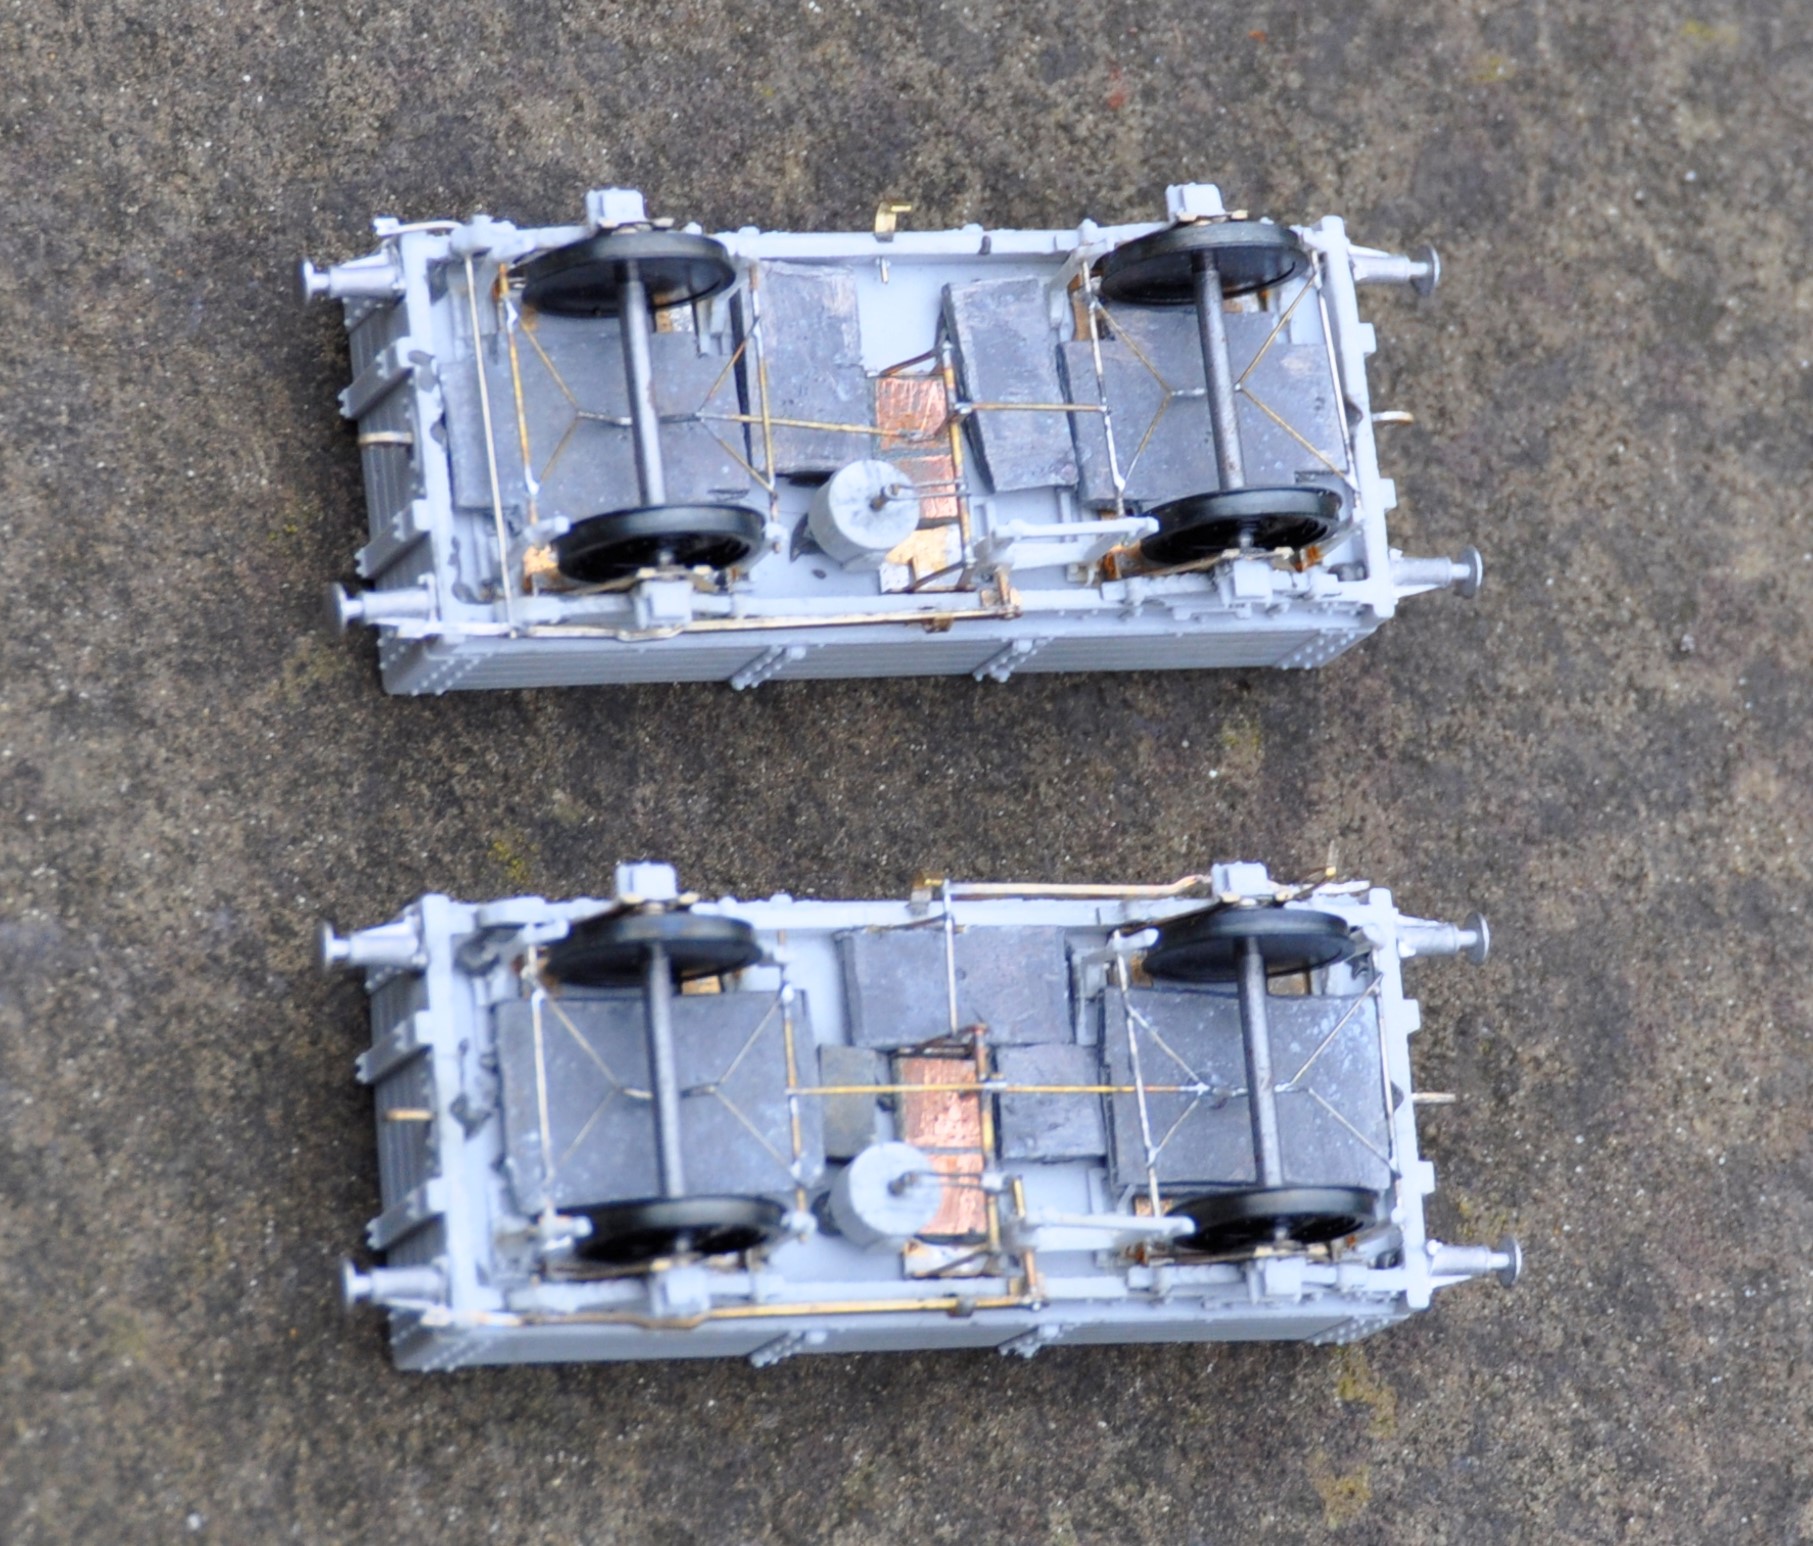
The underside – the rod to the Drummond brake is visible to the left hand end of the top vehicle.
Although these will have been green with yellow lettering for much of their lives, I chose to do them in LMS crimson lake. Rather fine they look too! When carrying fish boxes, it is known that turfs were used to provide thermal insulation around the fish for the journey but my guess is that this was covered within tarpaulins. I have tended to find that the paper tarpulians (Smiths etc) are not that durable so I need to do some experimenting on alternatives – I do have something in mind. That will be for another post though!
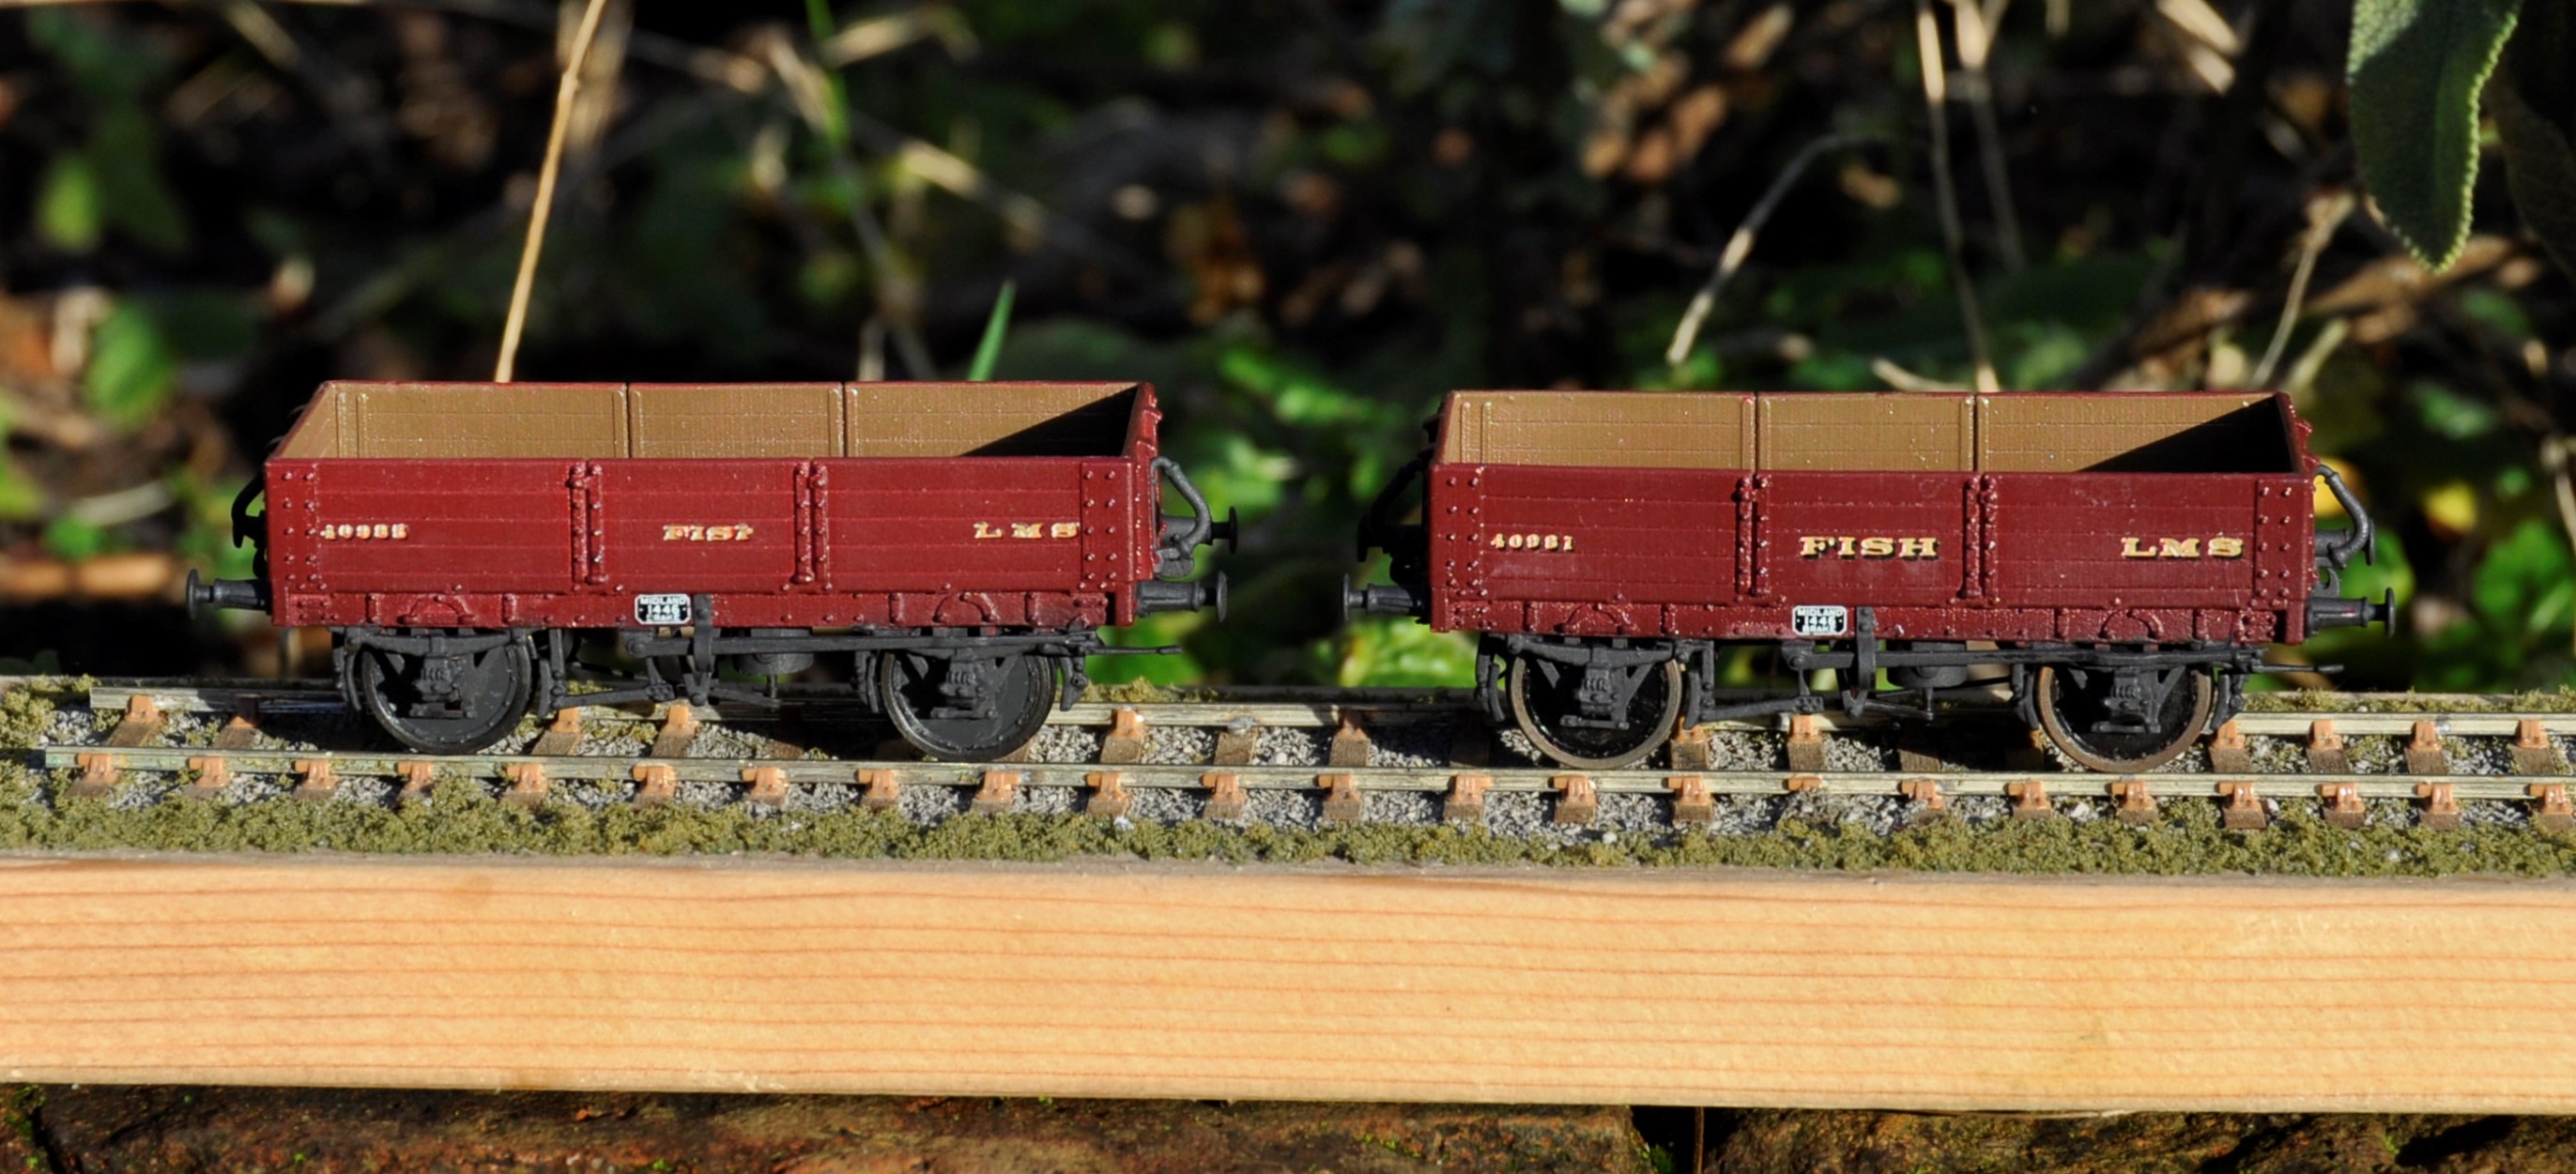
Painted (well I seem to have missed the rims!) and awaiting weathering
All in all, these are quite attractive vehicles, very core to the required stock for Portchullin and the kits are a pretty good – but they could be better and easier to build if Mousa models had dealt with what are relatively obvious points.
